Brisbane · QLDInterior renovations · tiling · repairsCall Allen · 0403 069 685

MEL ONE PROJECTS

Brisbane renovation and repair projects.

Kitchen and bathroom renovations, interior repairs and outdoor work across Brisbane. These records show site conditions, progress and finished details where photographed. Call Allen on 0403 069 685 with your suburb and photos to discuss the scope and arrange a quote.

INTERIOR FLOORING & FINISHES

Flooring, interior painting and staircase surface refurbishment

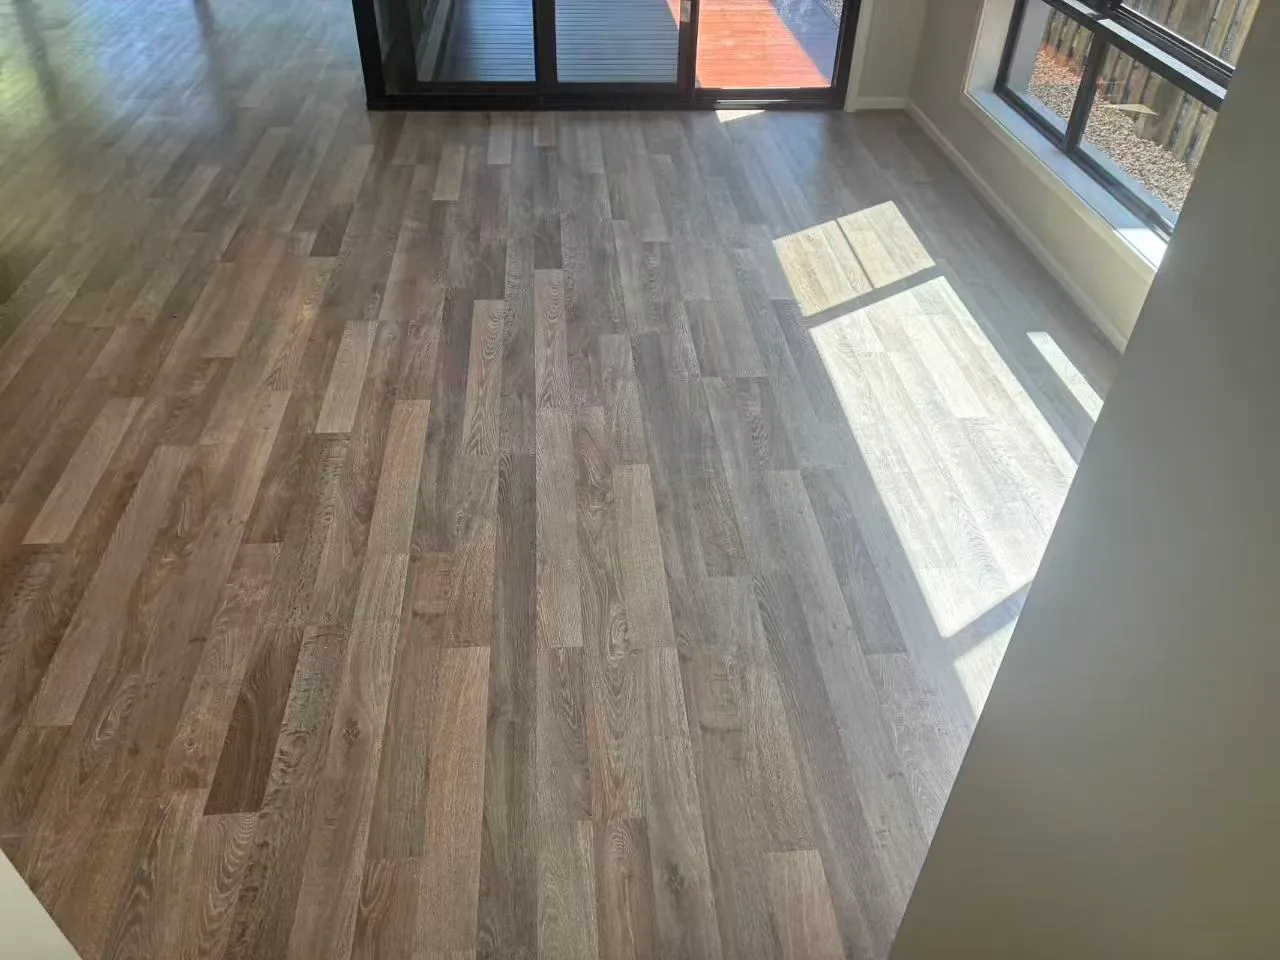
This interior project combined flooring installation and edge trims, interior painting and staircase surface refurbishment. The photographs show the wood-look floor through the living areas and hallway, fitted perimeter details and the dark staircase finish.

The photographs include protected work areas and wider interior views. Tools, covers and some unfinished details remain visible in parts of the record.

Flooring installation and edge trims

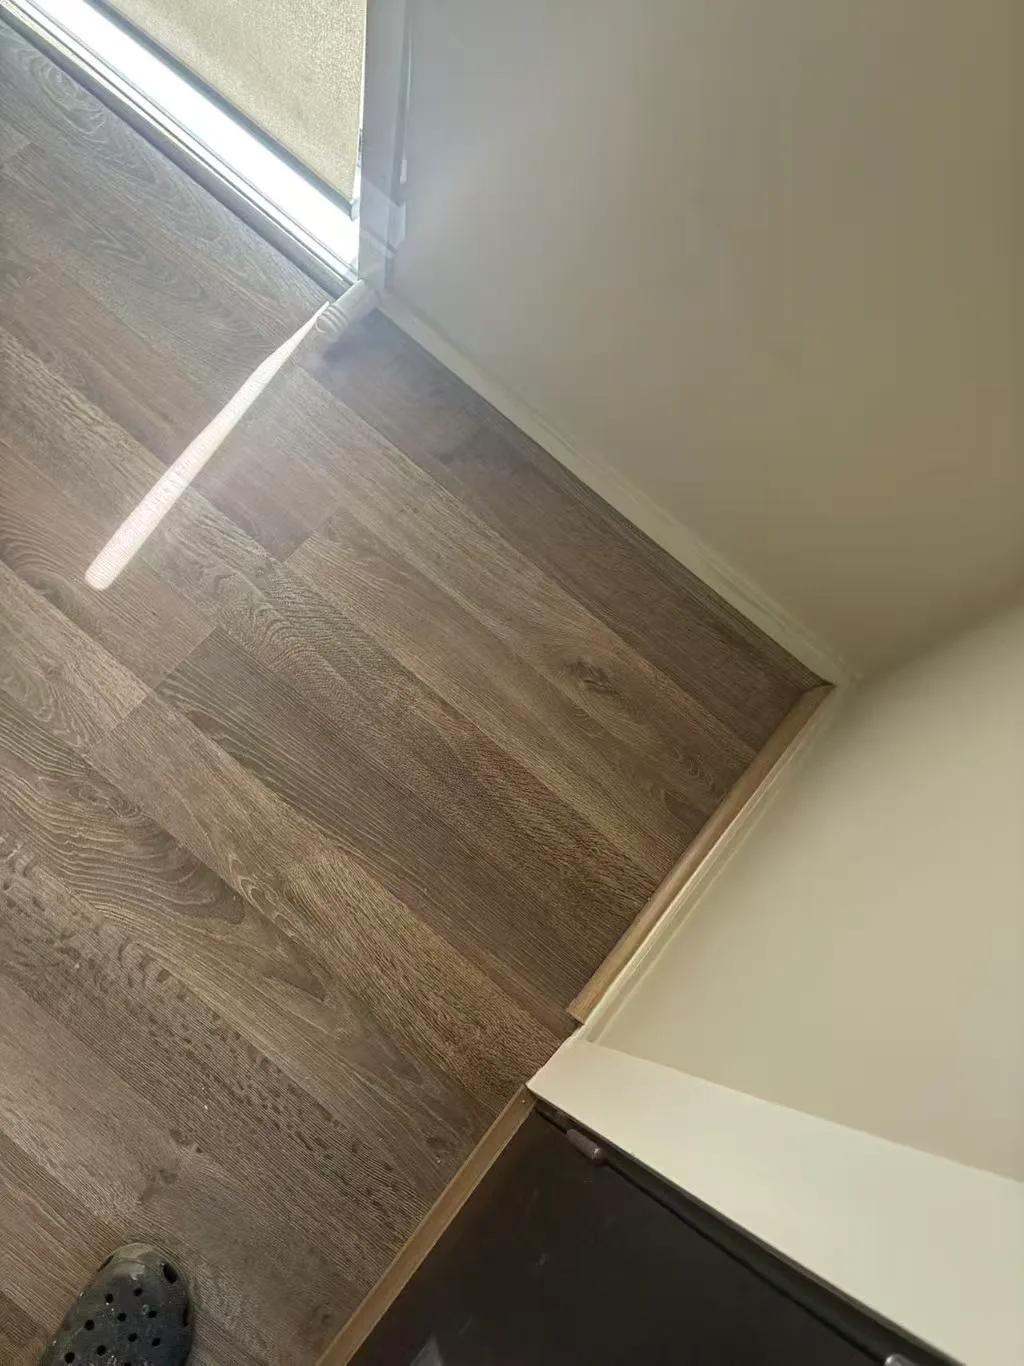
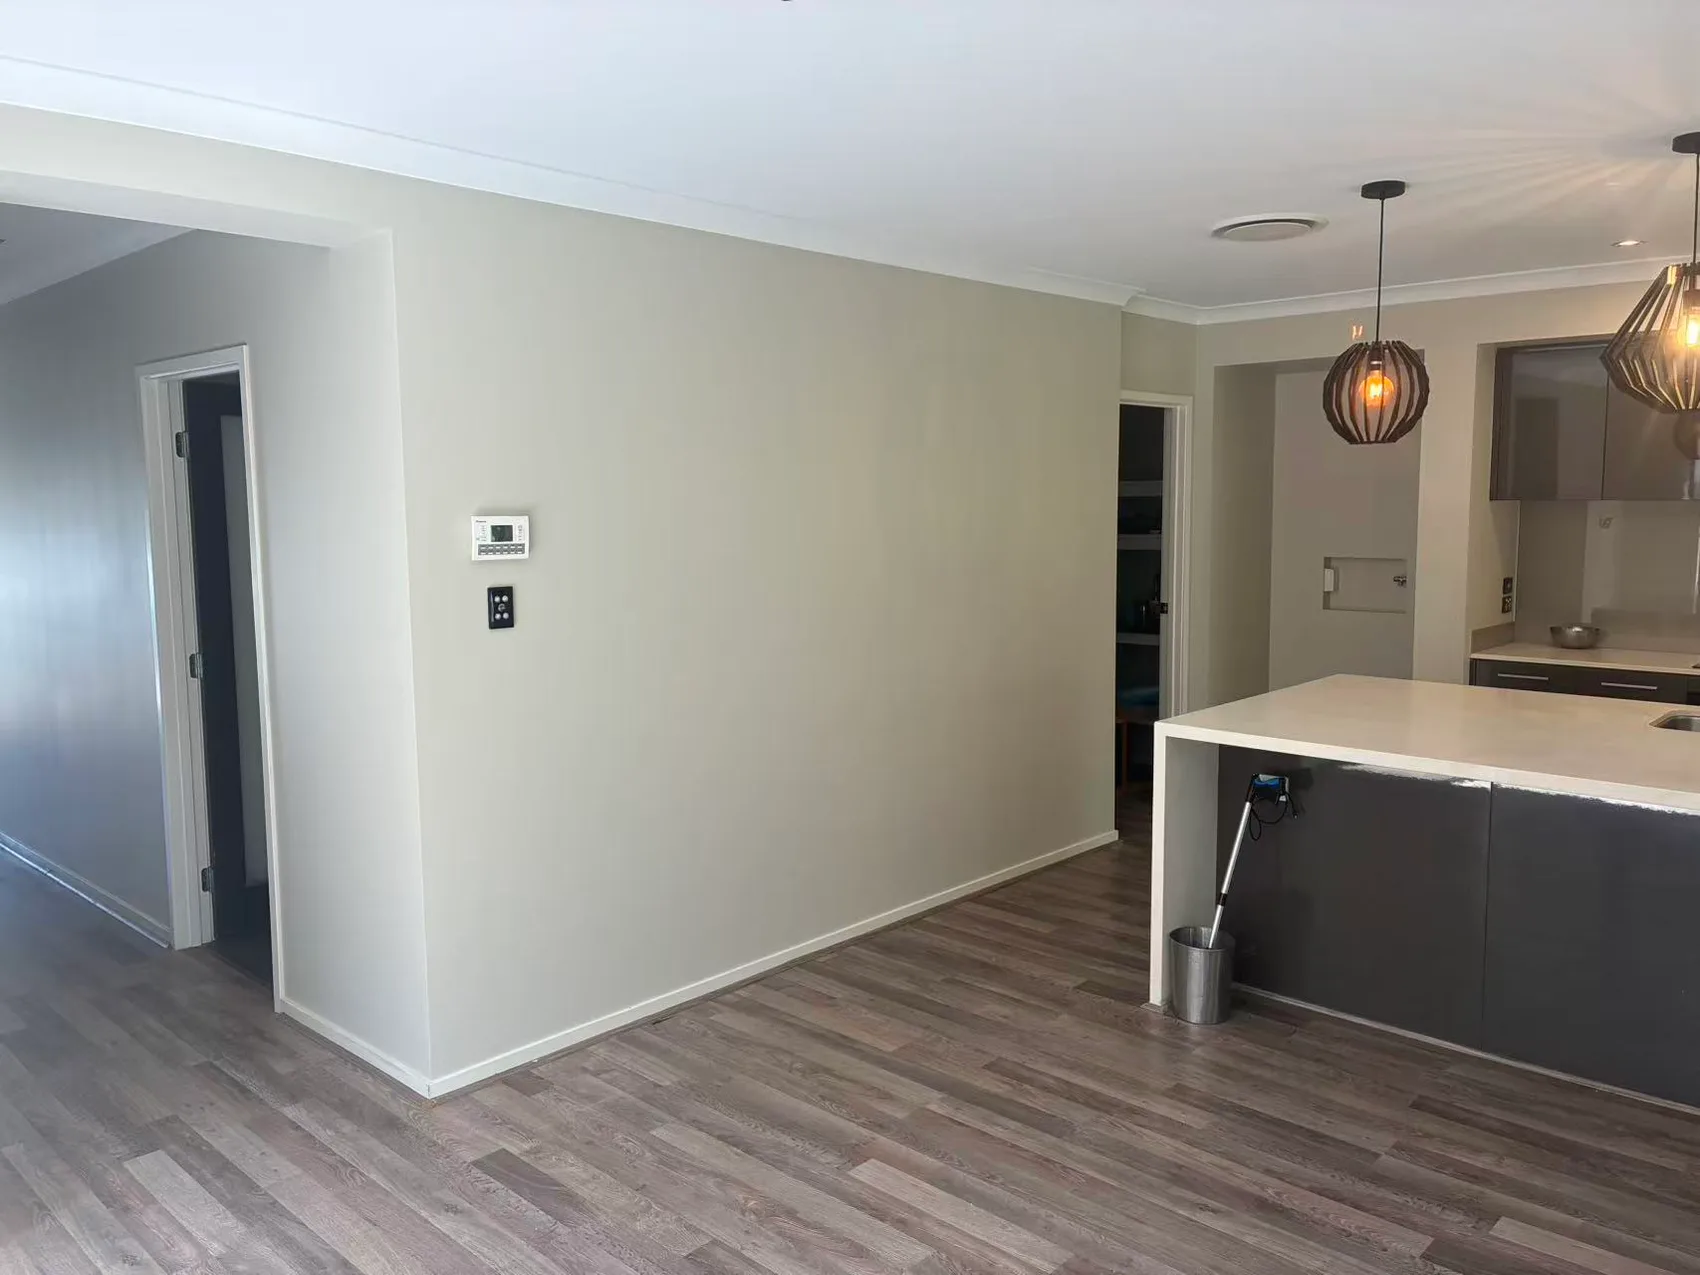
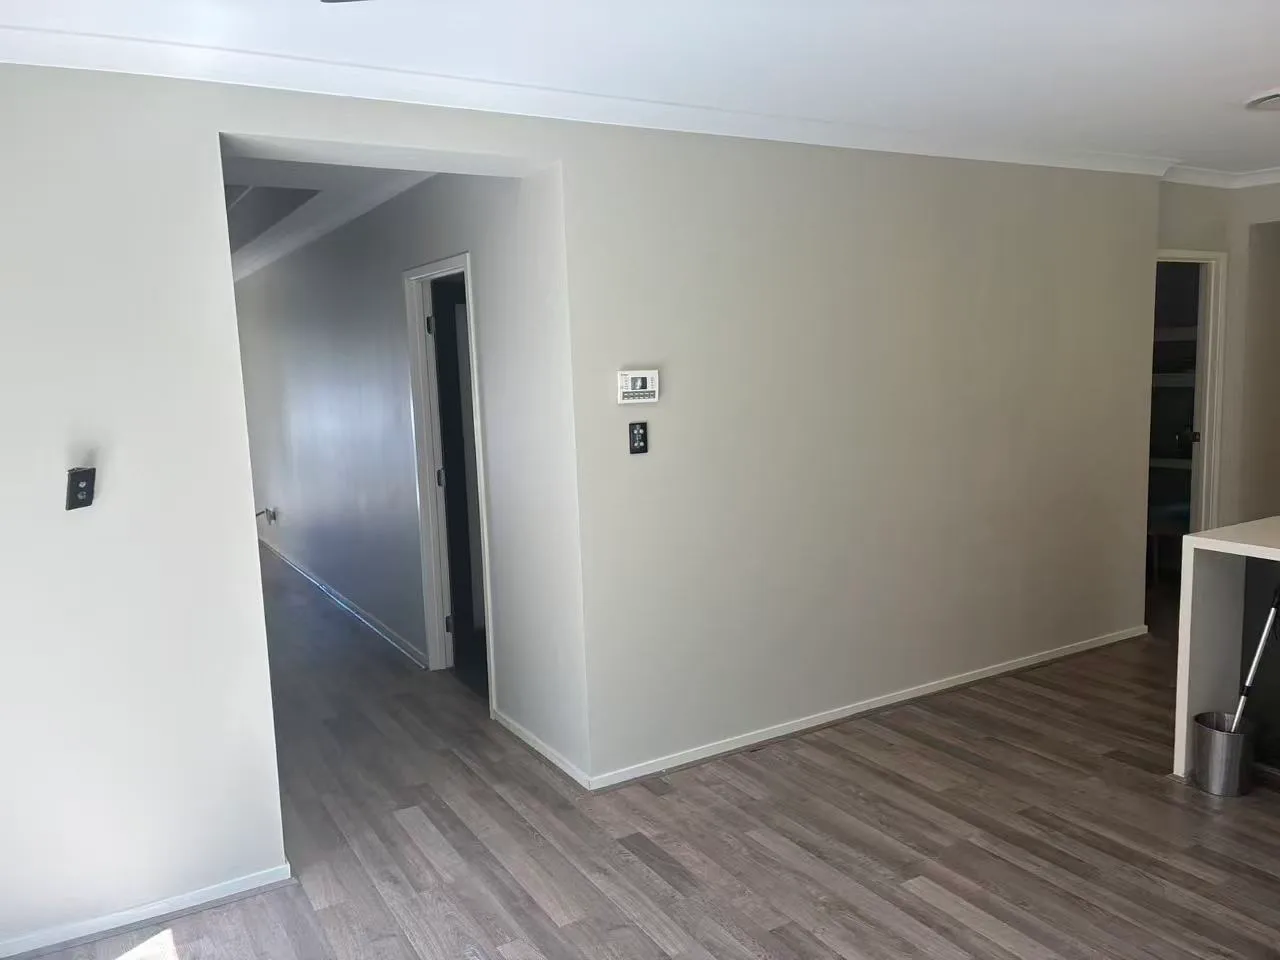
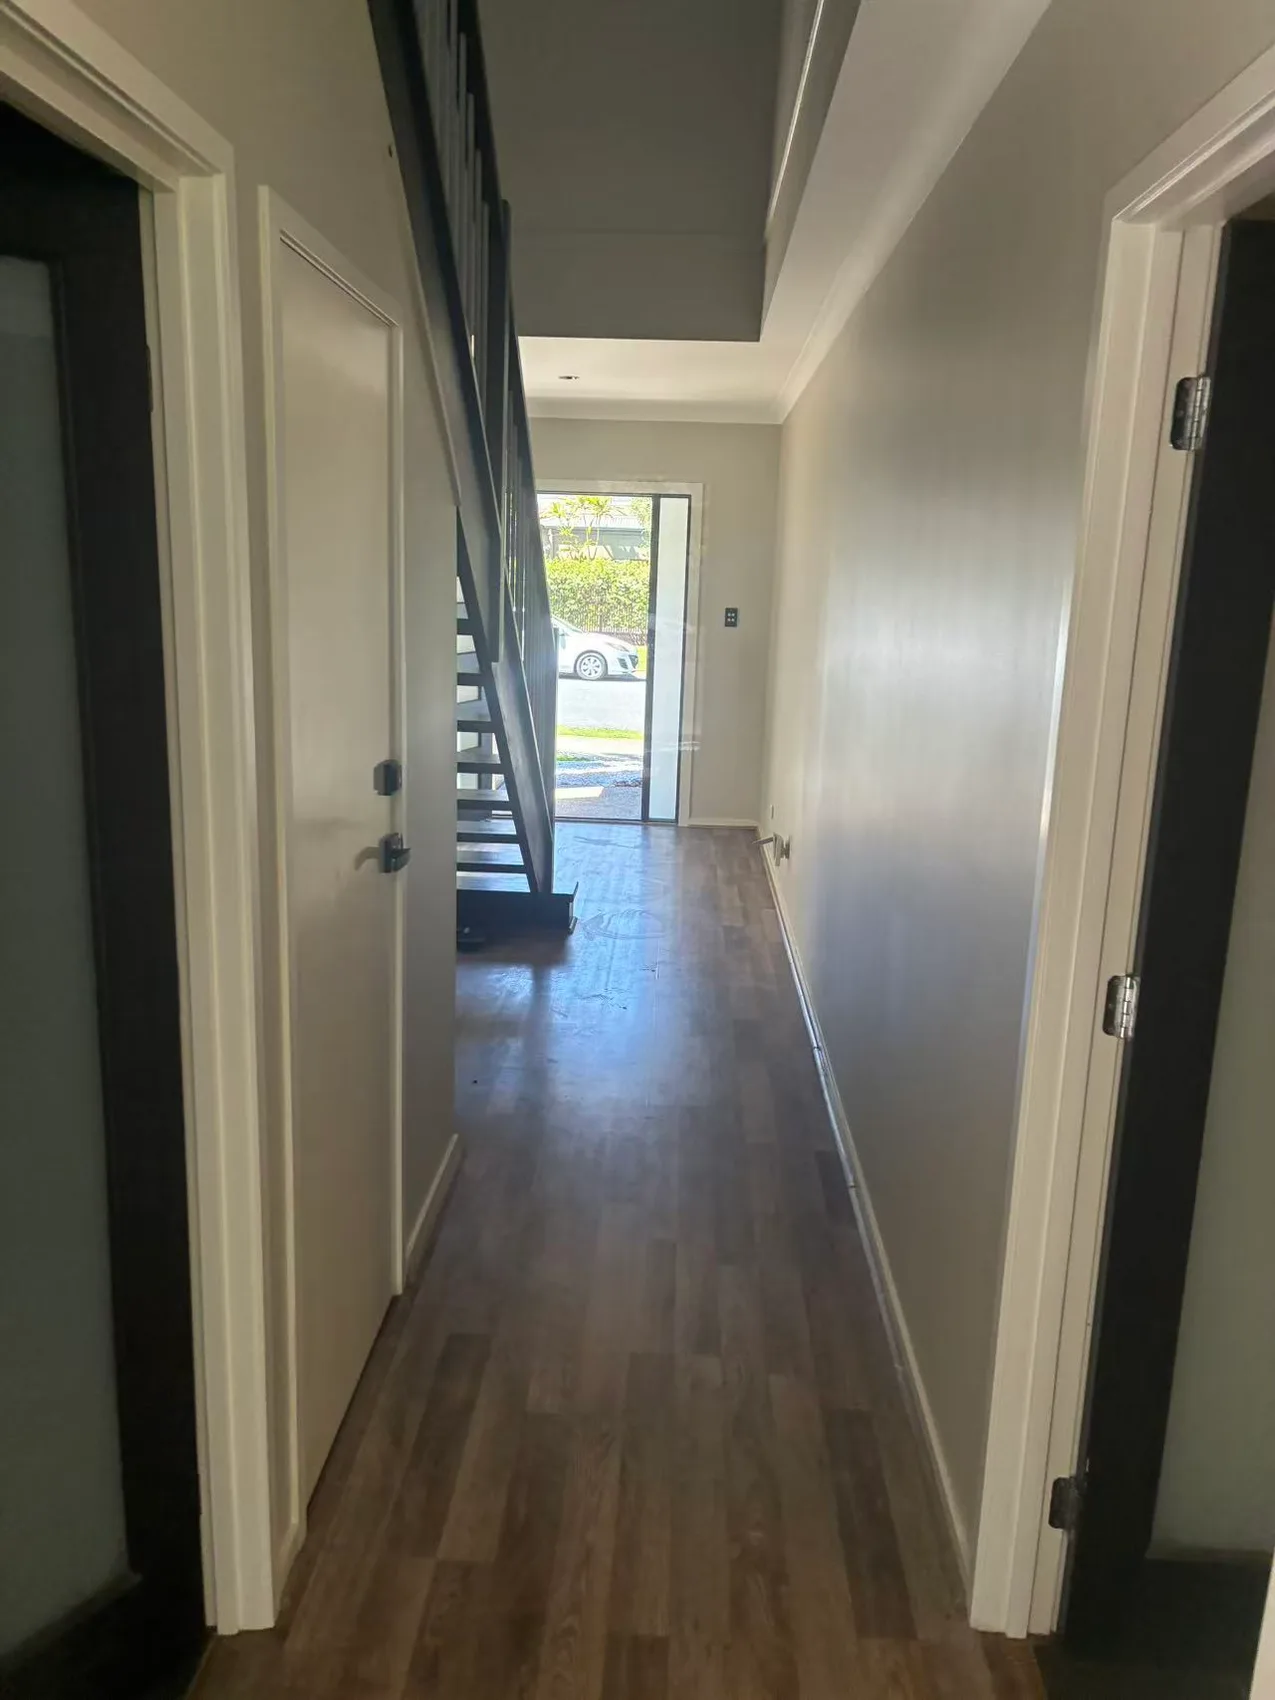
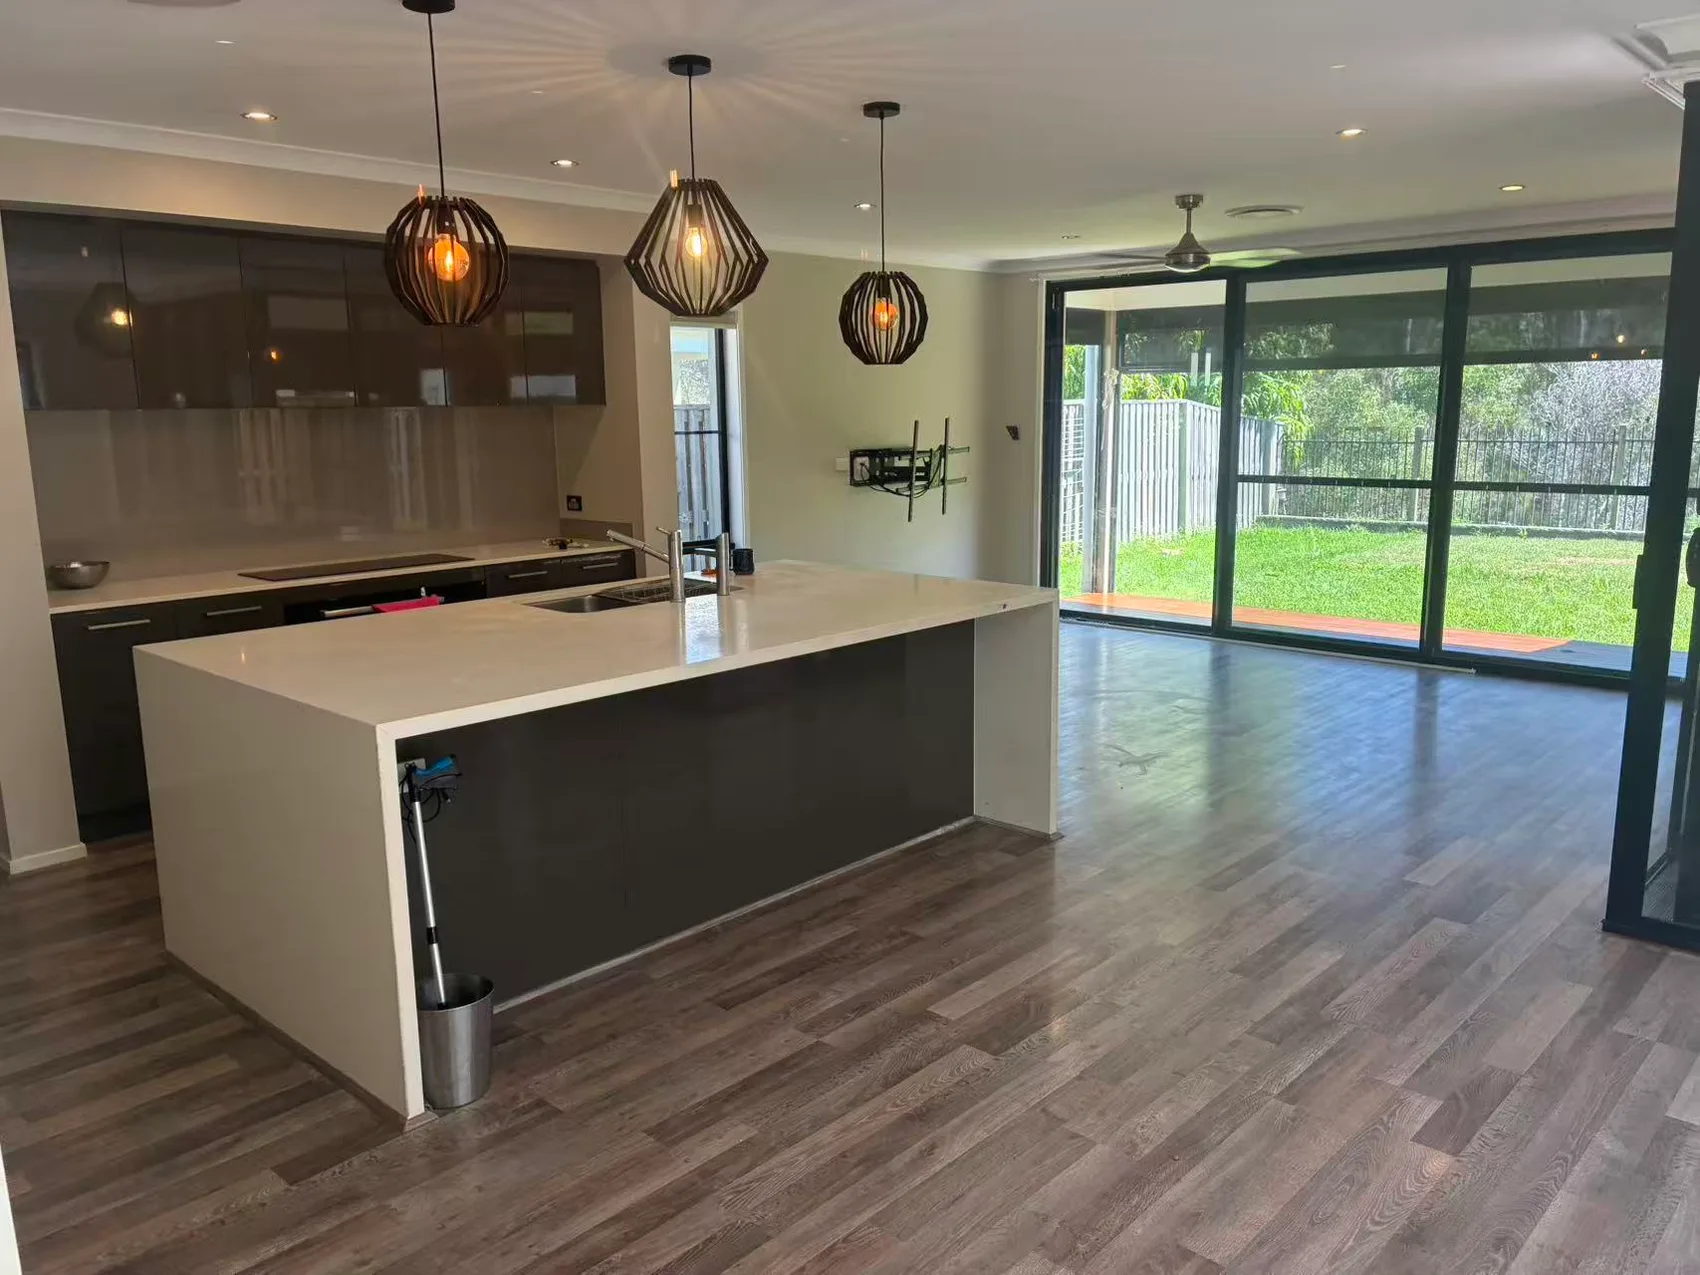
The floor continues around the kitchen island, through the living space and along the hallway. Close views record perimeter trim, internal corners and the junctions beside doorways and cabinets.
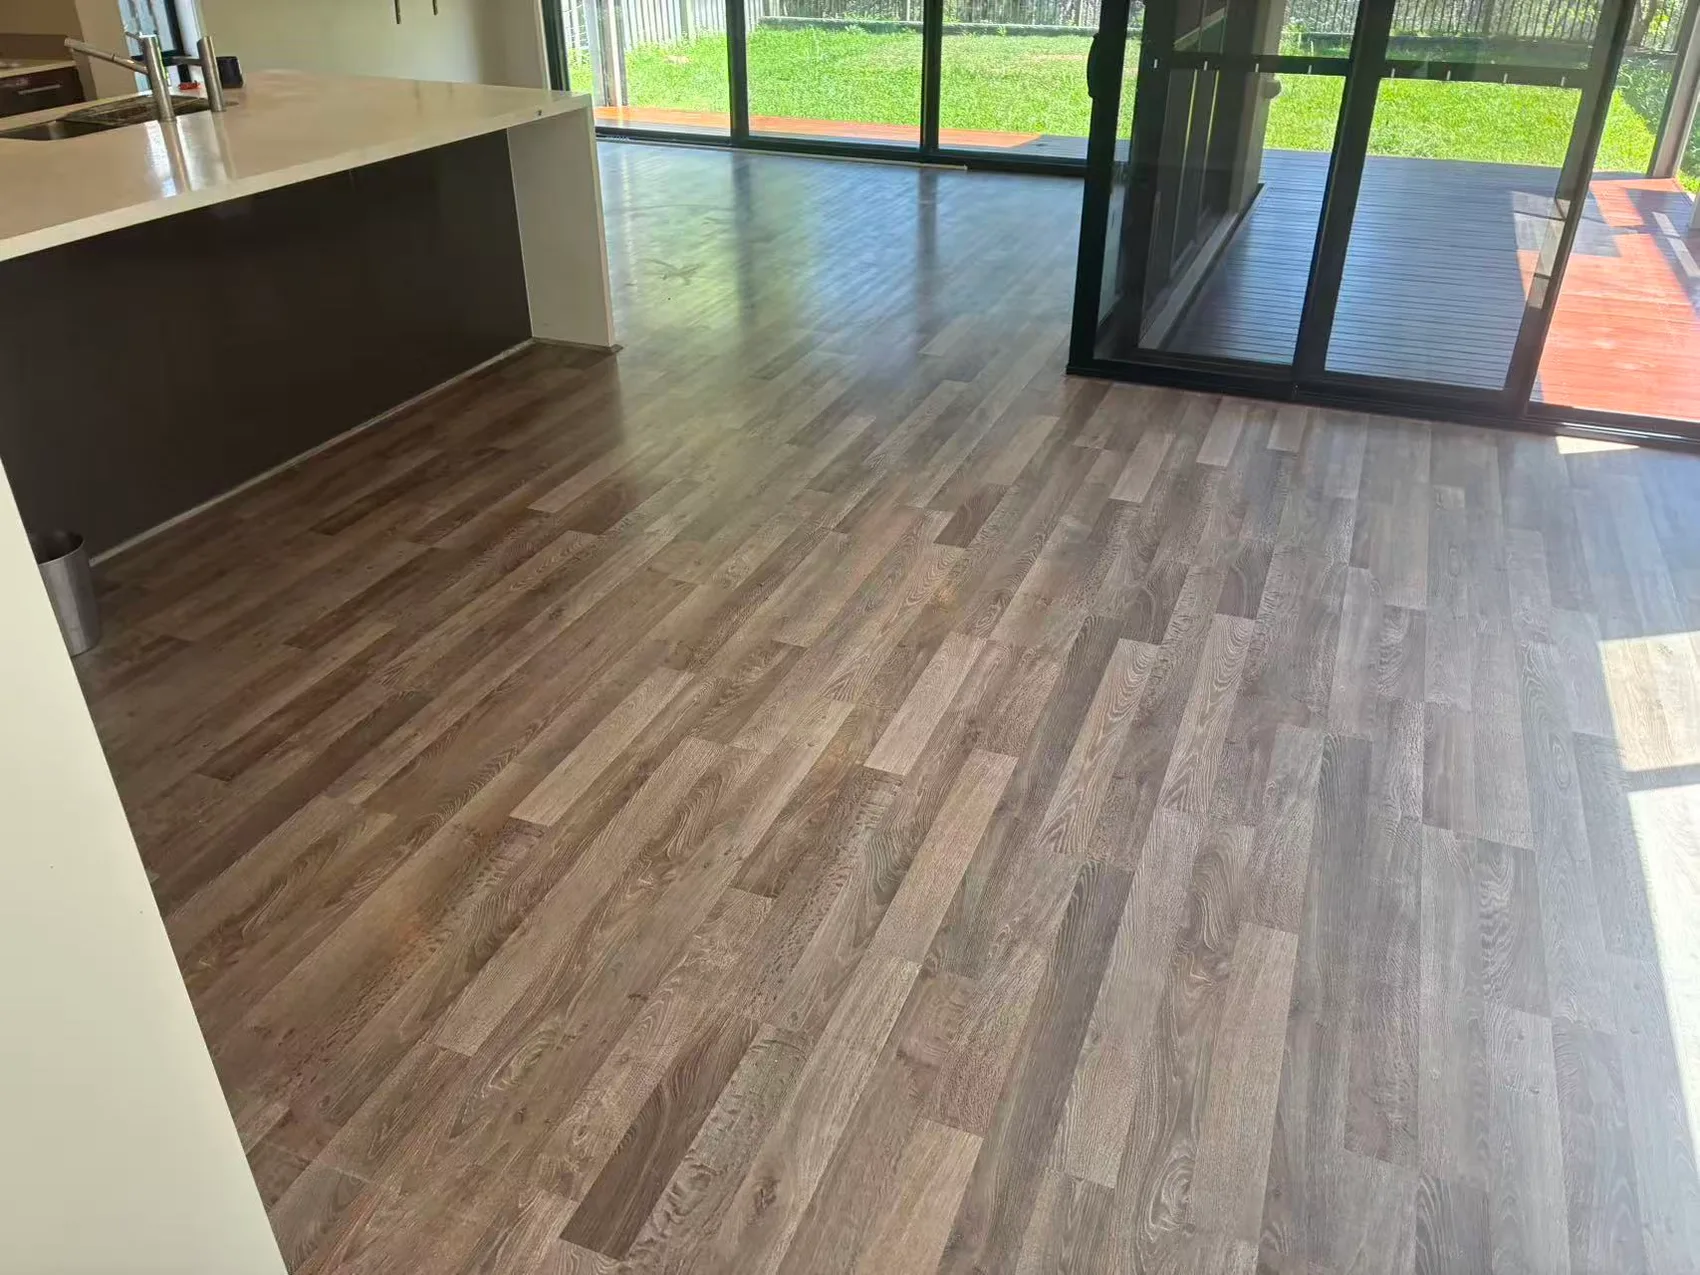
Floor layout between the kitchen island and rear glazing.Flooring detail
View full-size photo ↗
Floor layout between the kitchen island and rear glazing.
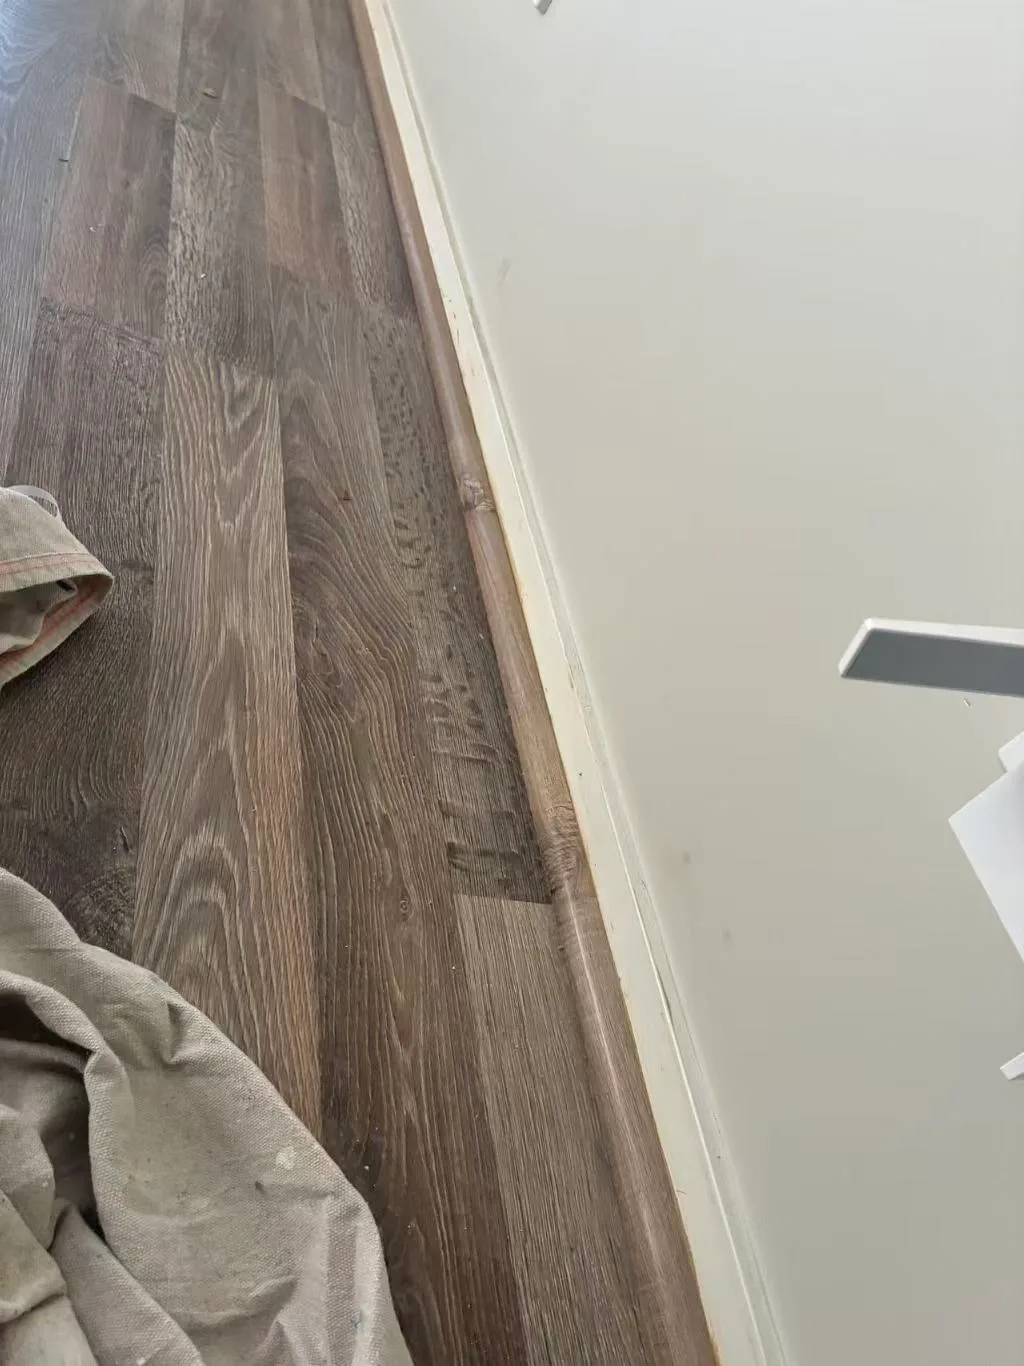
Flooring edge beside white skirting and protective cloths.Work-area detail
View full-size photo ↗
Flooring edge beside white skirting and protective cloths.
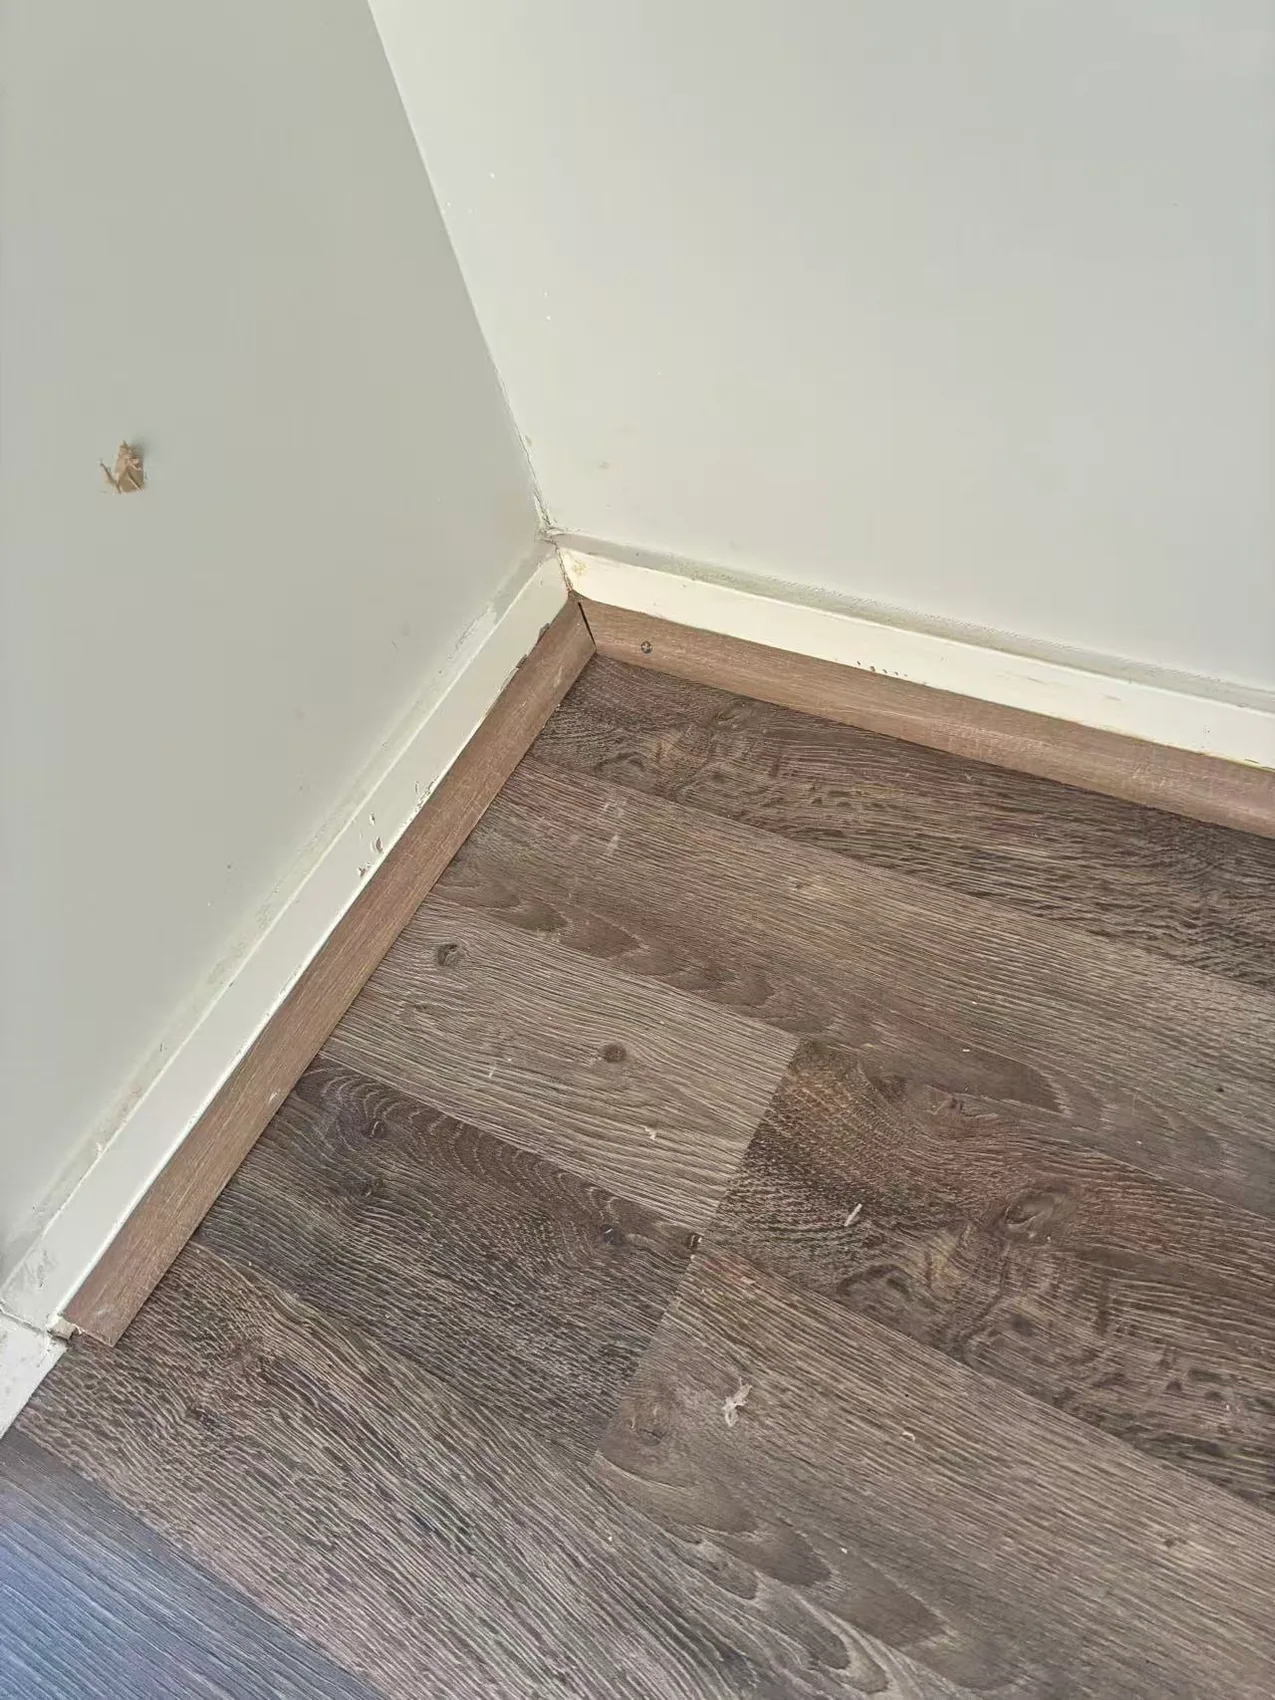
Mitred perimeter trim at an internal corner.Work-area detail
View full-size photo ↗
Mitred perimeter trim at an internal corner.
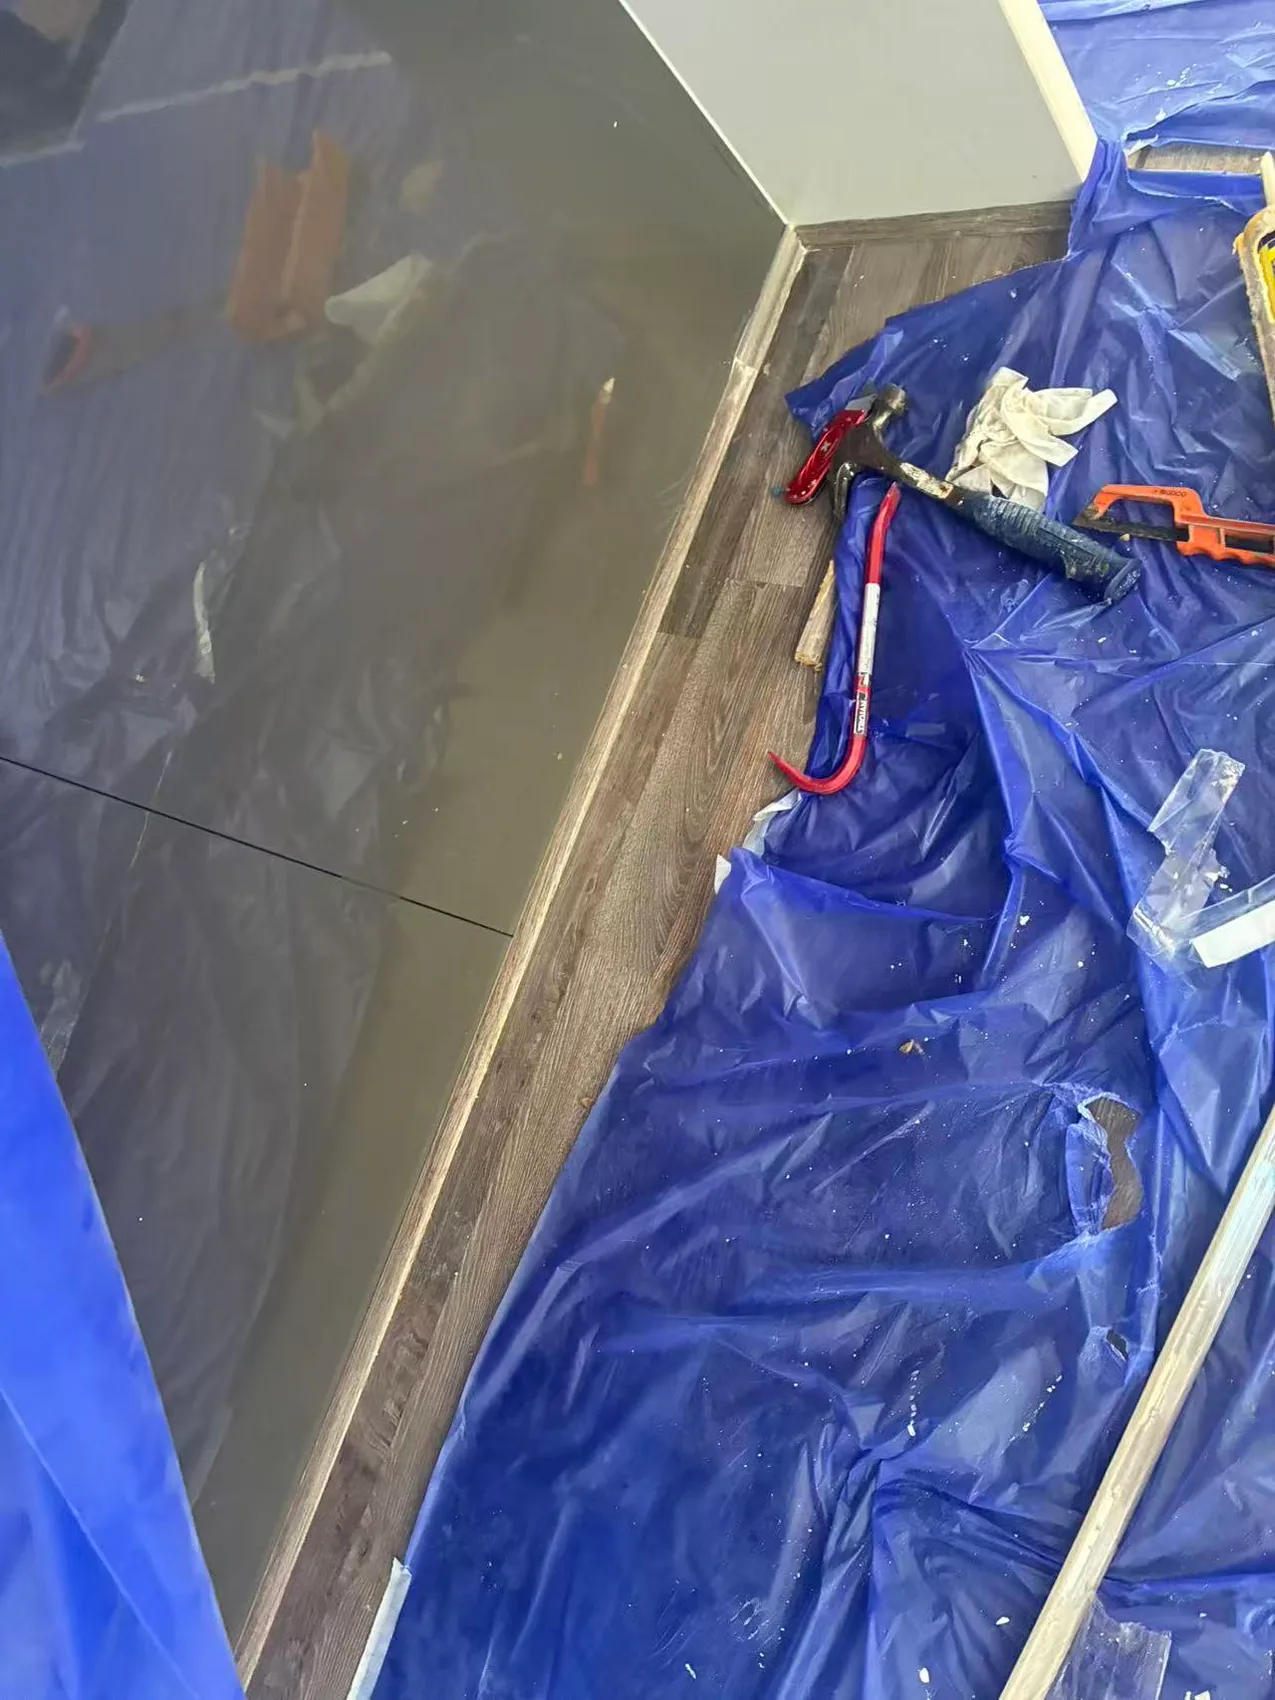
Work area beside a cabinet, with edge trim, tools and floor protection.Work-area detail
View full-size photo ↗
Work area beside a cabinet, with edge trim, tools and floor protection.
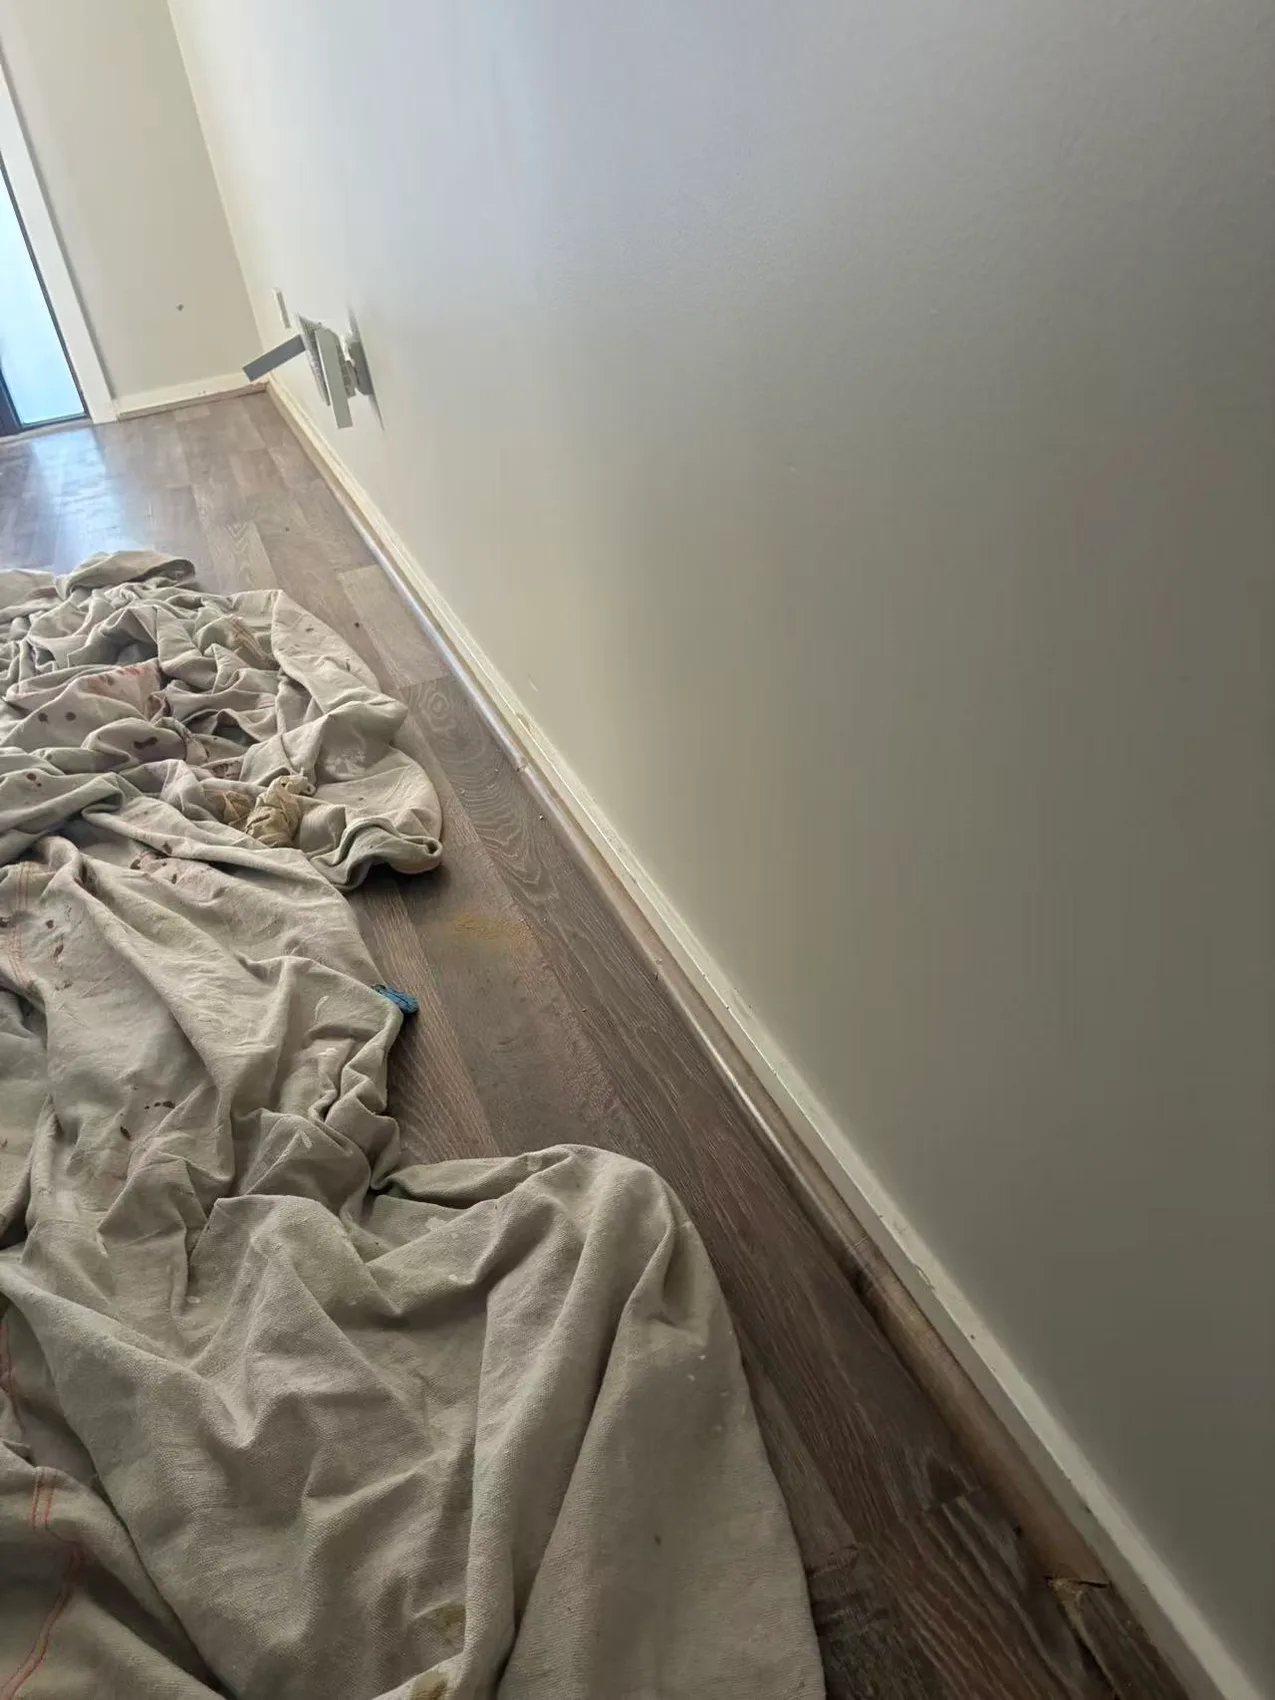
Floor and perimeter trim along the hallway wall.Work-area detail
View full-size photo ↗
Floor and perimeter trim along the hallway wall.
Flooring fitted at a doorway and wall return.Work-area detail
View full-size photo ↗
Flooring fitted at a doorway and wall return.
Flooring around a wall return beside the kitchen island.Flooring detail
View full-size photo ↗
Flooring around a wall return beside the kitchen island.
Flooring continuing between the living space and hallway.Flooring detail
View full-size photo ↗
Flooring continuing between the living space and hallway.
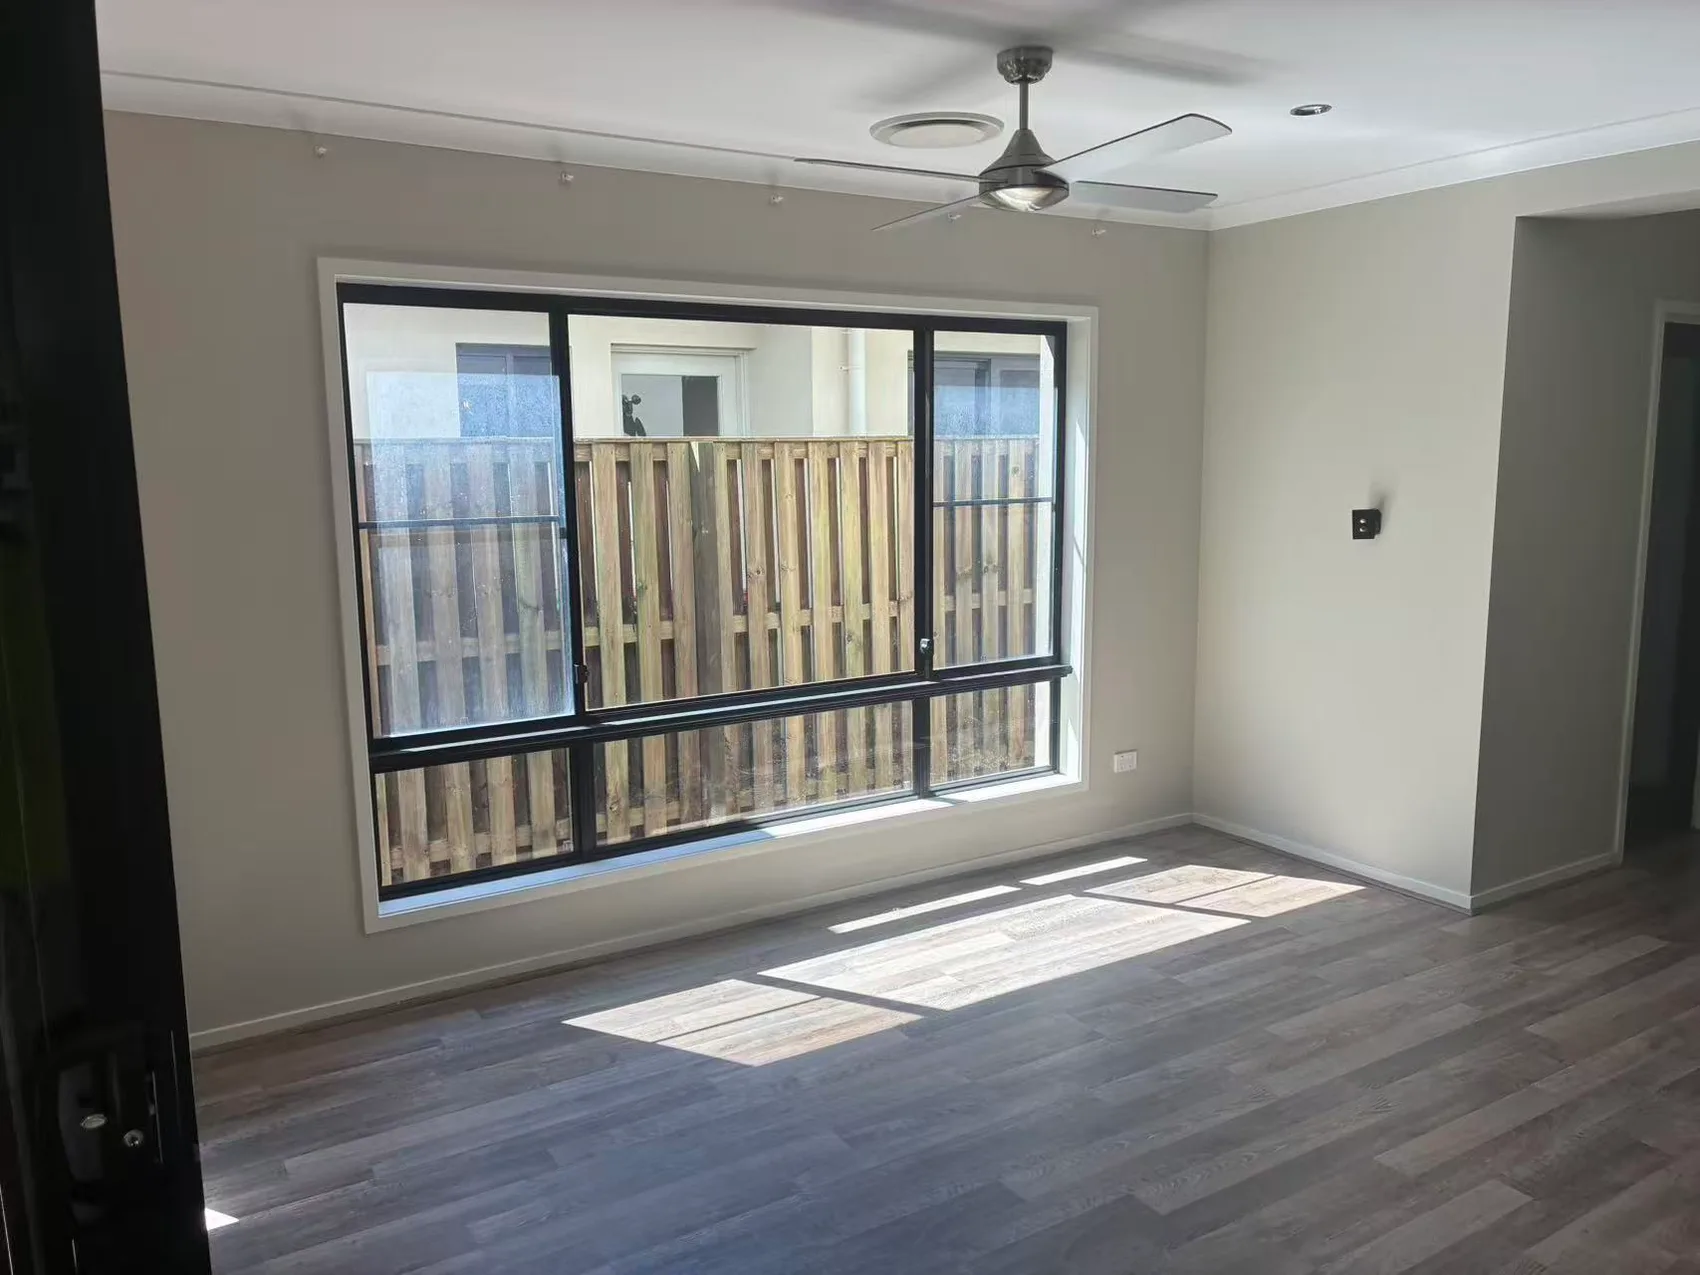
Wood-look flooring in the room beside the window.Flooring detail
View full-size photo ↗
Wood-look flooring in the room beside the window.
Living-area floor with staggered plank joints near the window.Flooring detail
View full-size photo ↗
Living-area floor with staggered plank joints near the window.
Hallway flooring beside the open-riser staircase.Flooring detail
View full-size photo ↗
Hallway flooring beside the open-riser staircase.
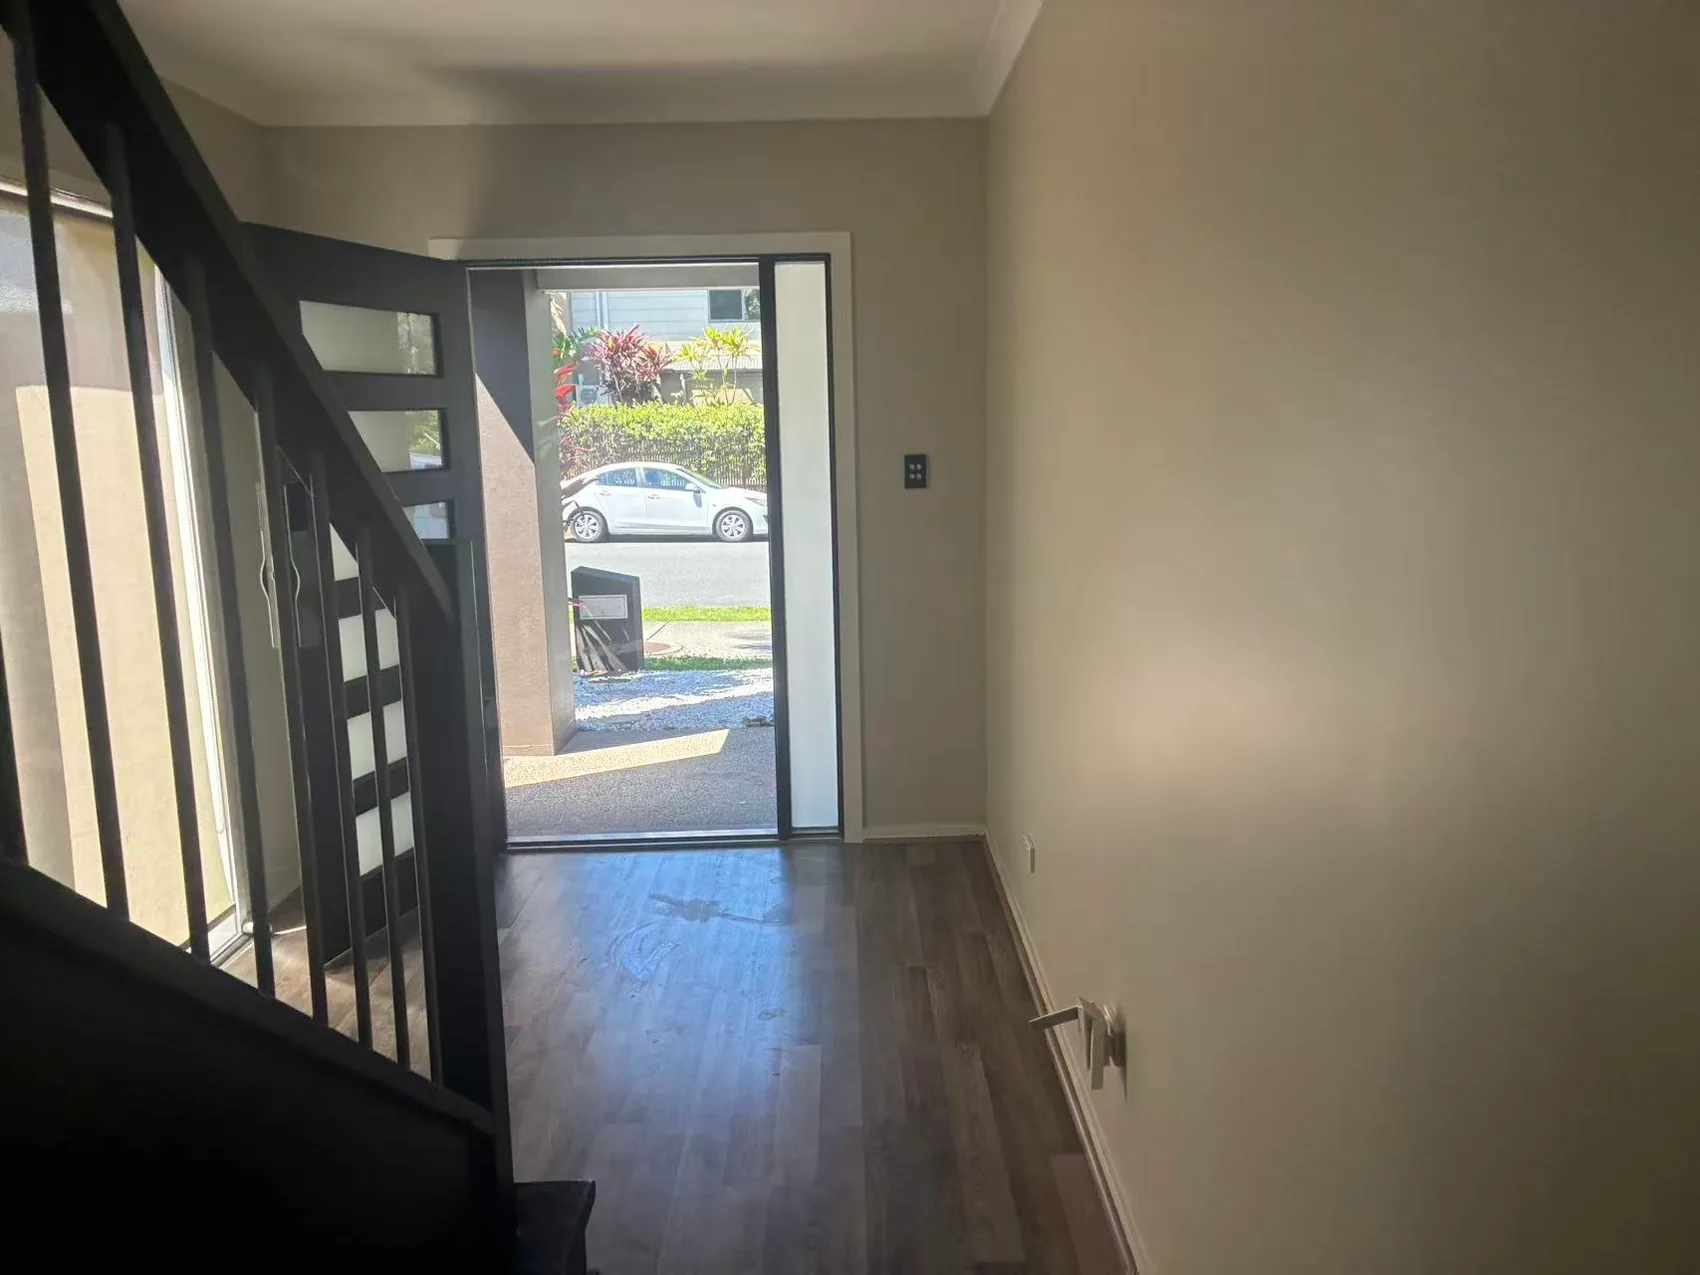
Entry-area flooring beside the staircase and front door.Flooring detail
View full-size photo ↗
Entry-area flooring beside the staircase and front door.

Staircase surface refurbishment

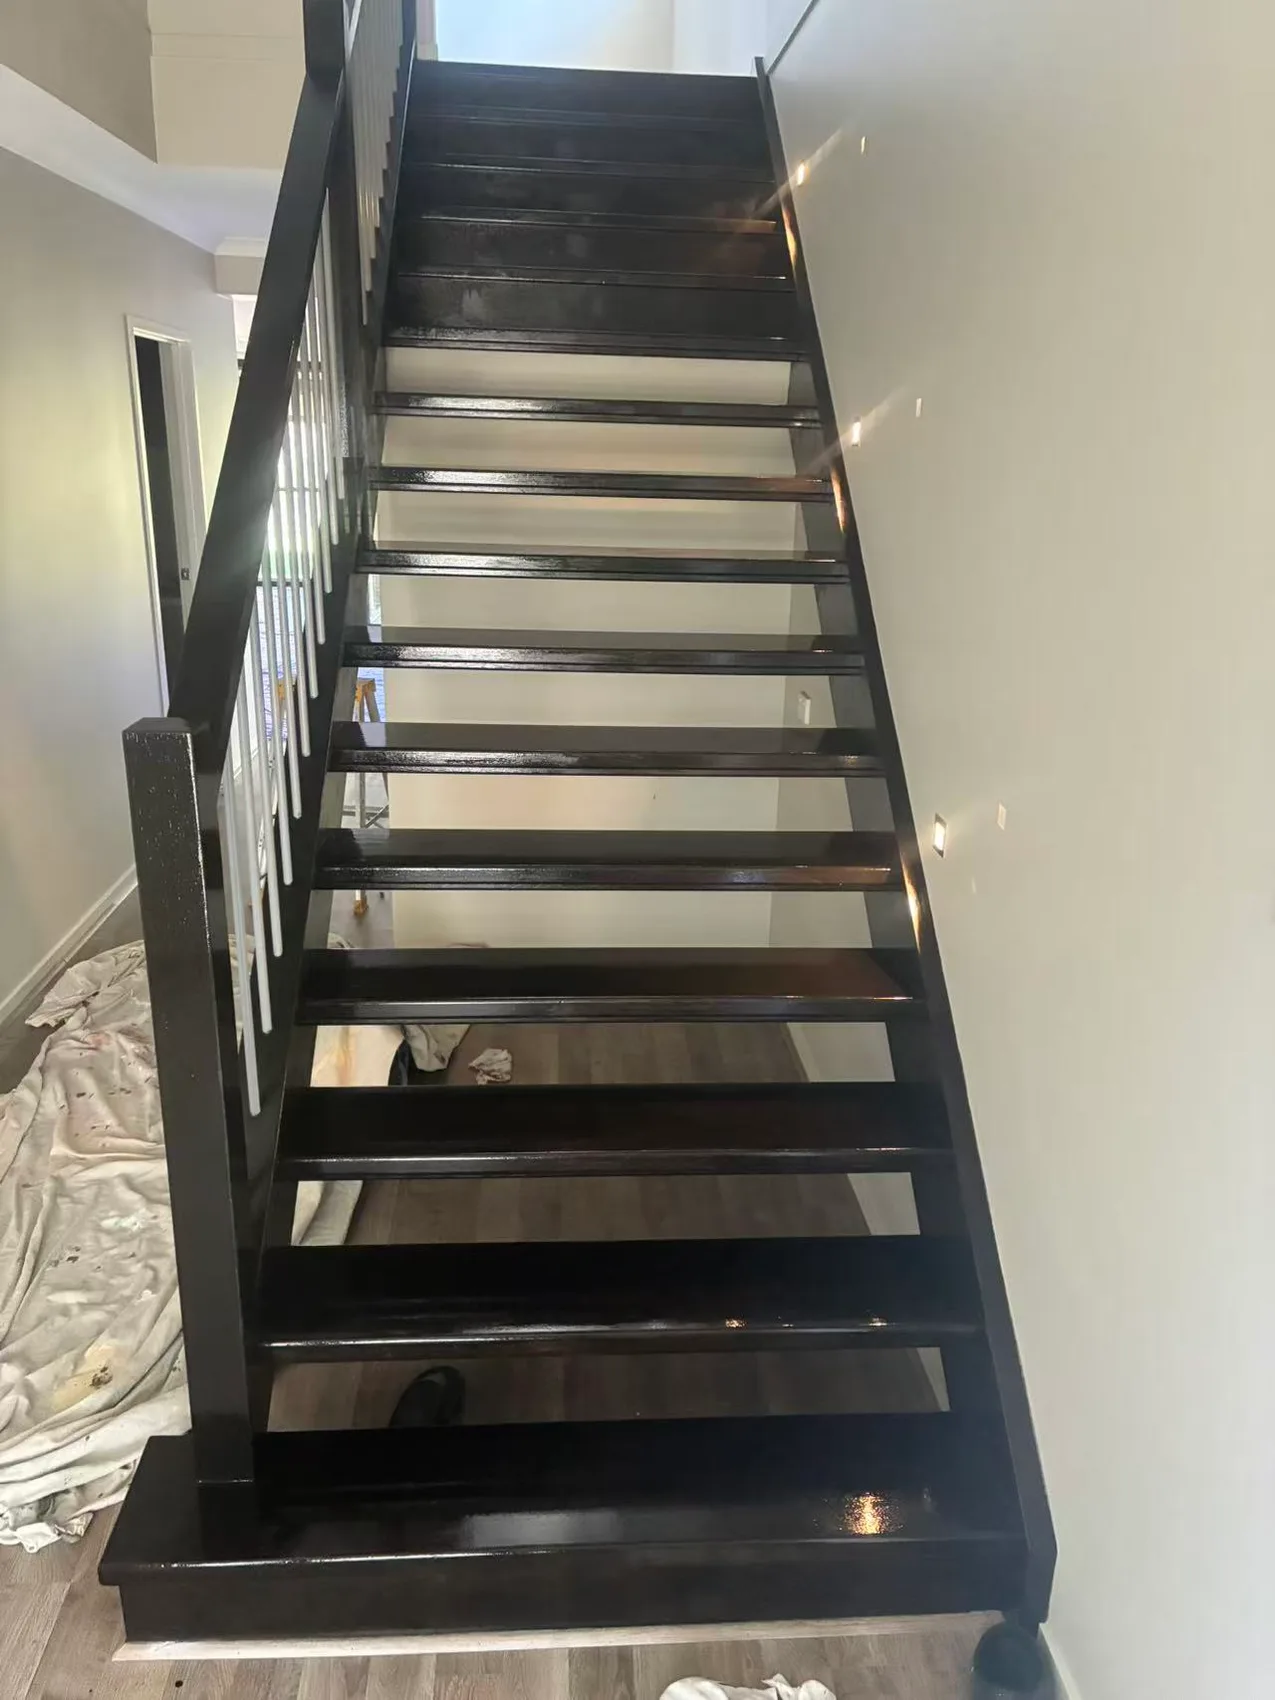
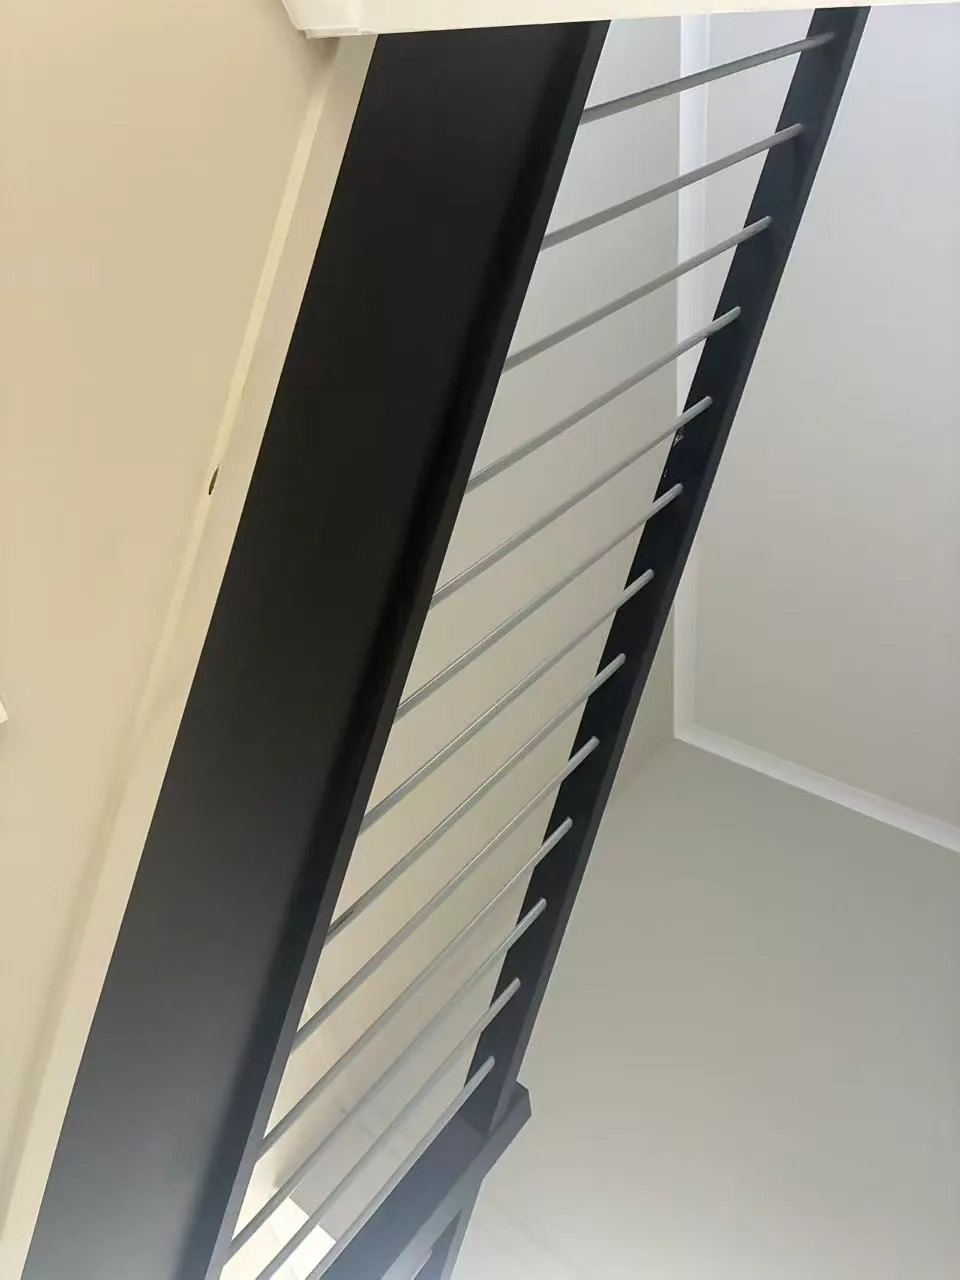
Staircase surface refurbishment was included in the work. These views show the dark finish on the open-riser treads and staircase edges, with contrasting light balusters and floor protection beside the stairs.
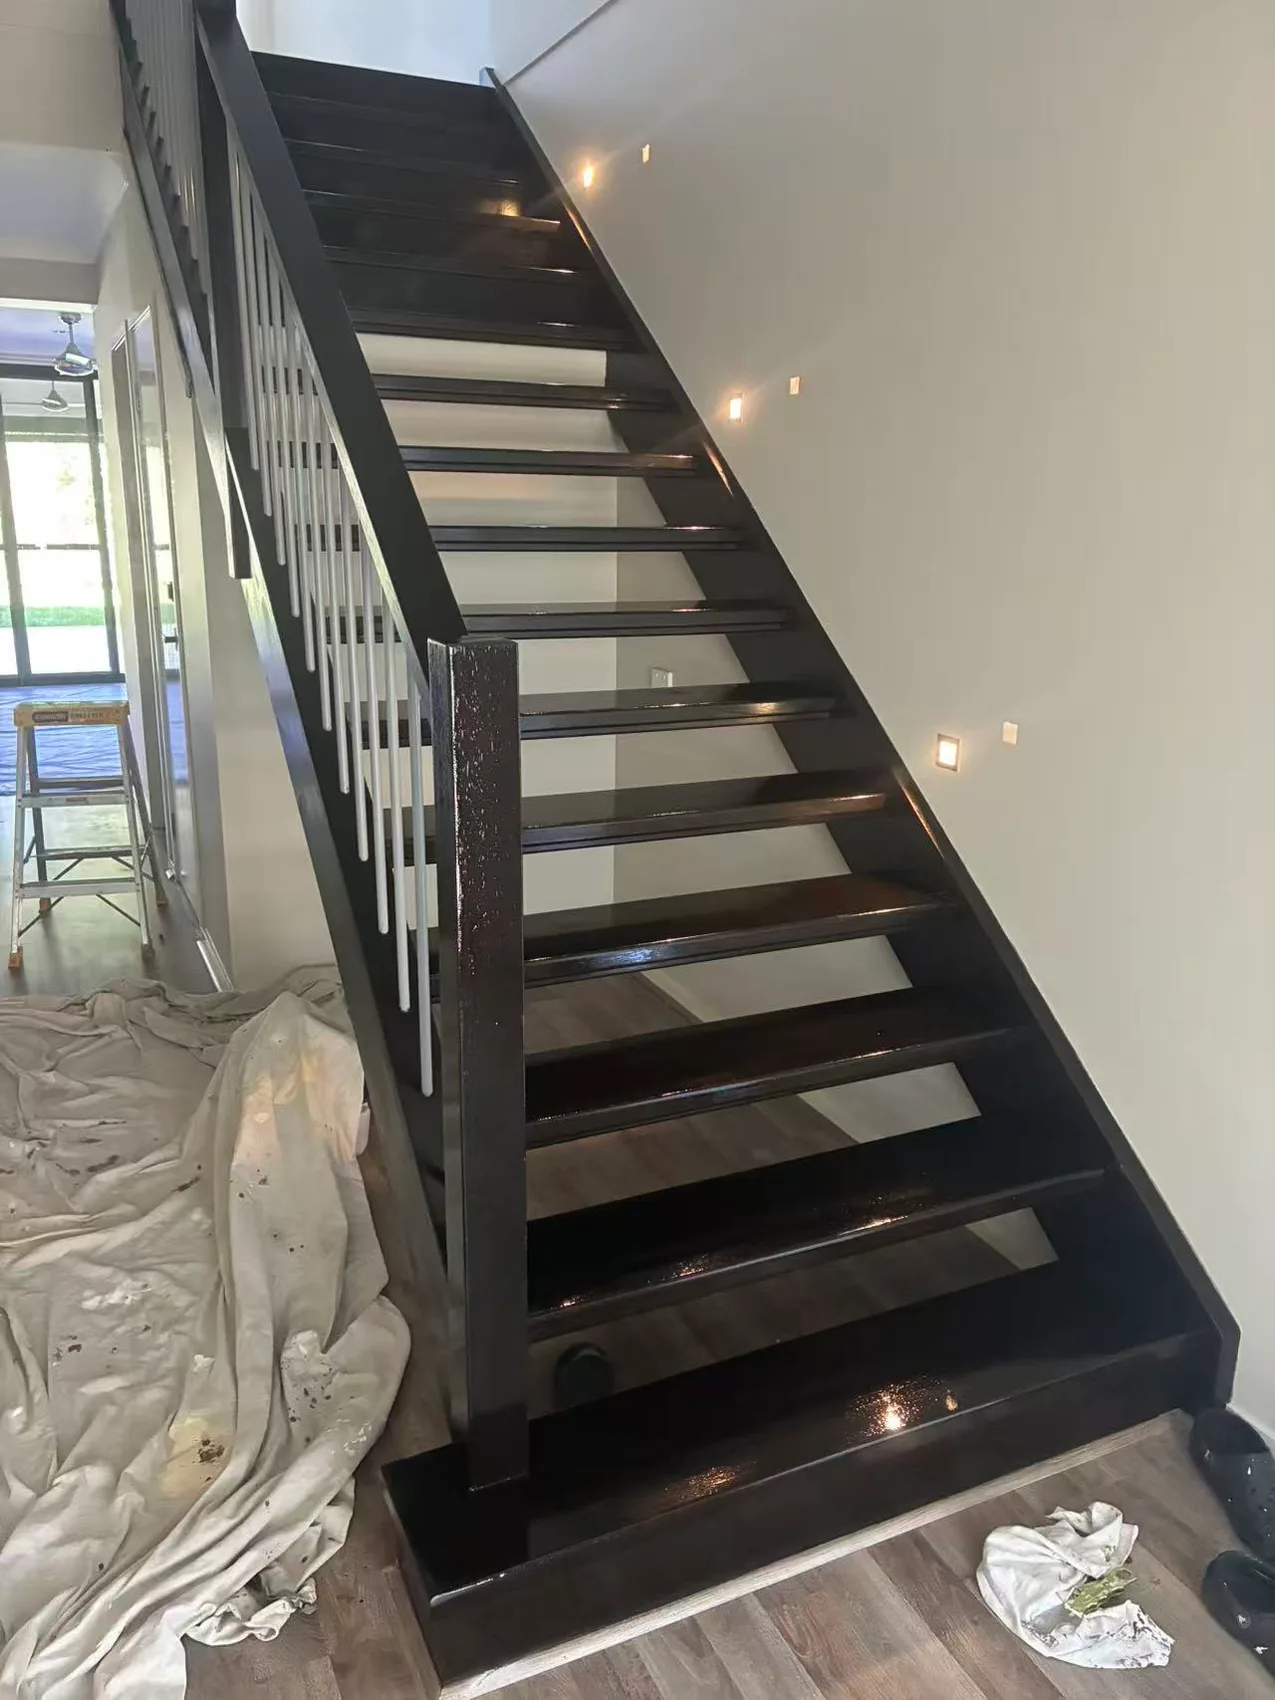
Dark glossy staircase surface finish with protective sheets in the work area.Staircase finish
View full-size photo ↗
Dark glossy staircase surface finish with protective sheets in the work area.
Front view of the open-riser treads and contrasting balusters.Staircase finish
View full-size photo ↗
Front view of the open-riser treads and contrasting balusters.
Underside view of the staircase edge and light balusters.Staircase finish
View full-size photo ↗
Underside view of the staircase edge and light balusters.

Interior painting and room views

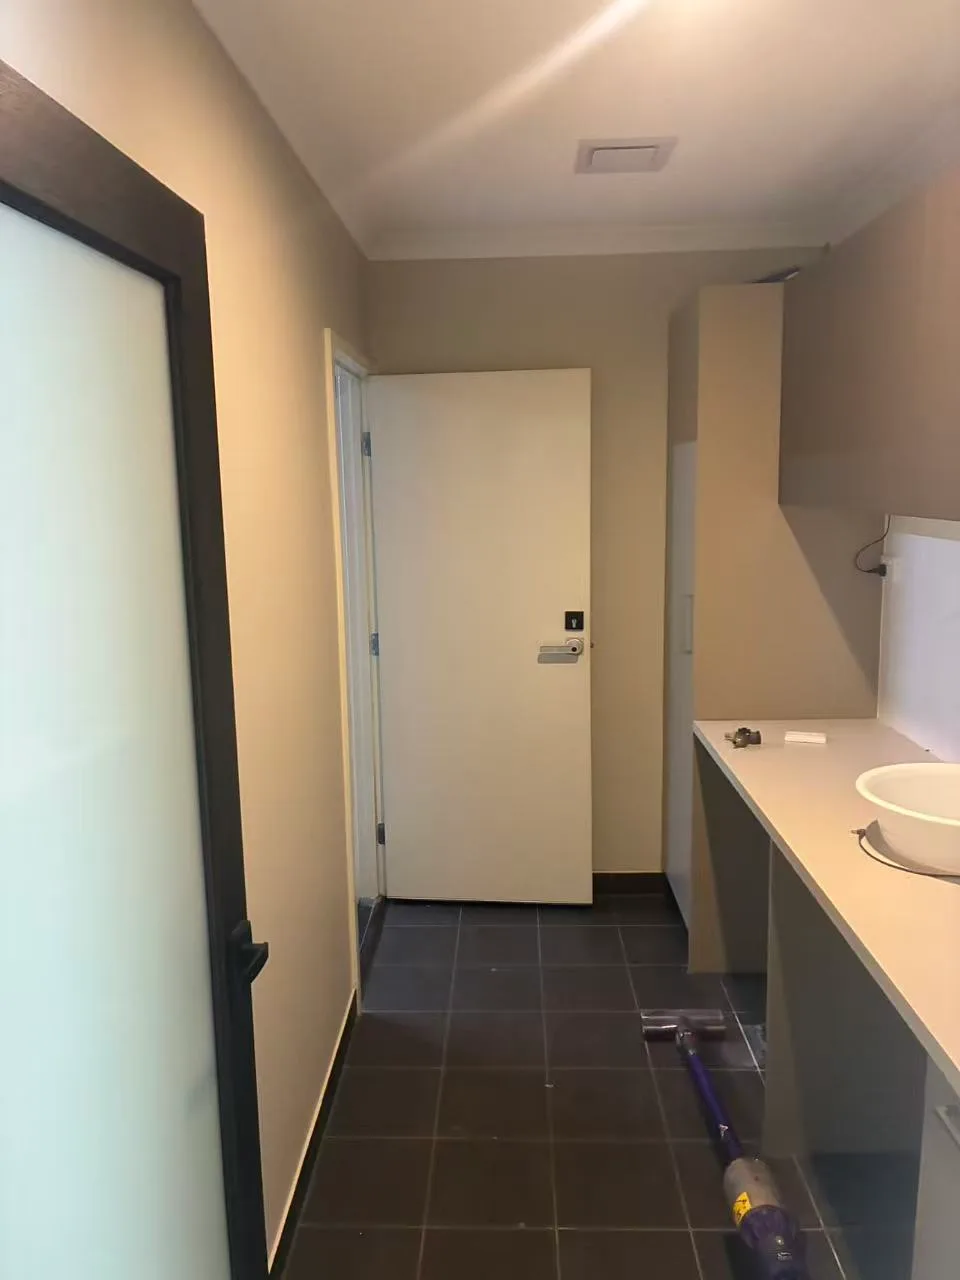
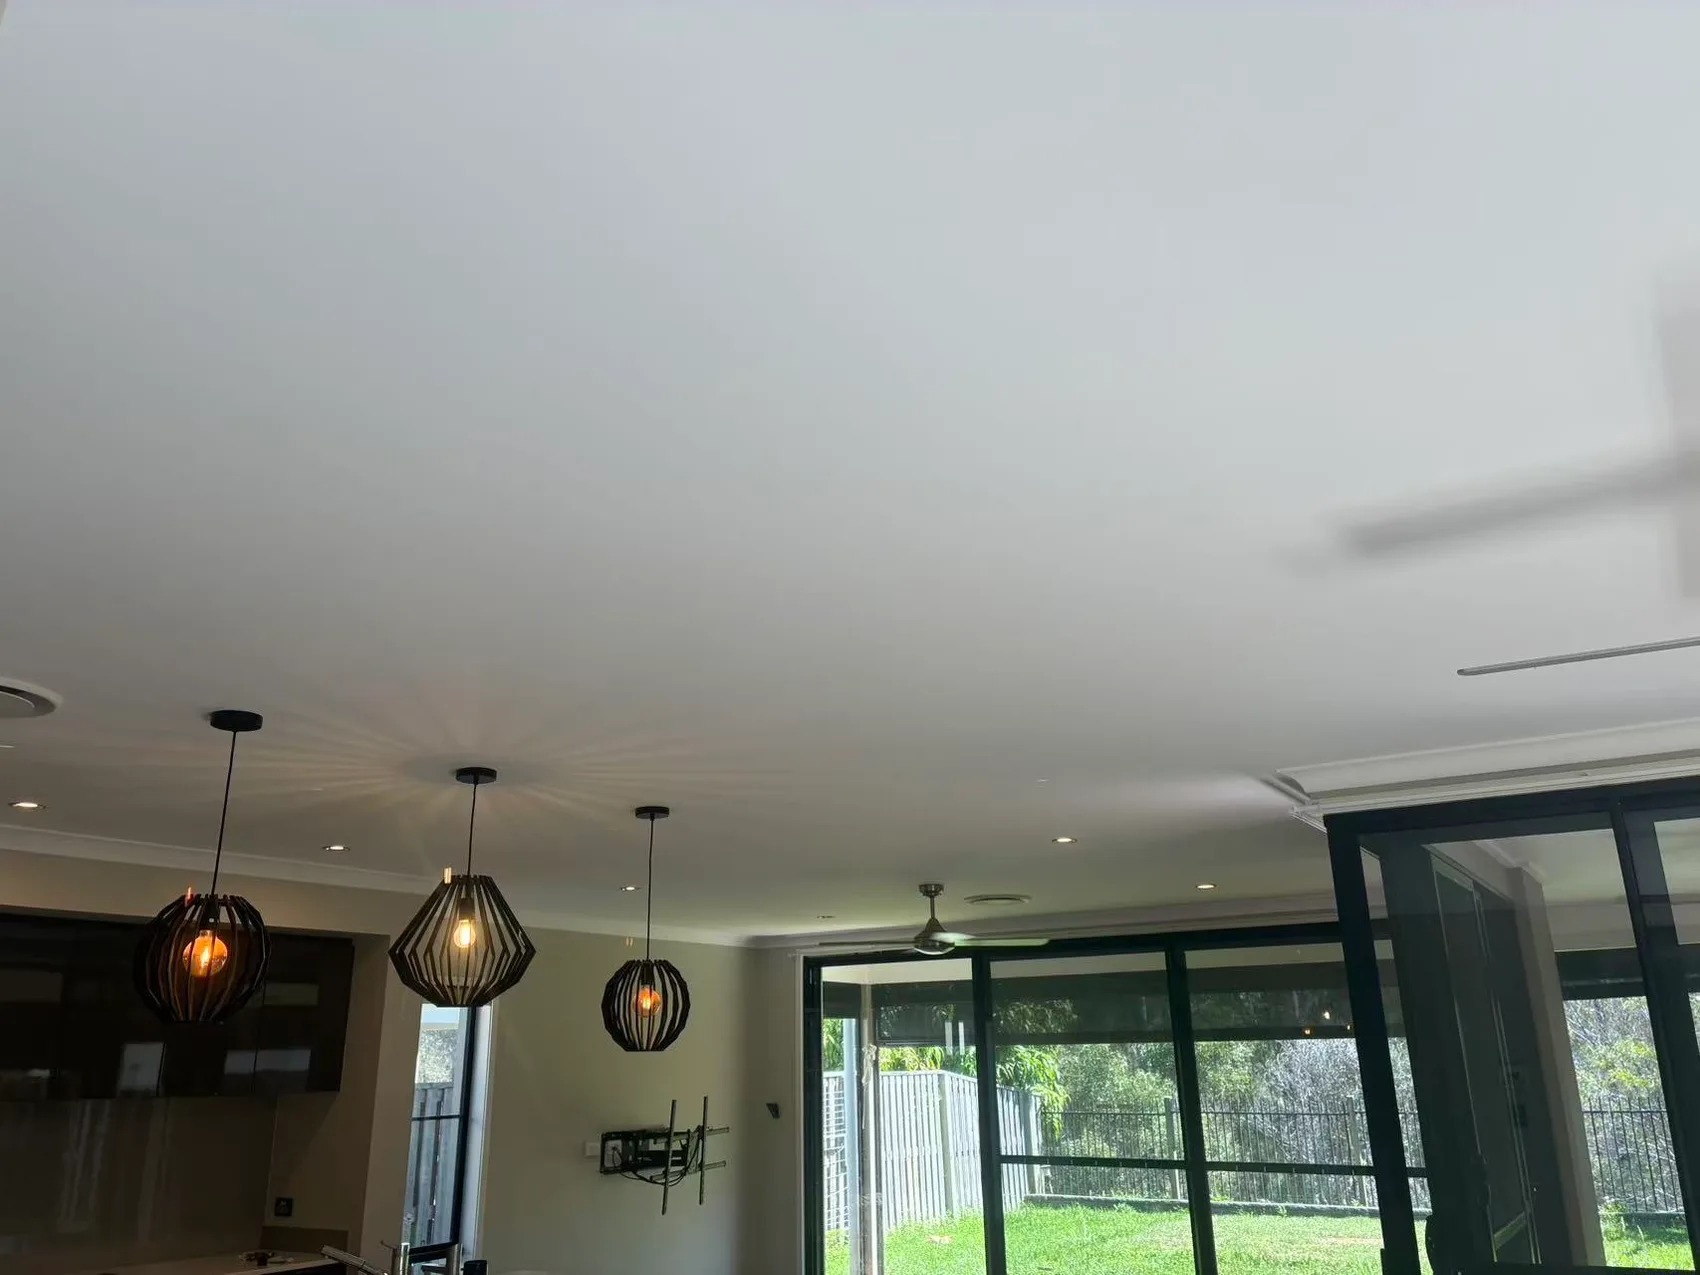
Interior painting formed part of the project. Wider views record the light wall and ceiling finishes around the living, kitchen and utility areas. Kitchen fittings and appliances appear as the surrounding room context.
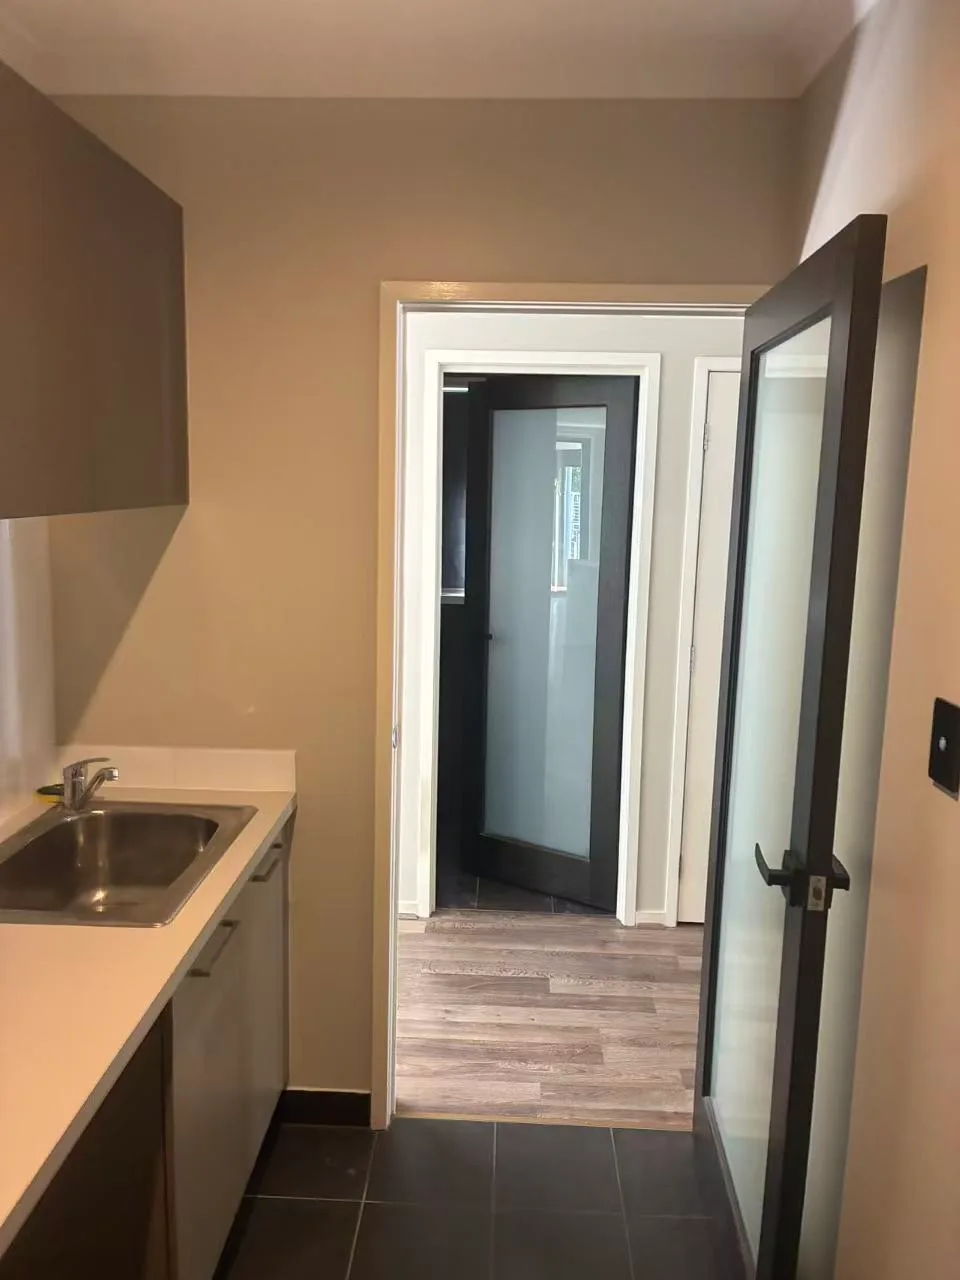
Doorway view between tiled utility space and wood-look flooring.Interior view
View full-size photo ↗
Doorway view between tiled utility space and wood-look flooring.
Utility-room view with tiled flooring and retained cabinetry.Interior view
View full-size photo ↗
Utility-room view with tiled flooring and retained cabinetry.
Ceiling and upper-wall view above the living and kitchen space.Interior view
View full-size photo ↗
Ceiling and upper-wall view above the living and kitchen space.
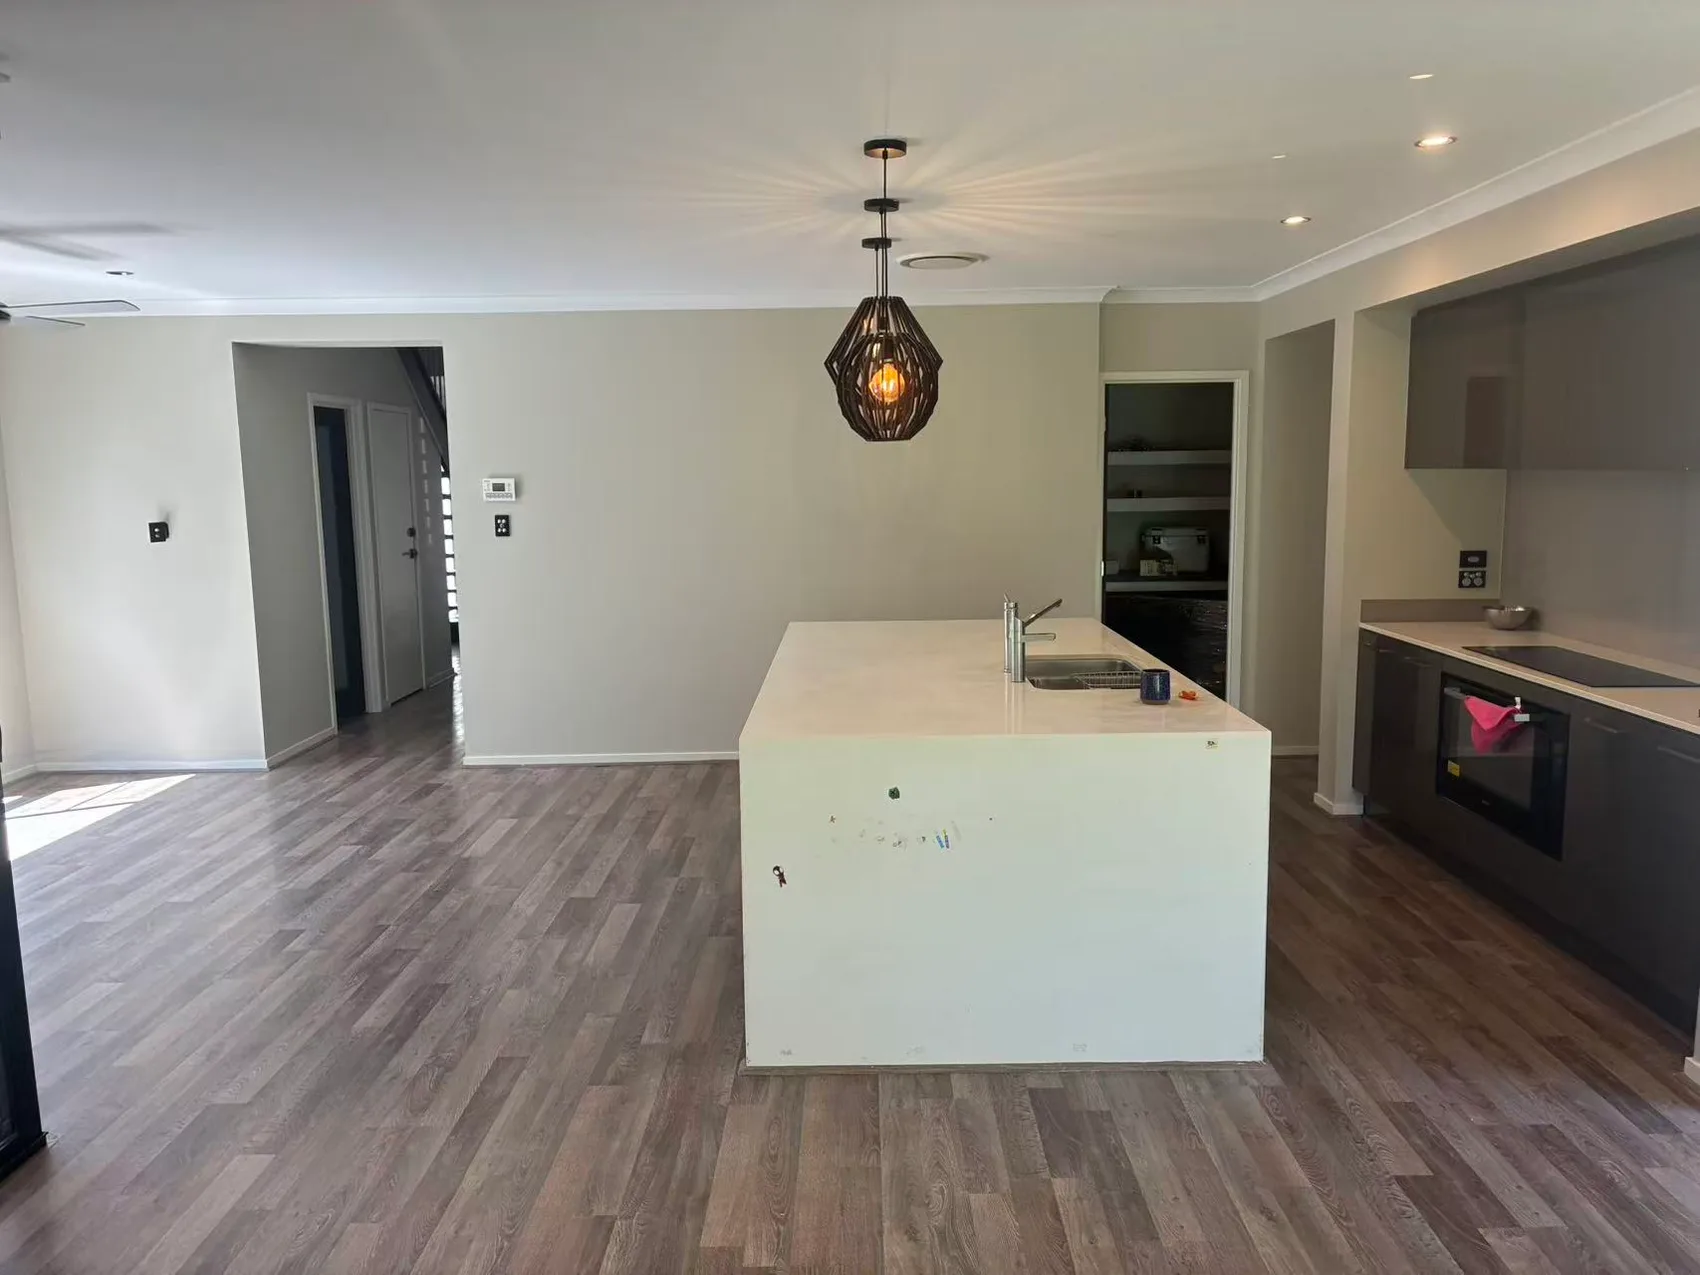
Wider view of the kitchen, living-area flooring and rear glazing.Interior view
View full-size photo ↗
Wider view of the kitchen, living-area flooring and rear glazing.
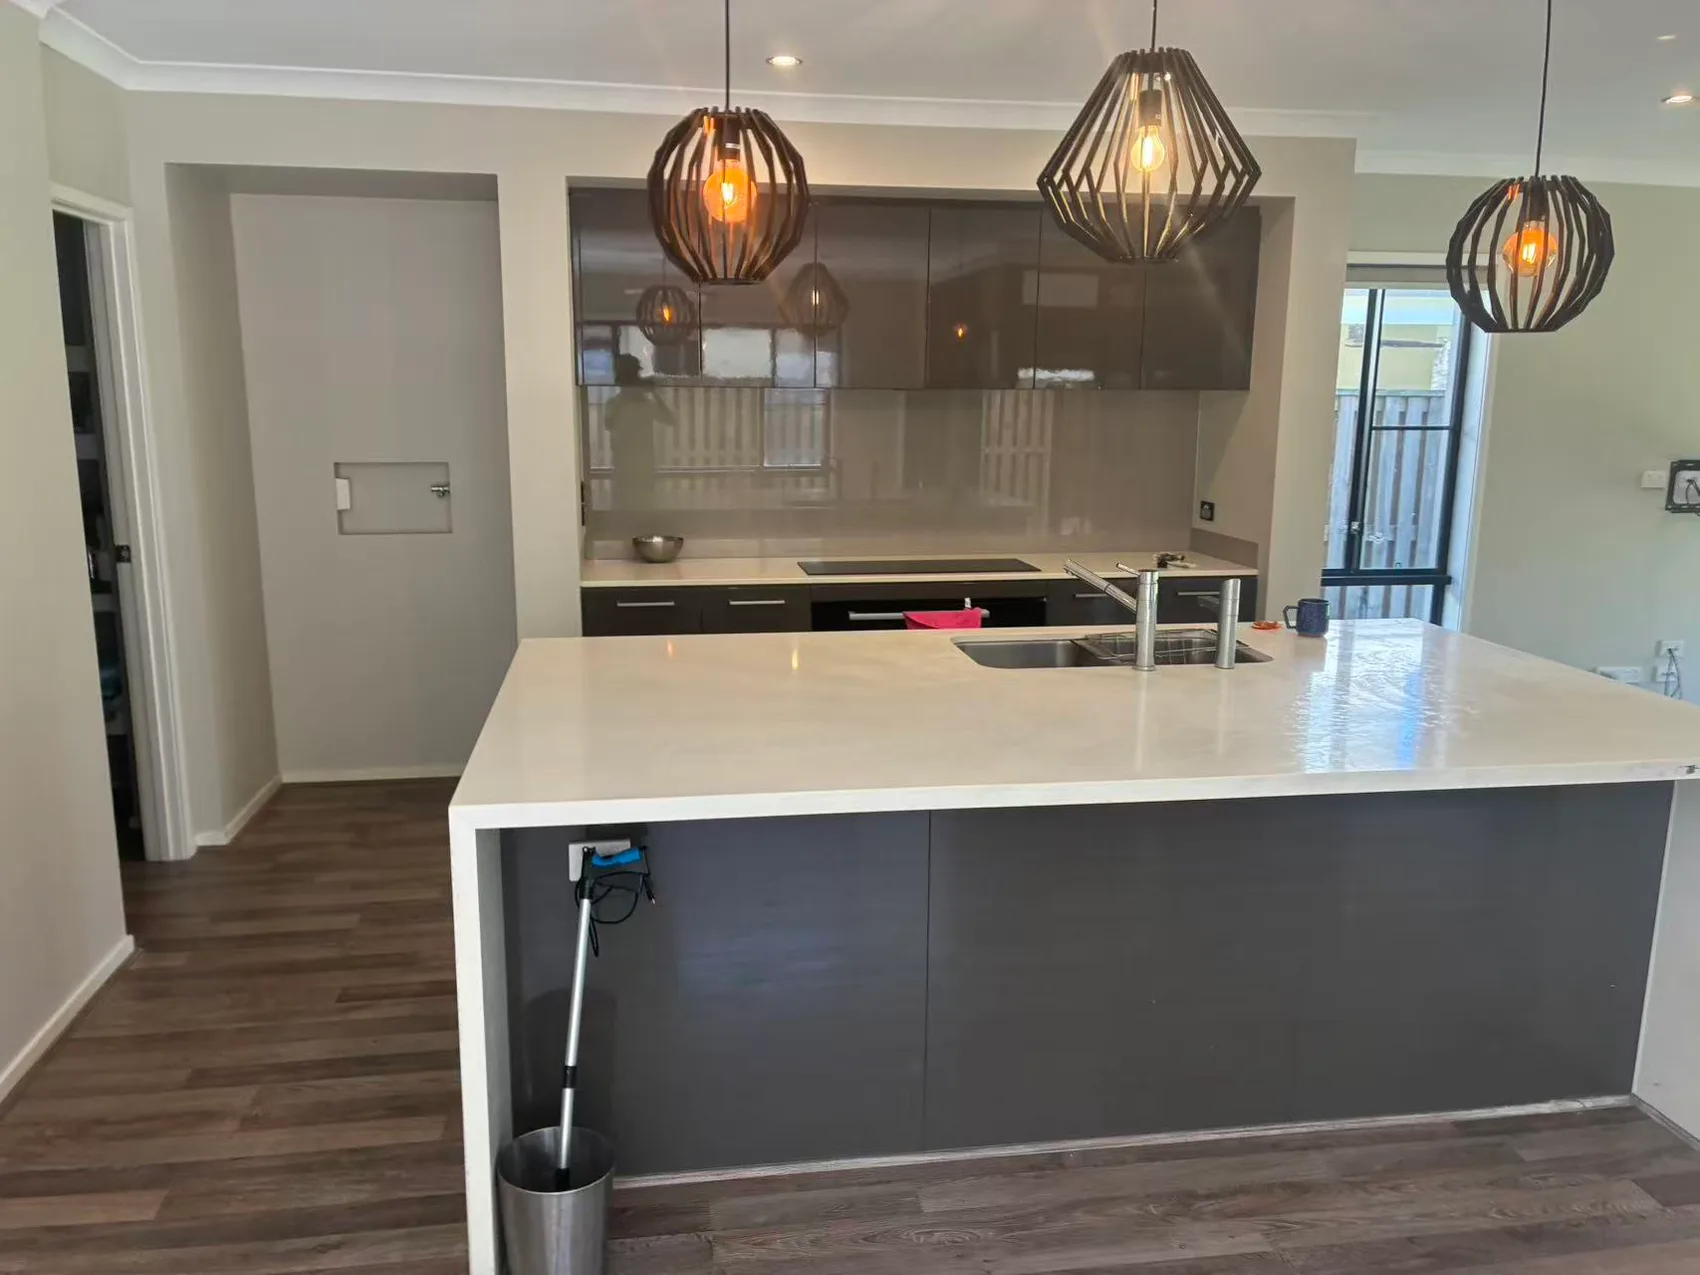
Kitchen view showing floor edges around the island and cabinetry.Interior view
View full-size photo ↗
Kitchen view showing floor edges around the island and cabinetry.
Kitchen and living-area view with floor junctions around the island.Interior view
View full-size photo ↗
Kitchen and living-area view with floor junctions around the island.
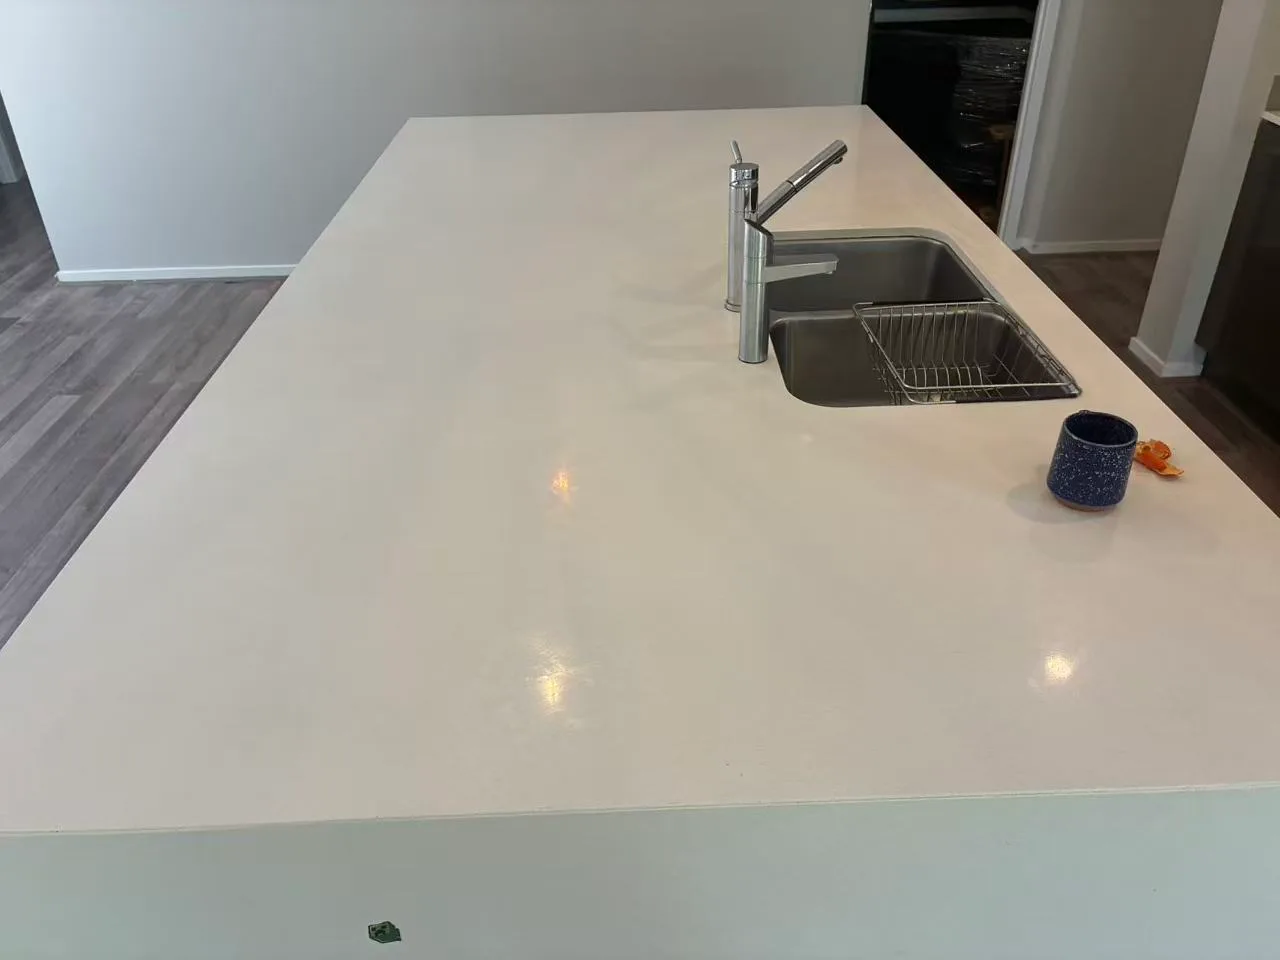
Kitchen island with the adjoining flooring visible at each side.Interior view
View full-size photo ↗
Kitchen island with the adjoining flooring visible at each side.
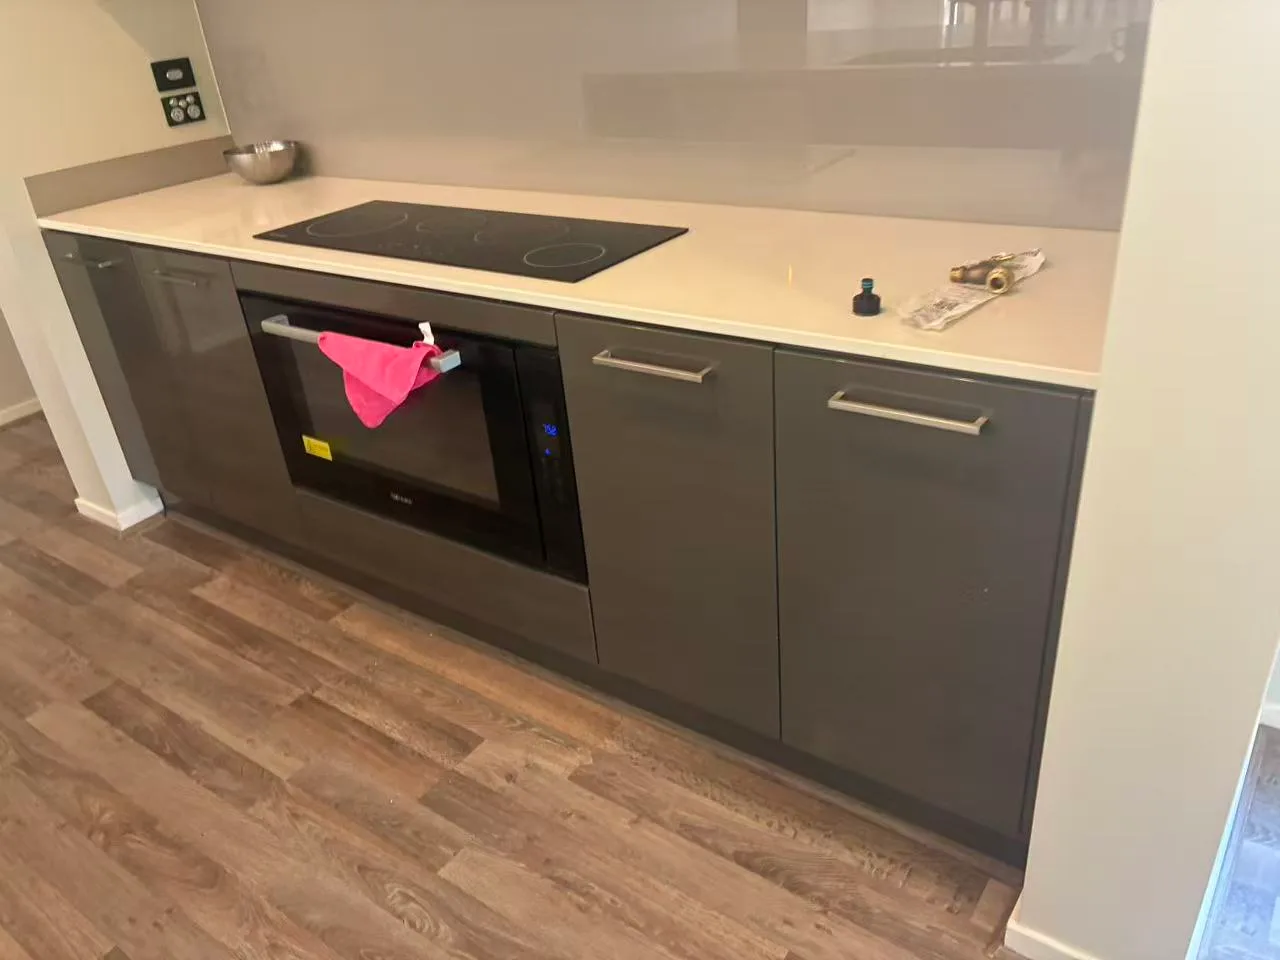
Floor edge beside the retained kitchen base cabinets.Interior view
View full-size photo ↗
Floor edge beside the retained kitchen base cabinets.
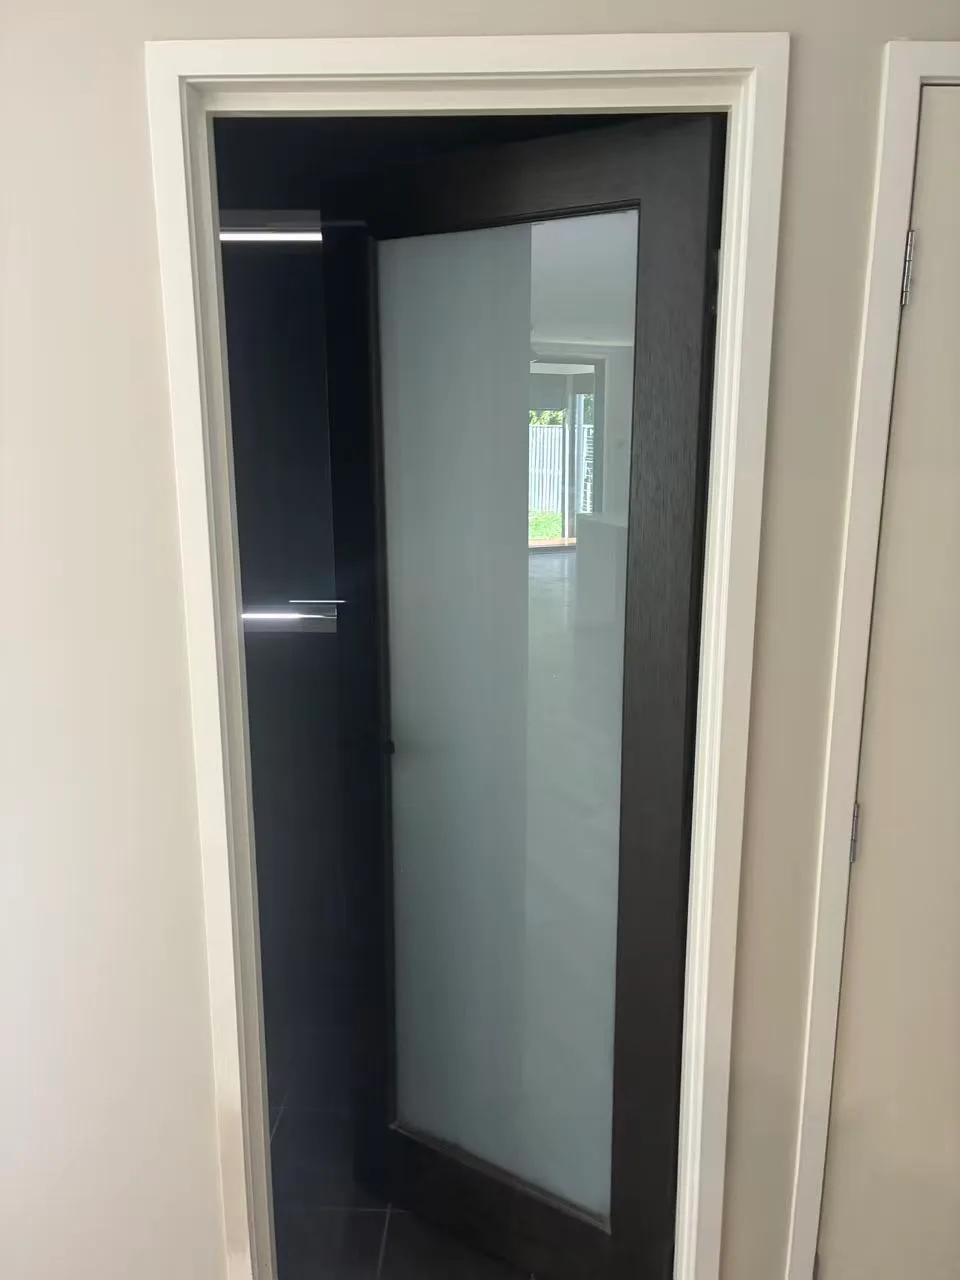
Dark glazed internal door within white perimeter trim.Interior view
View full-size photo ↗
Dark glazed internal door within white perimeter trim.
INTERIOR REPAIRS · WORK-STAGE PHOTOS

Interior repairs, lining and carpentry

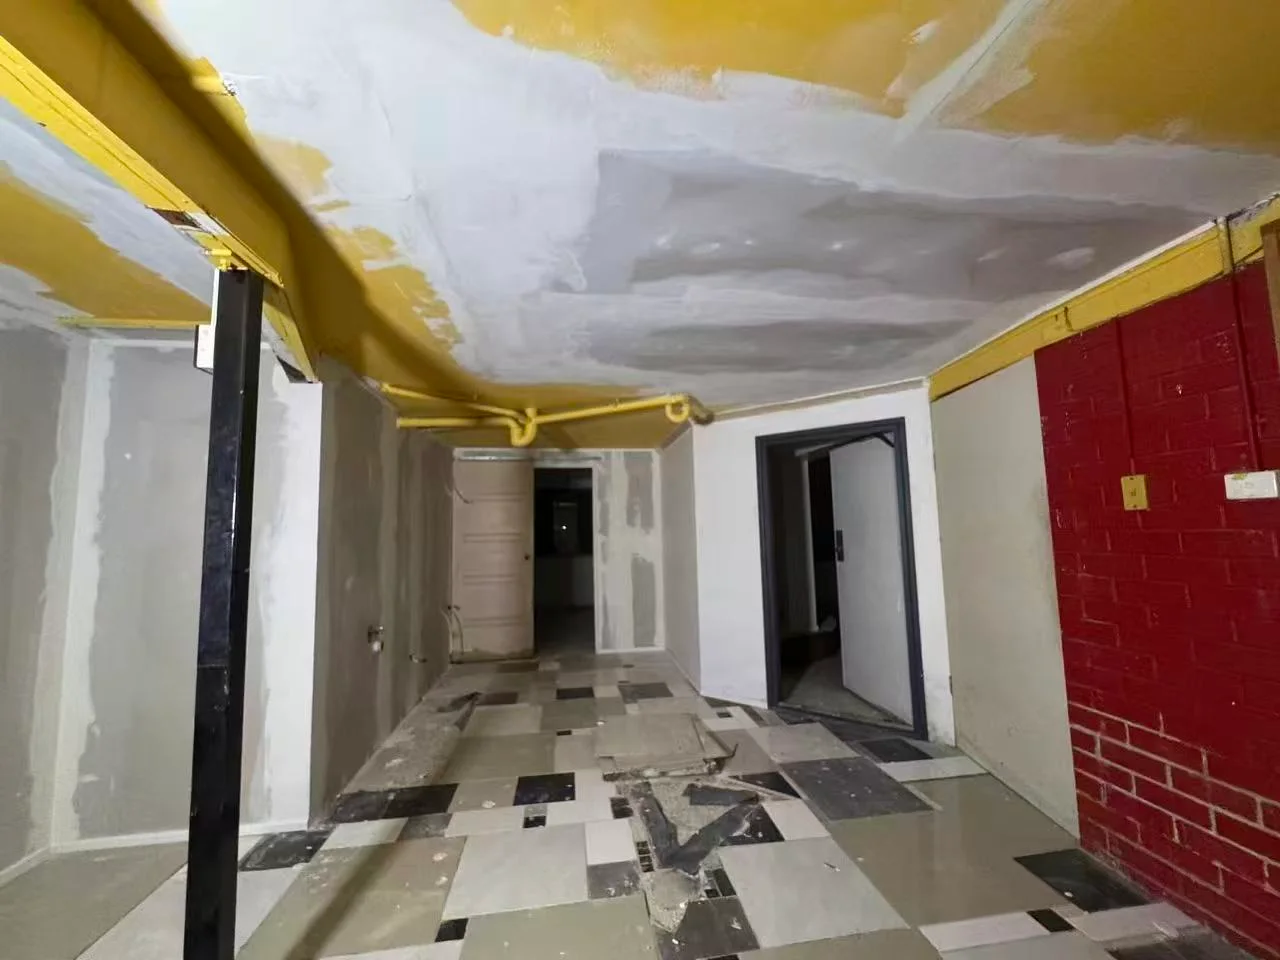
This interior project included repairs to holes in the upstairs ceiling, entrance wall repairs, staircase removal and flooring installation. Downstairs work included kitchen and ceiling lining, along with ceiling lining at the storeroom entrance.

The carpentry scope included fitting a door frame and sliding door to a small room, plus cornice and skirting installation. Bathroom tiling was also completed as part of this work.

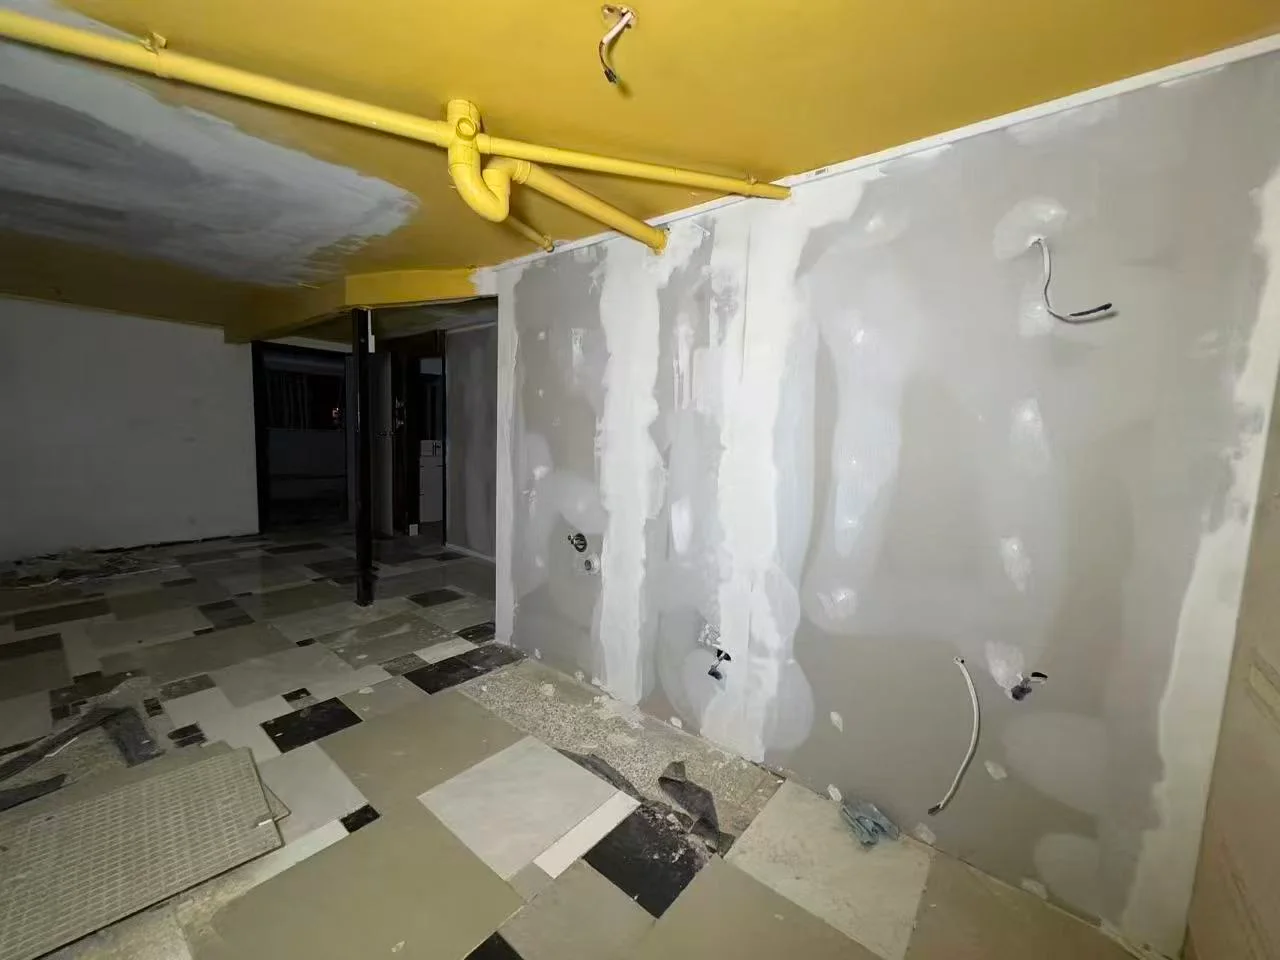
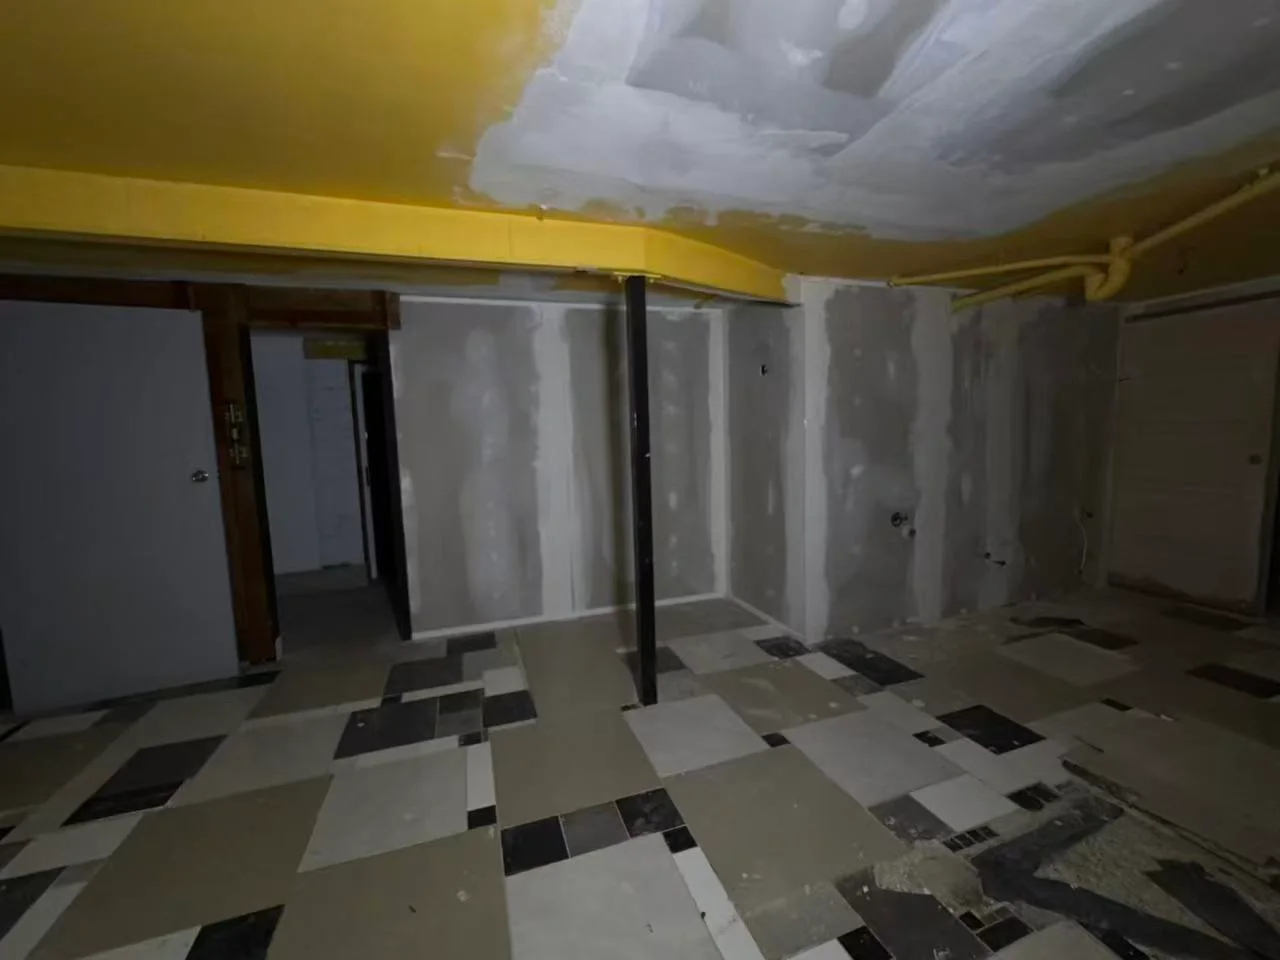
These photos record stages of the work. Some wall and ceiling surfaces remain unpainted, and the images retain the site condition at the time.

Walls and ceilings

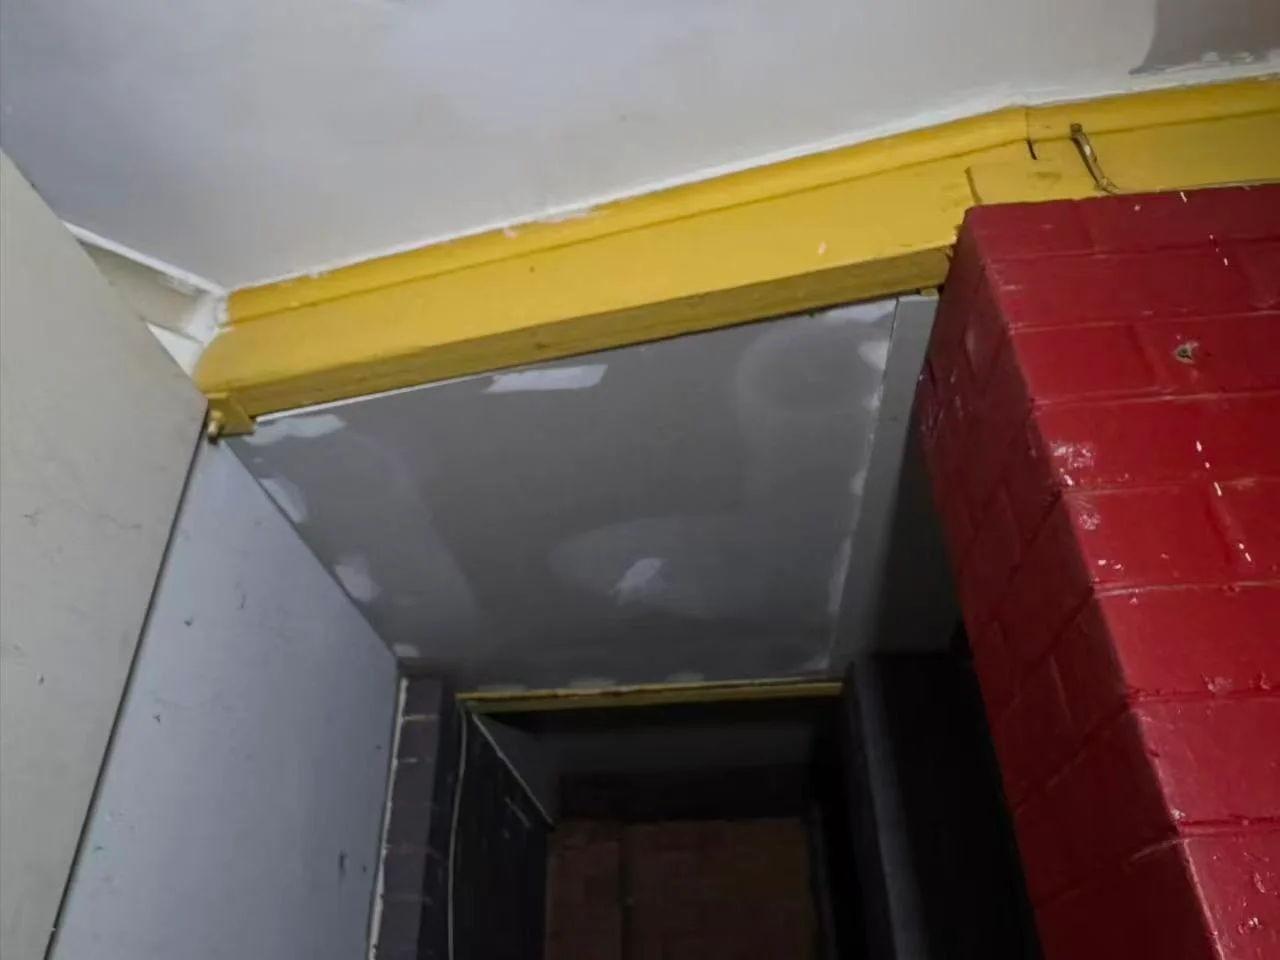
Ceiling hole repairs, wall patching and lining formed the main part of this project. The photos show local infill, setting over joints and fixing points, and details where walls meet the ceiling.

Door frame, sliding door and finishing work

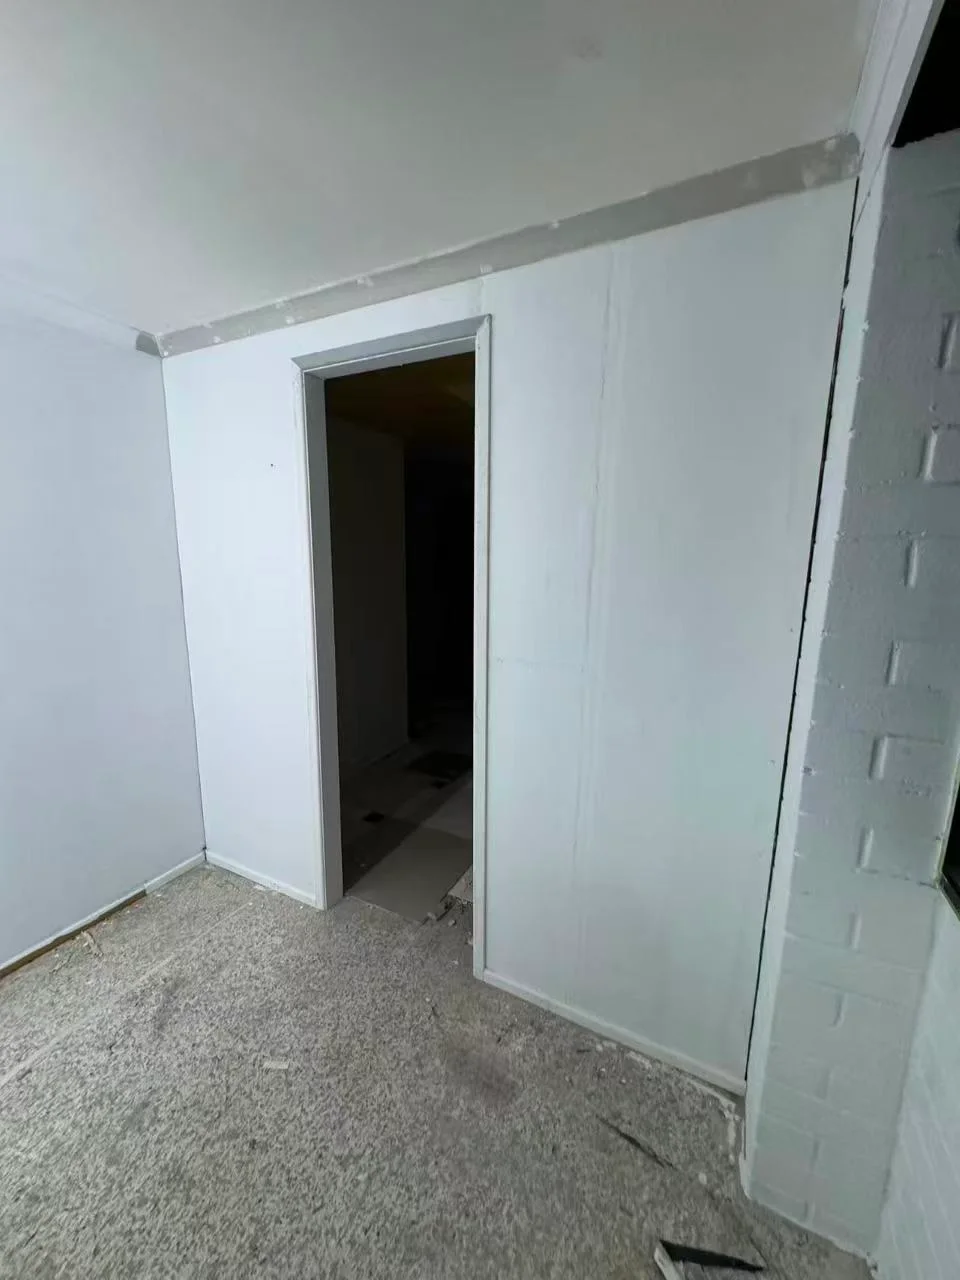
The project included fitting the small room’s door frame and sliding door, followed by cornice and skirting. The photos show the frame in the wall, its junction with the ceiling edge, trim and patched wall edges. An unpainted strip above the frame and an unfinished floor-level edge remain visible at this installation and finishing stage.

Staircase removal and flooring

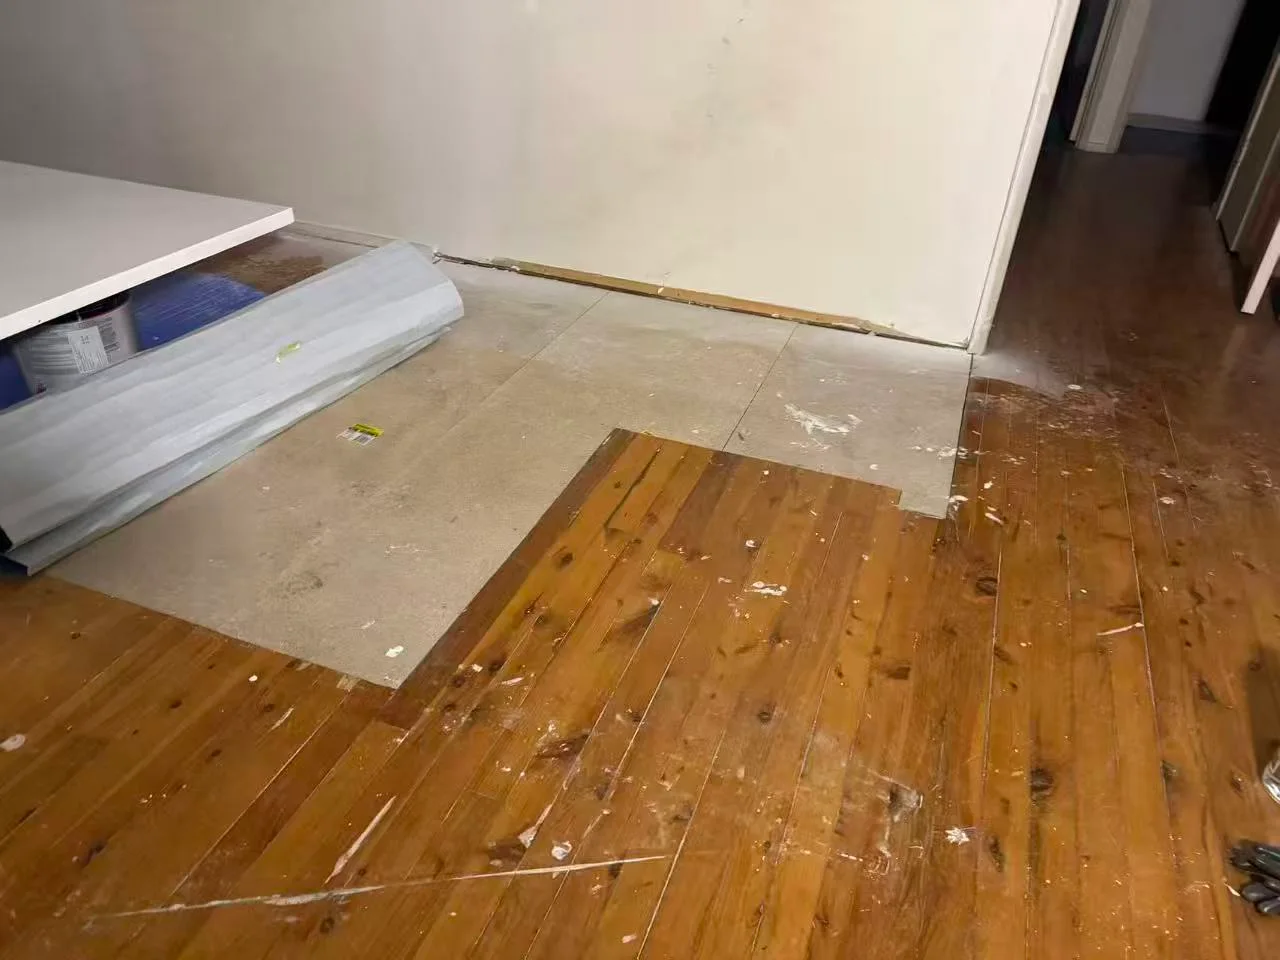
Staircase removal and flooring installation formed part of the project scope. This work-stage floor photo shows local infill meeting retained floorboards at a doorway, with stored material and work marks still present.

Bathroom tiling

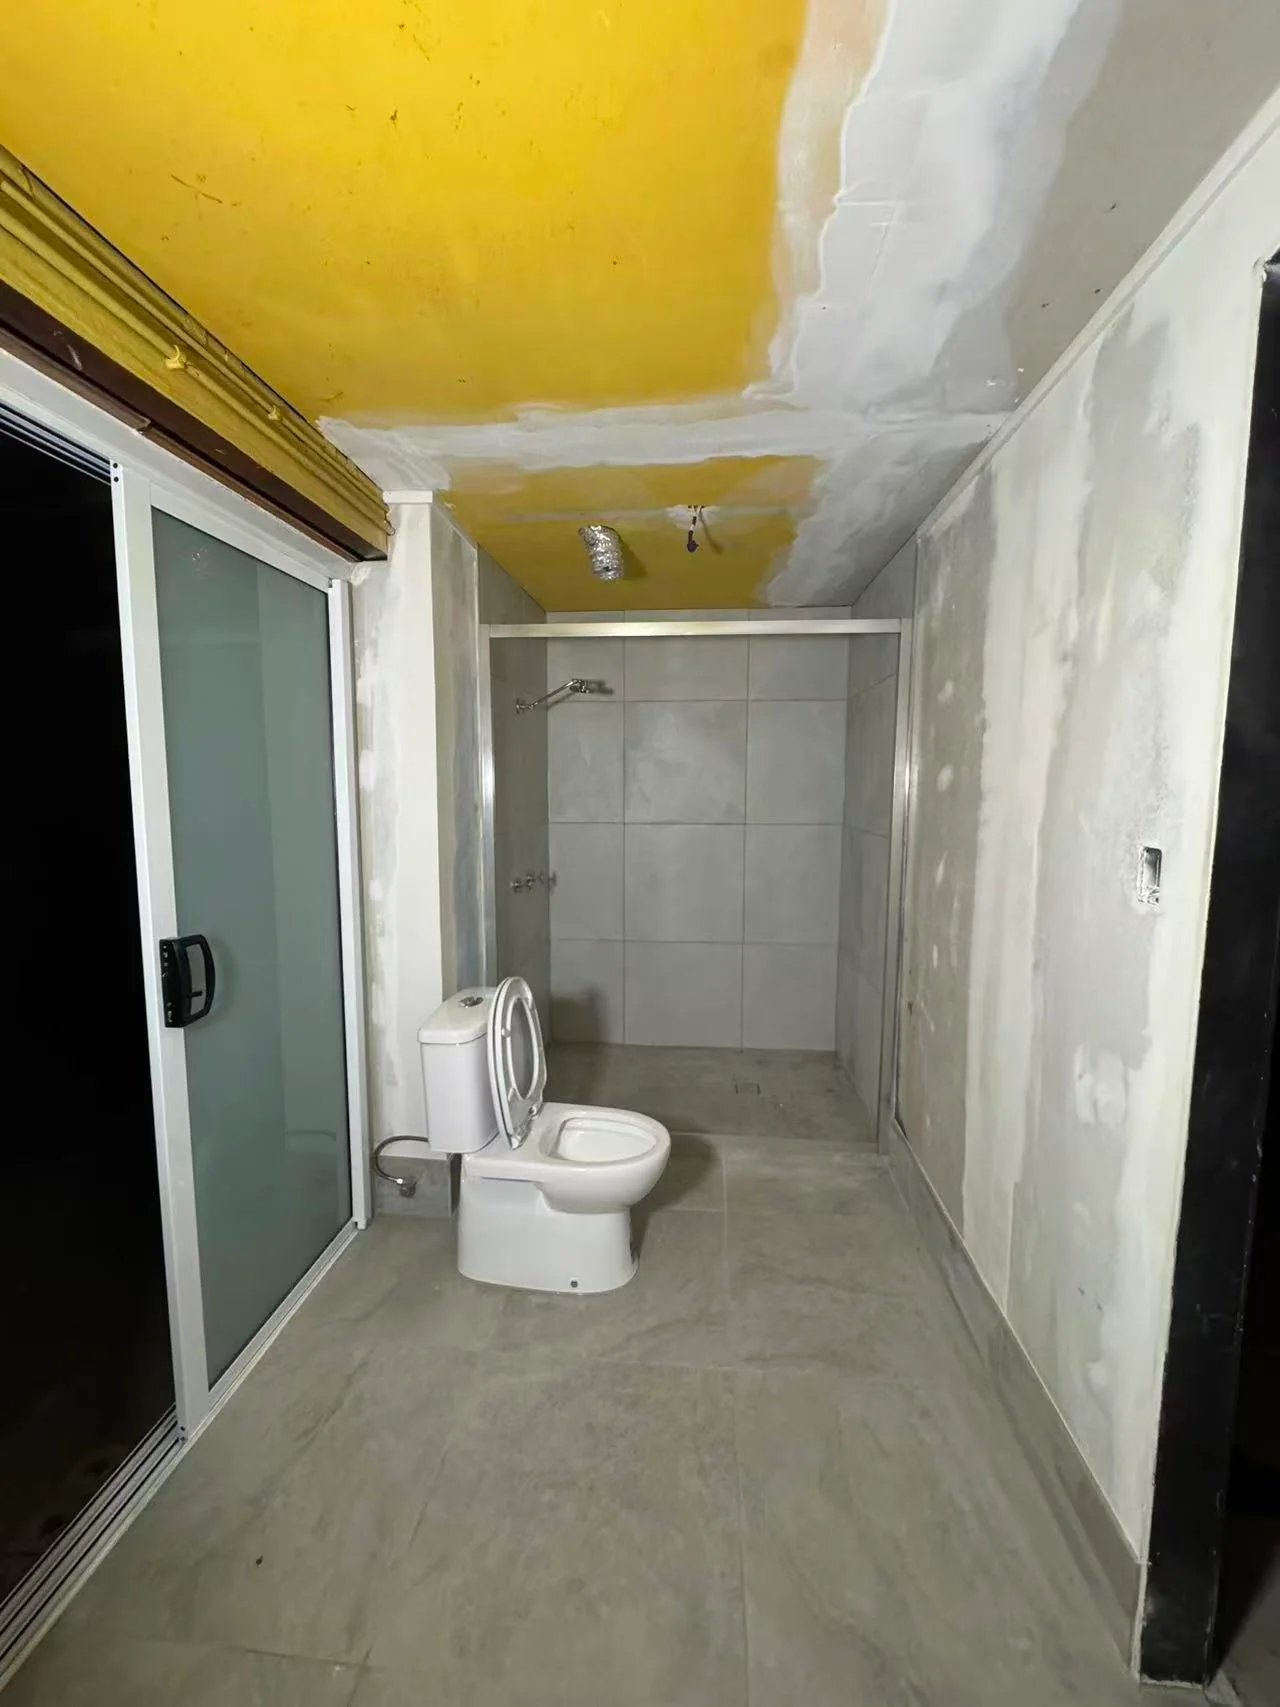
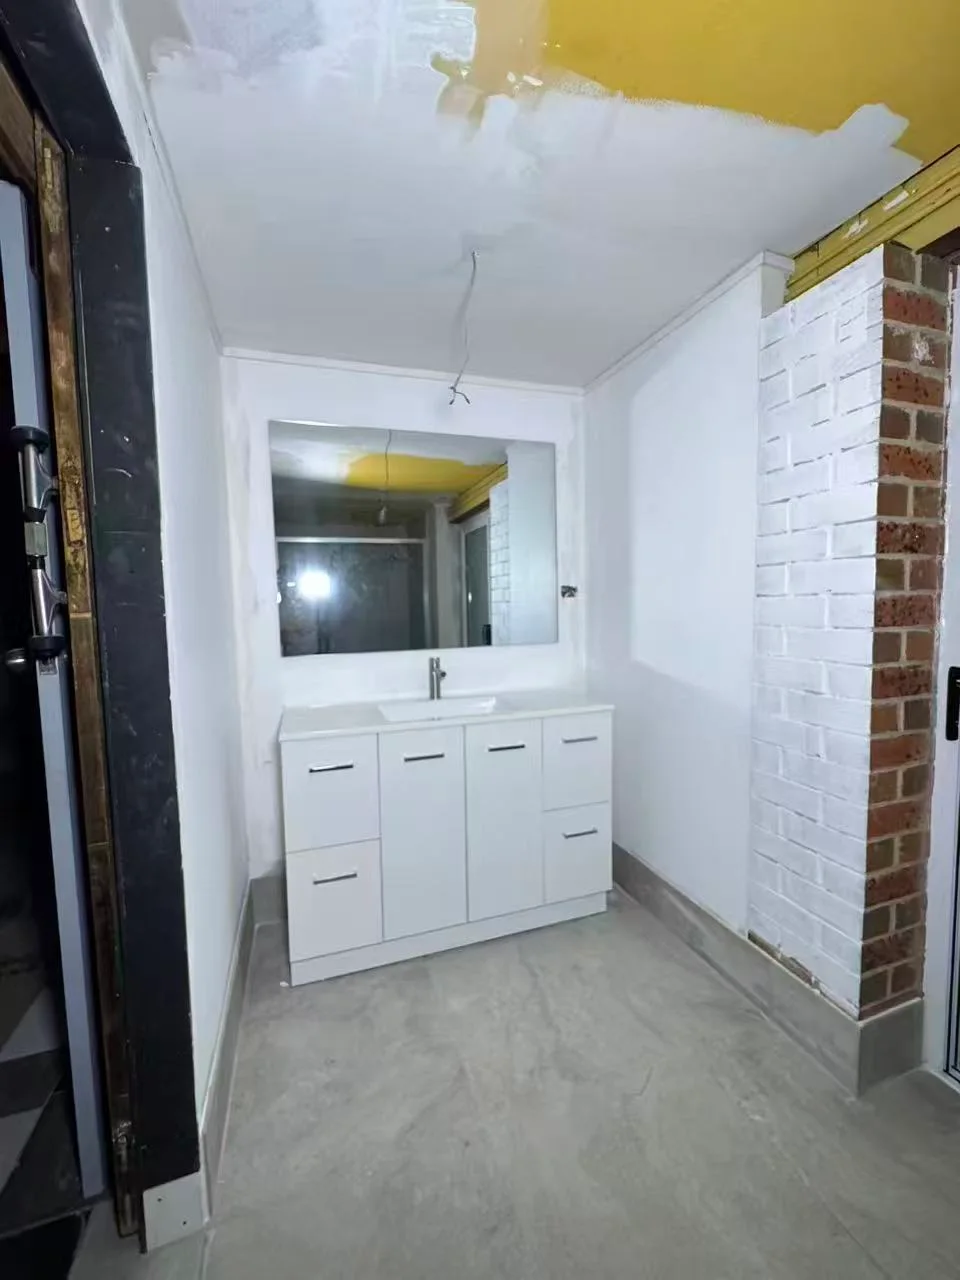
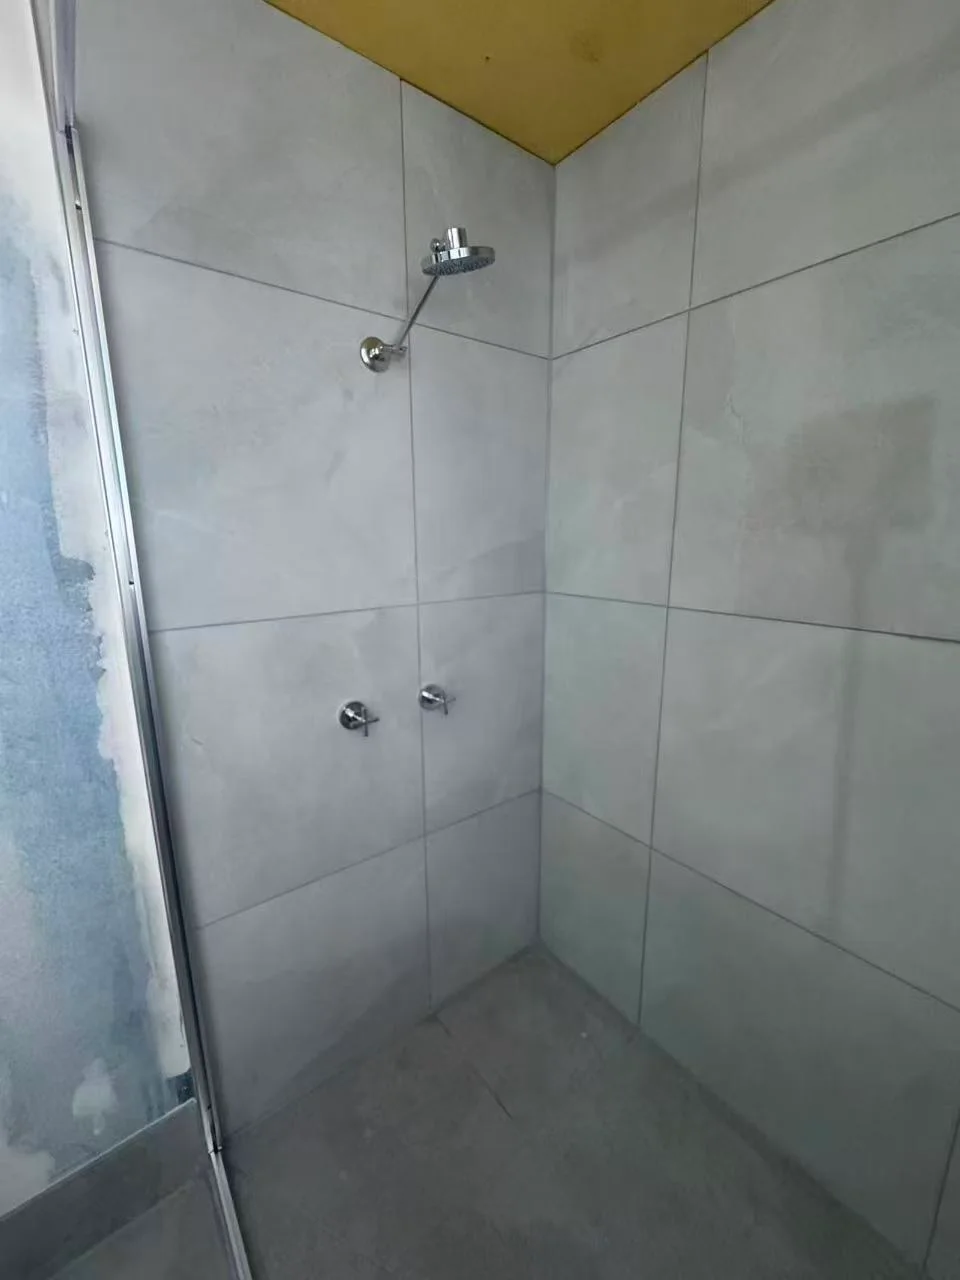
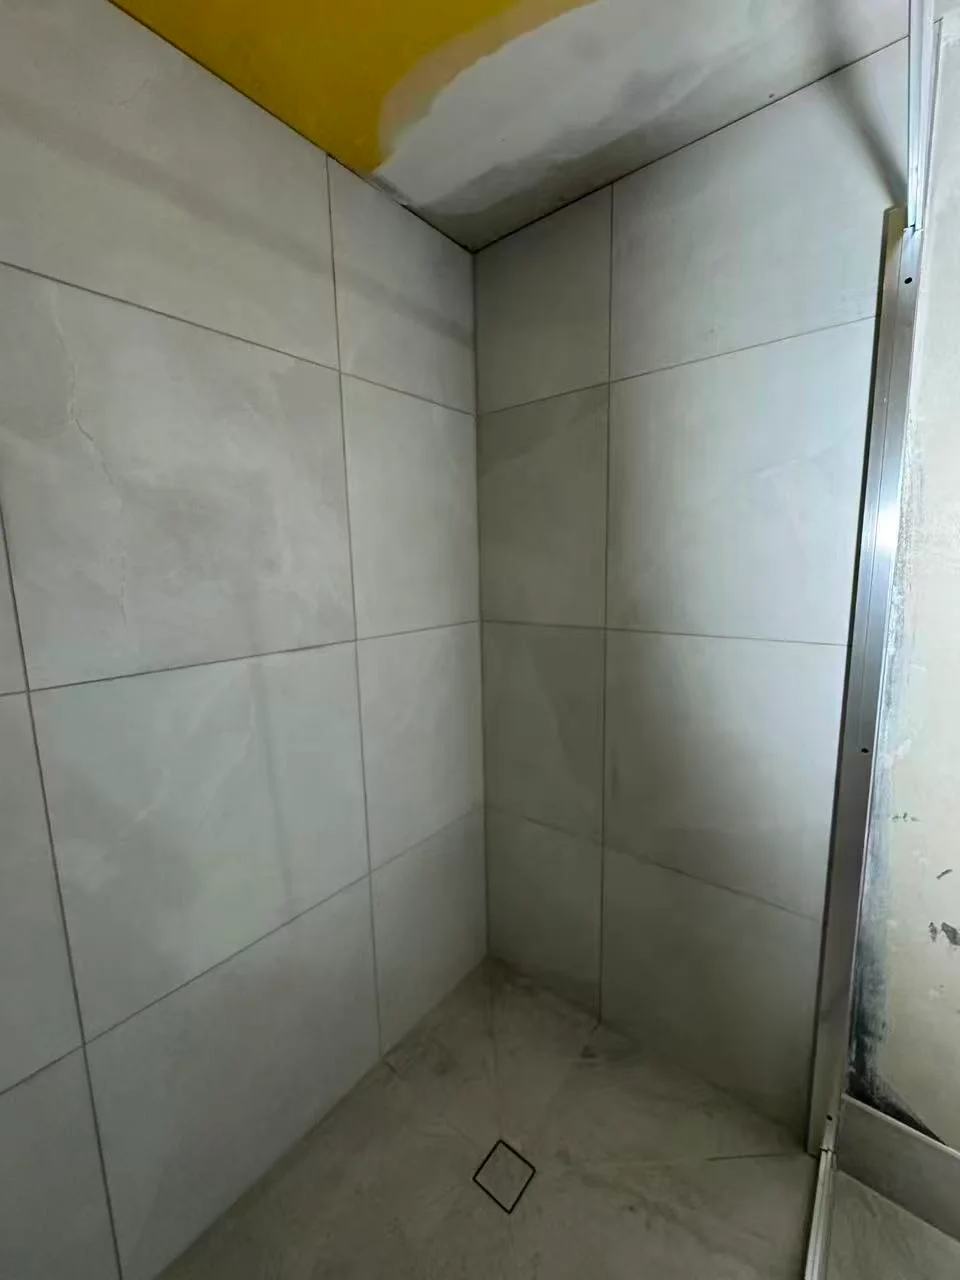
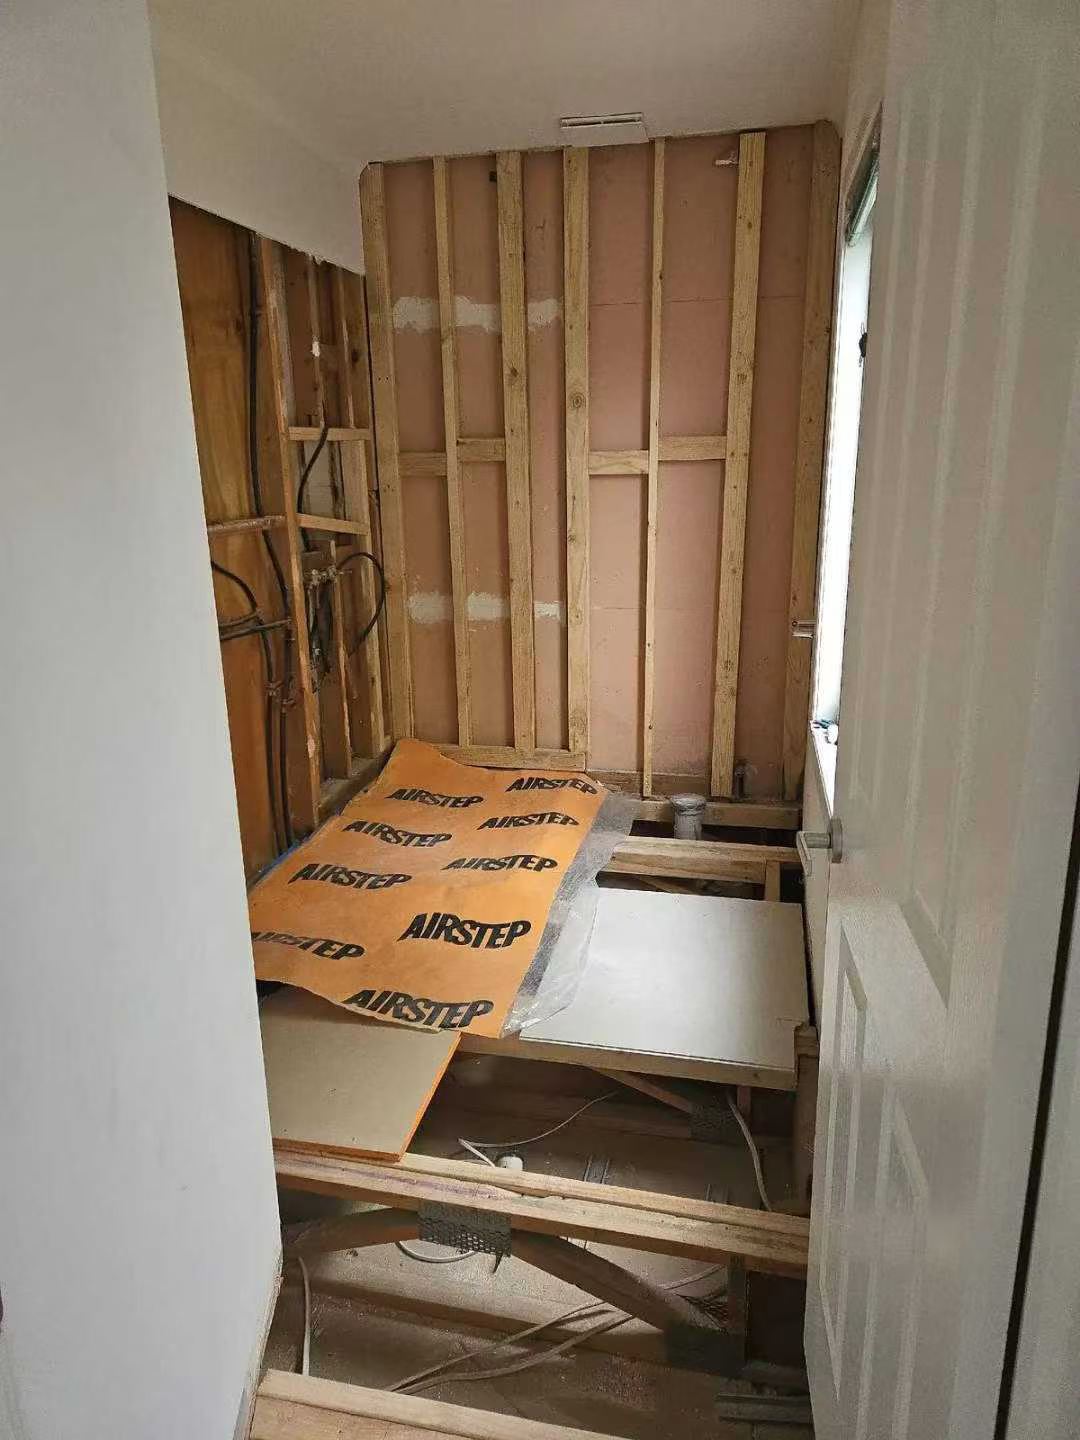
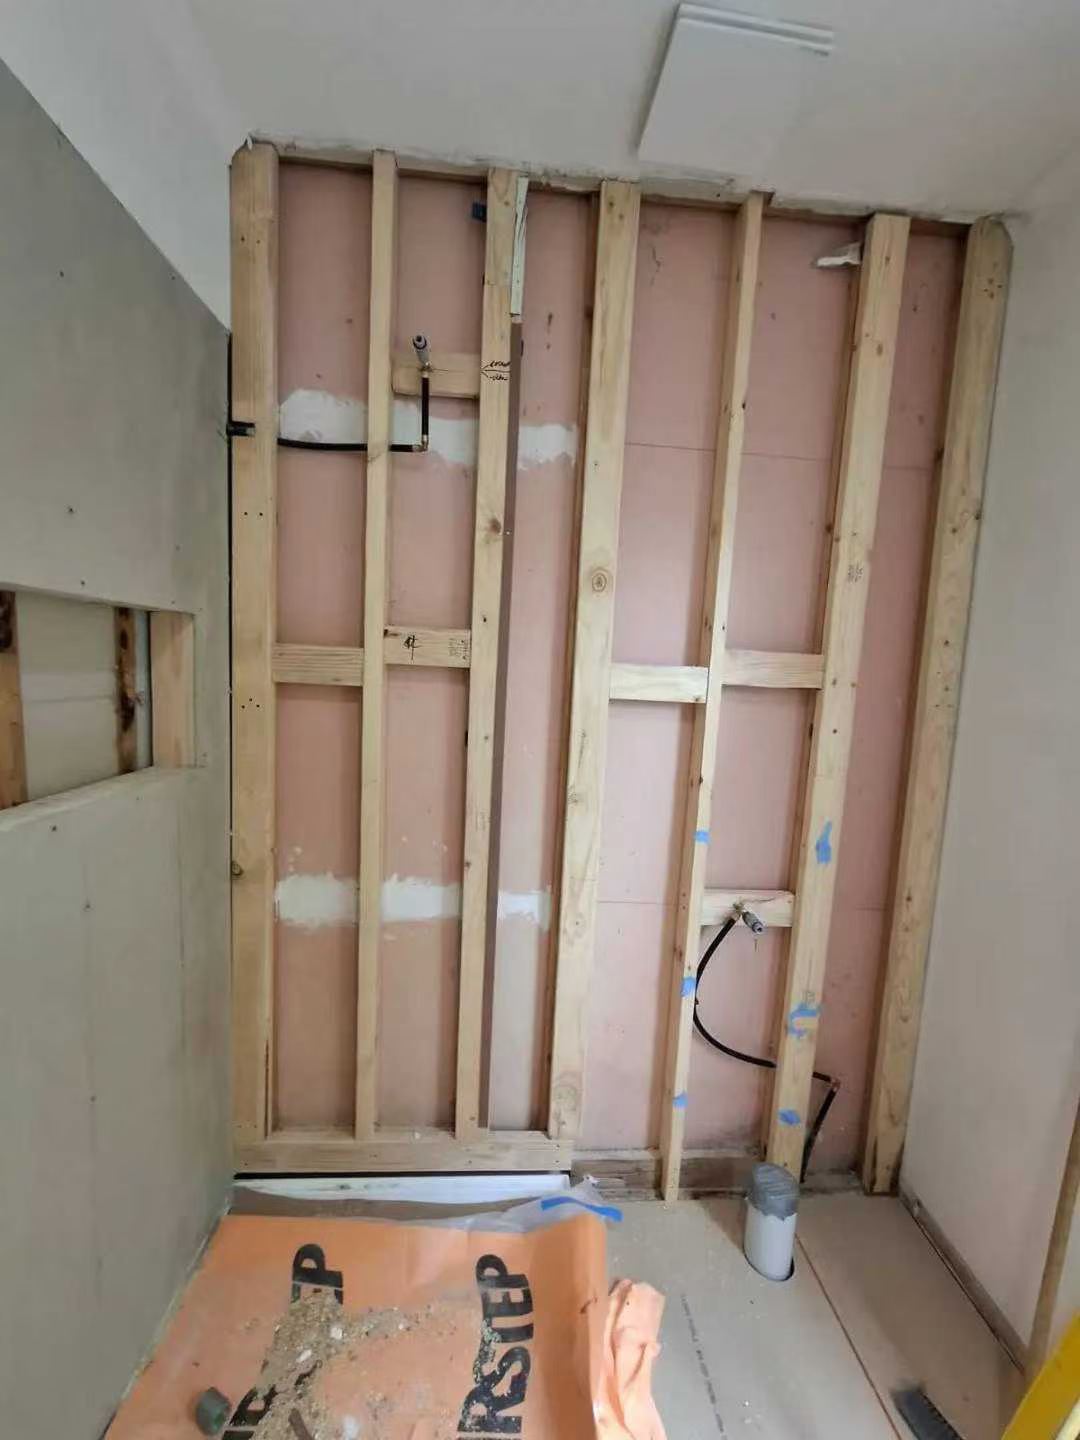
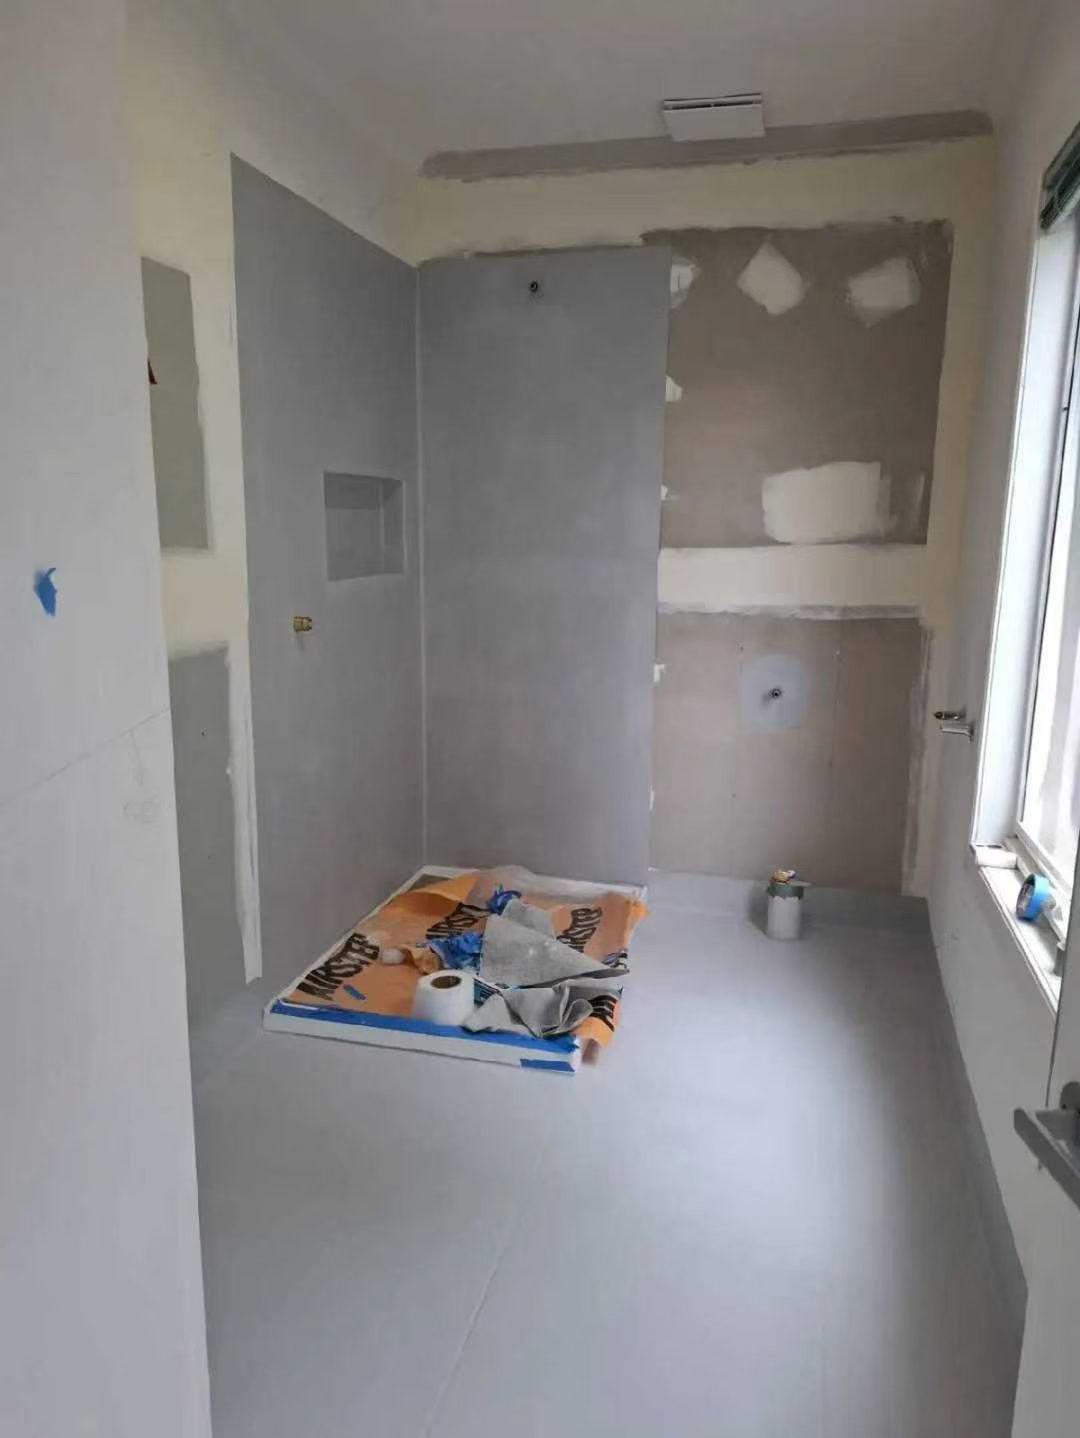
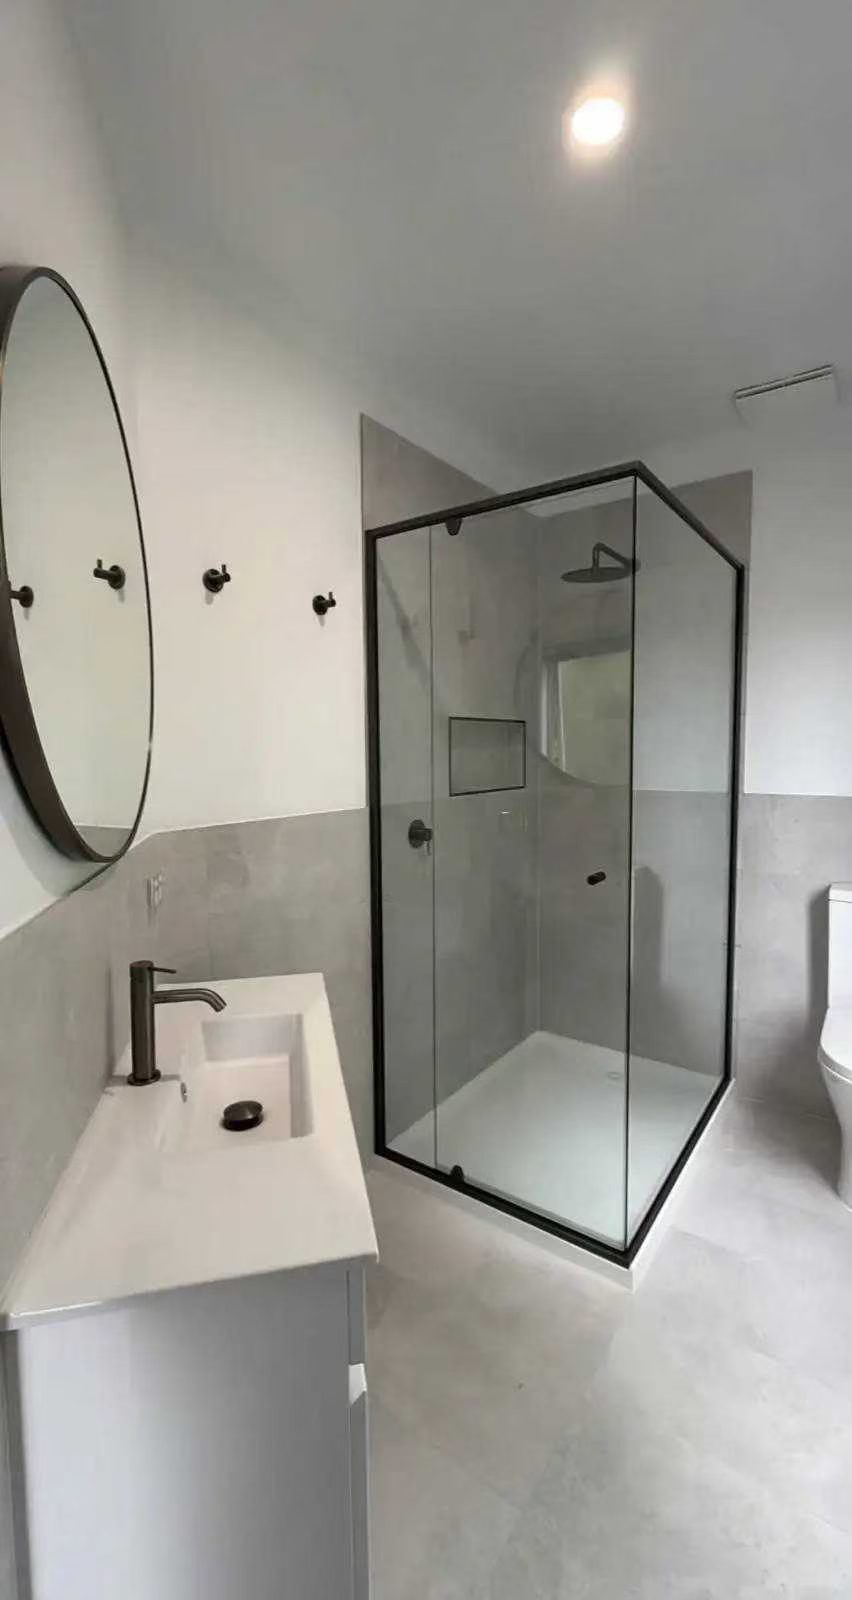
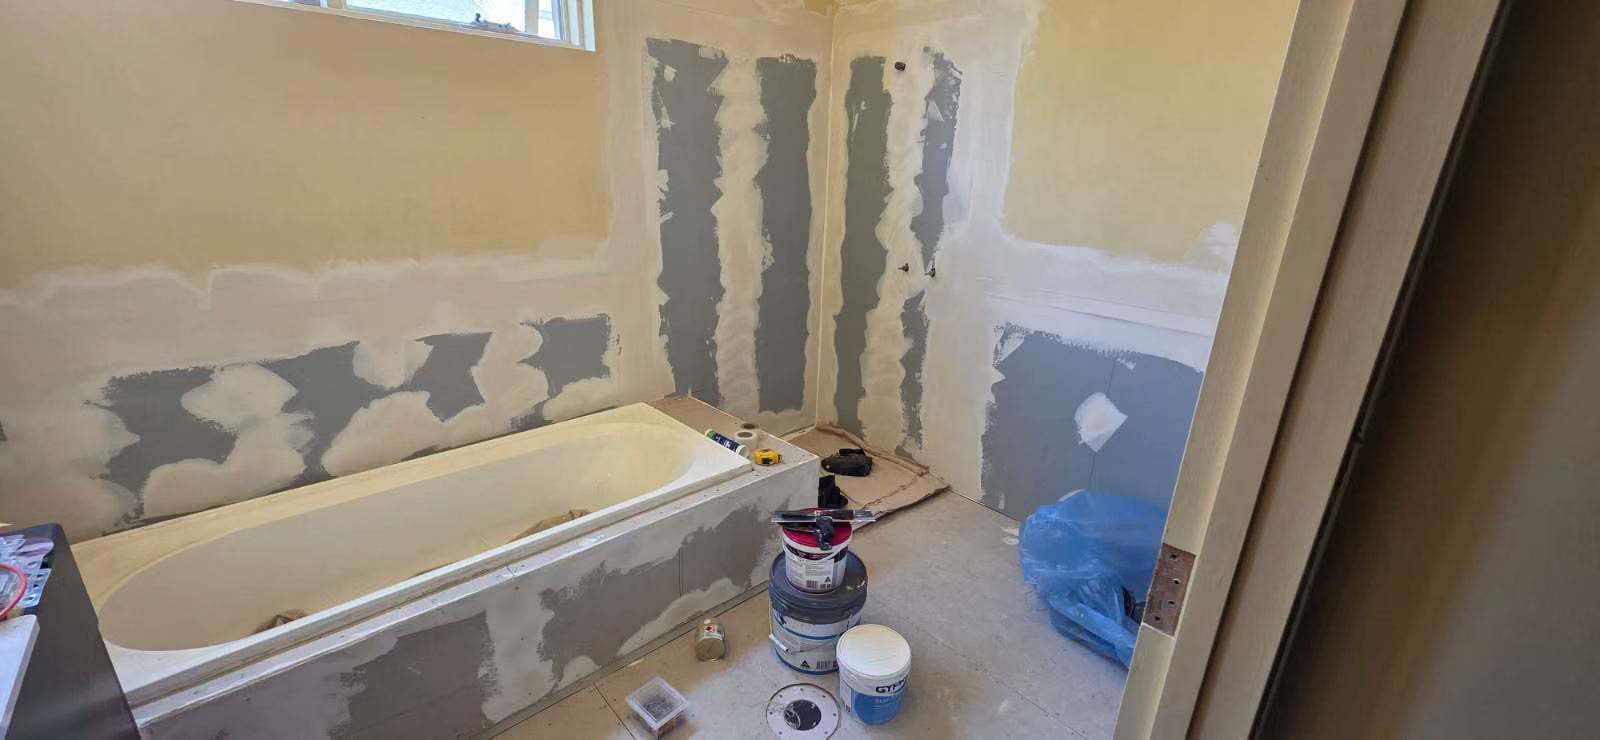
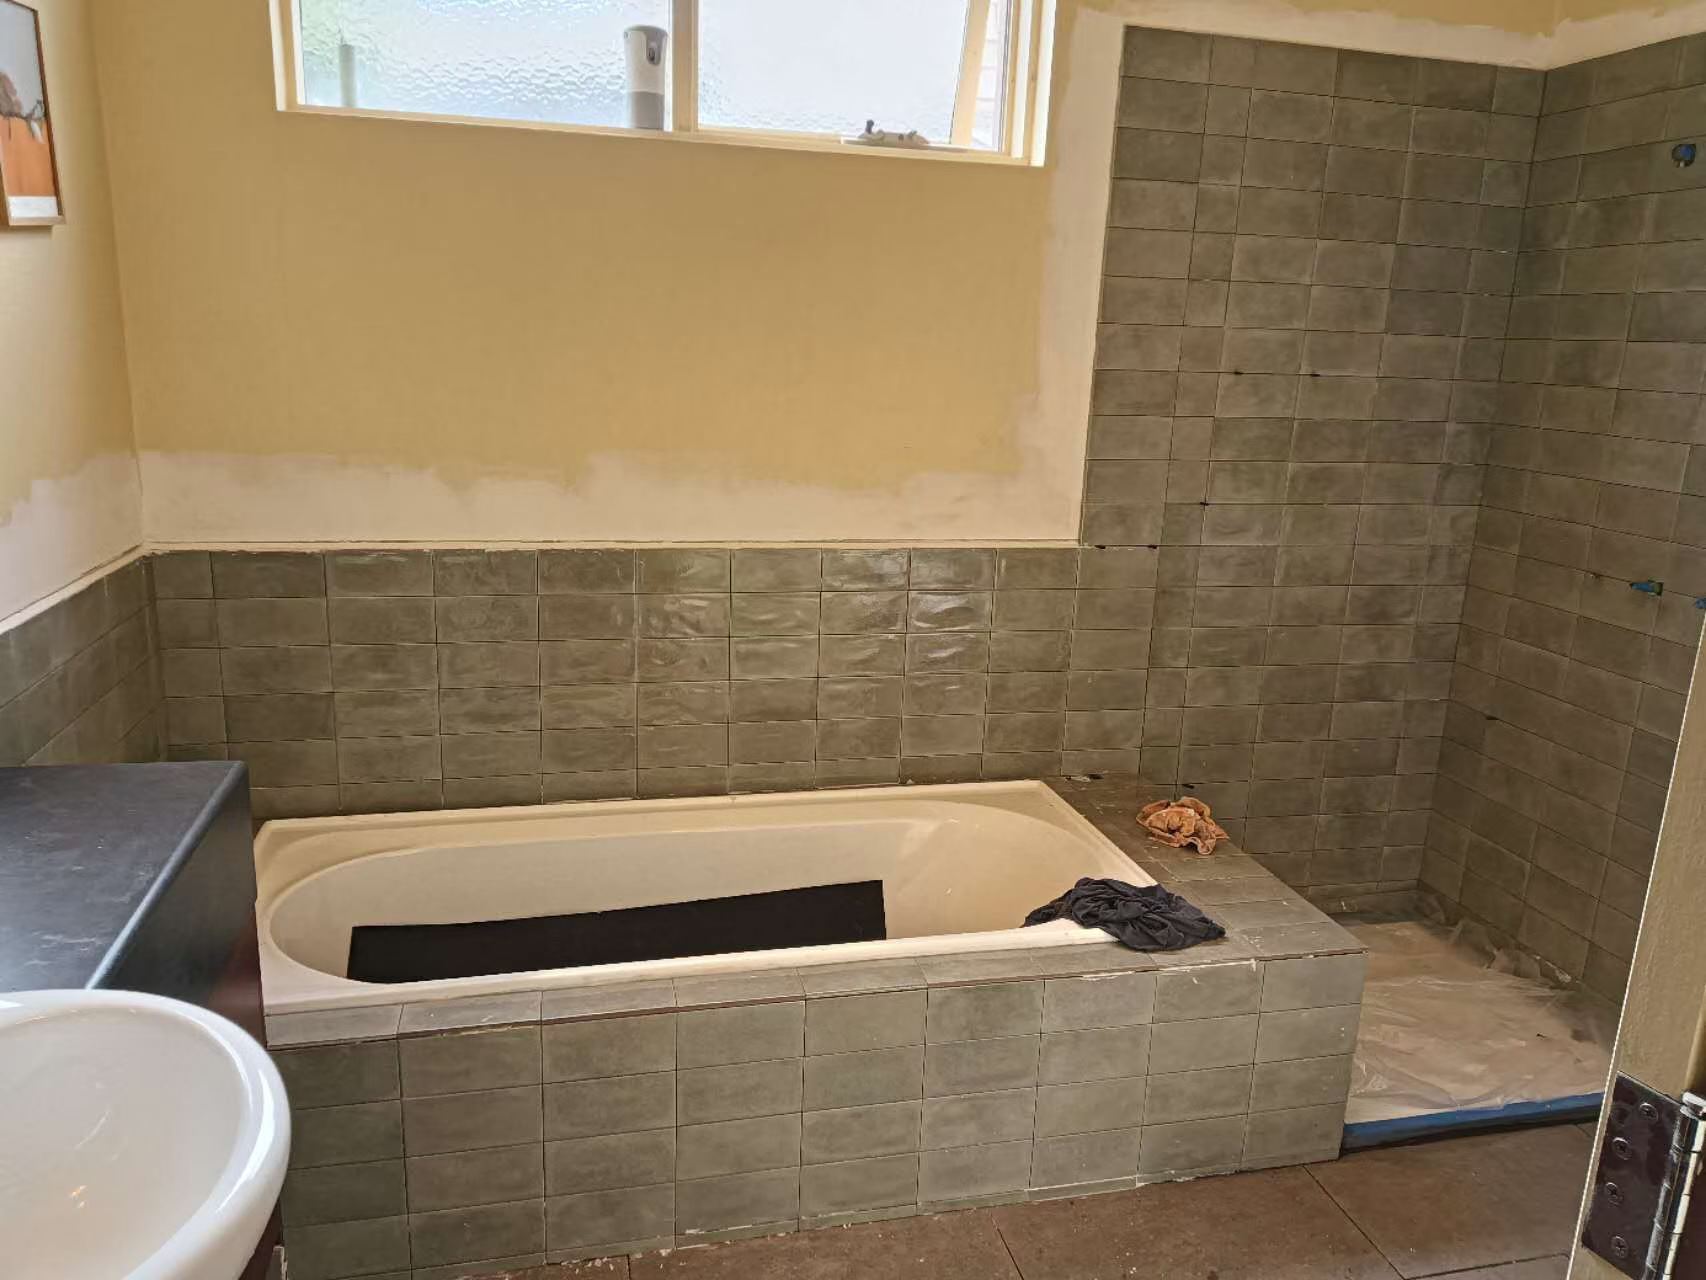
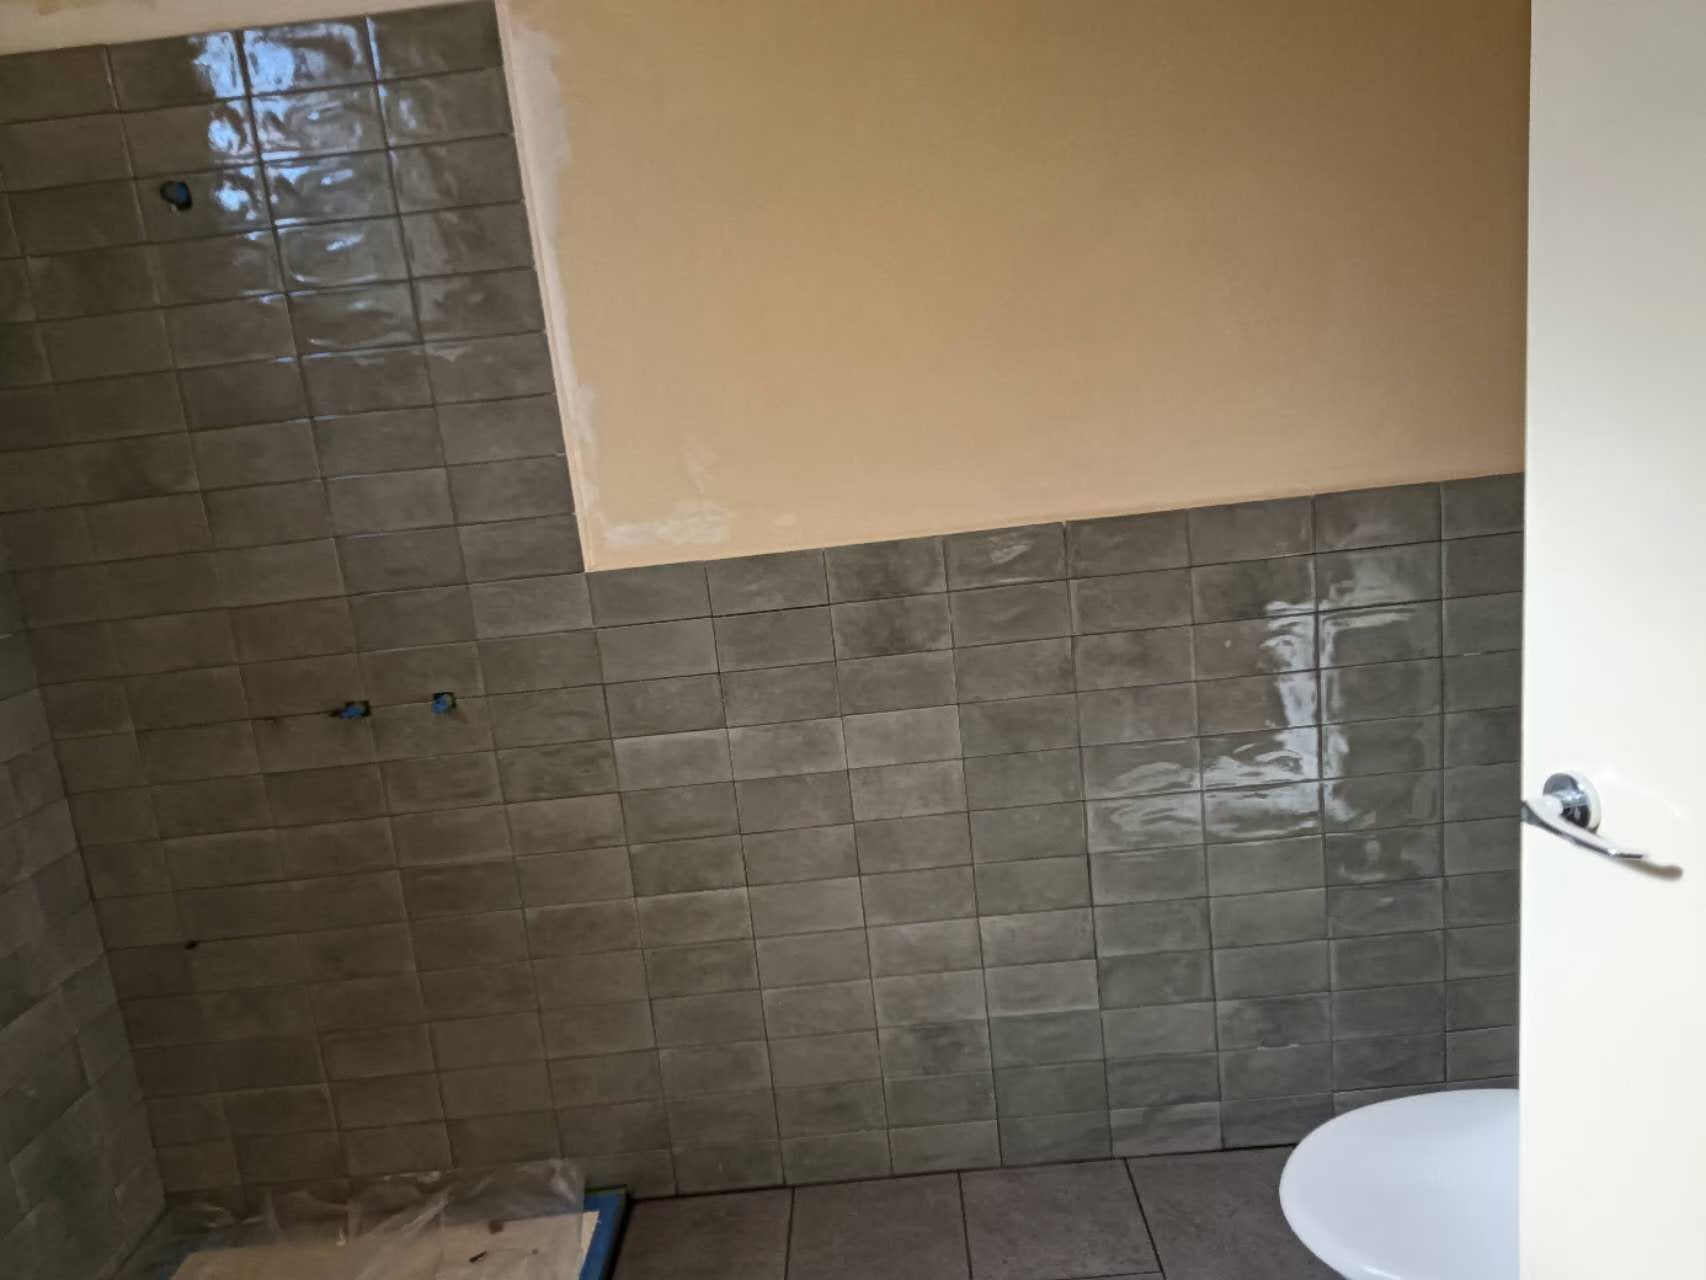
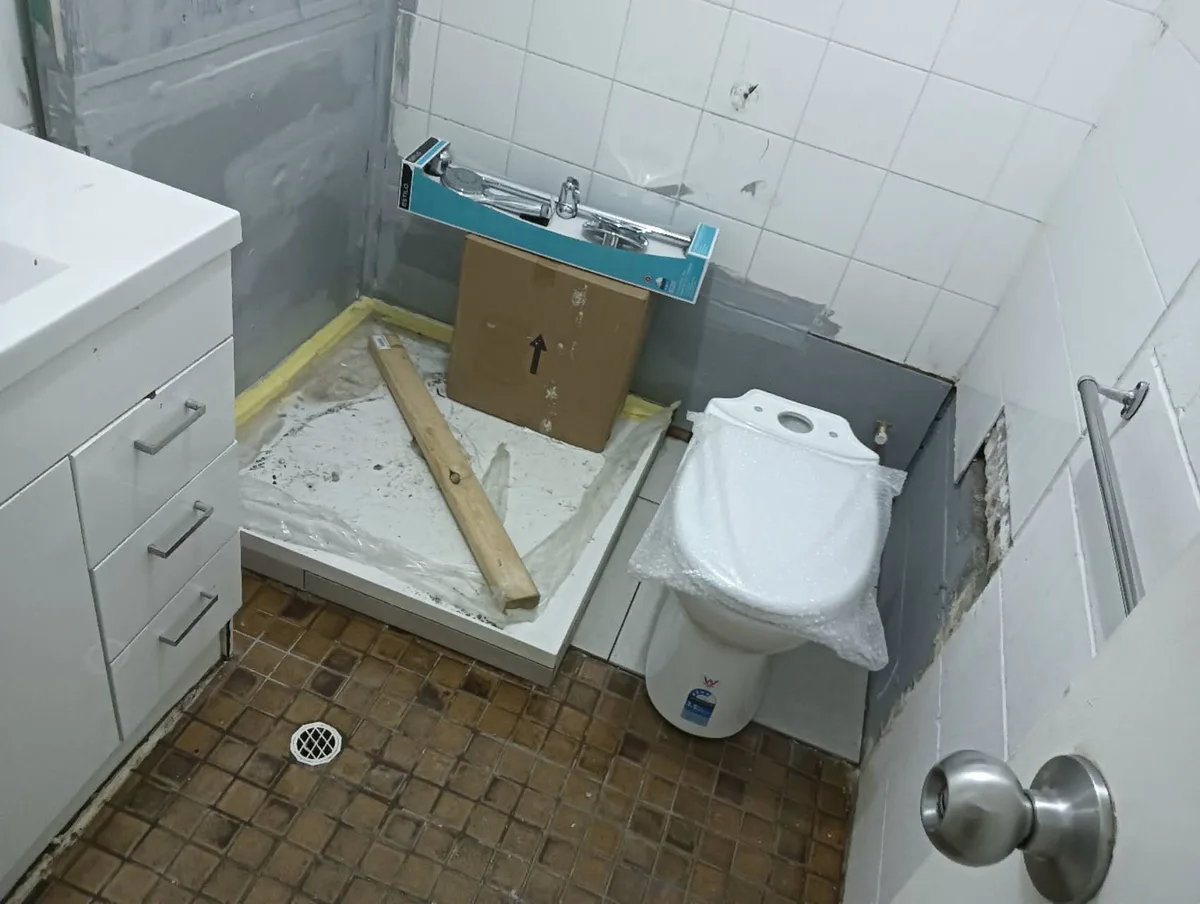
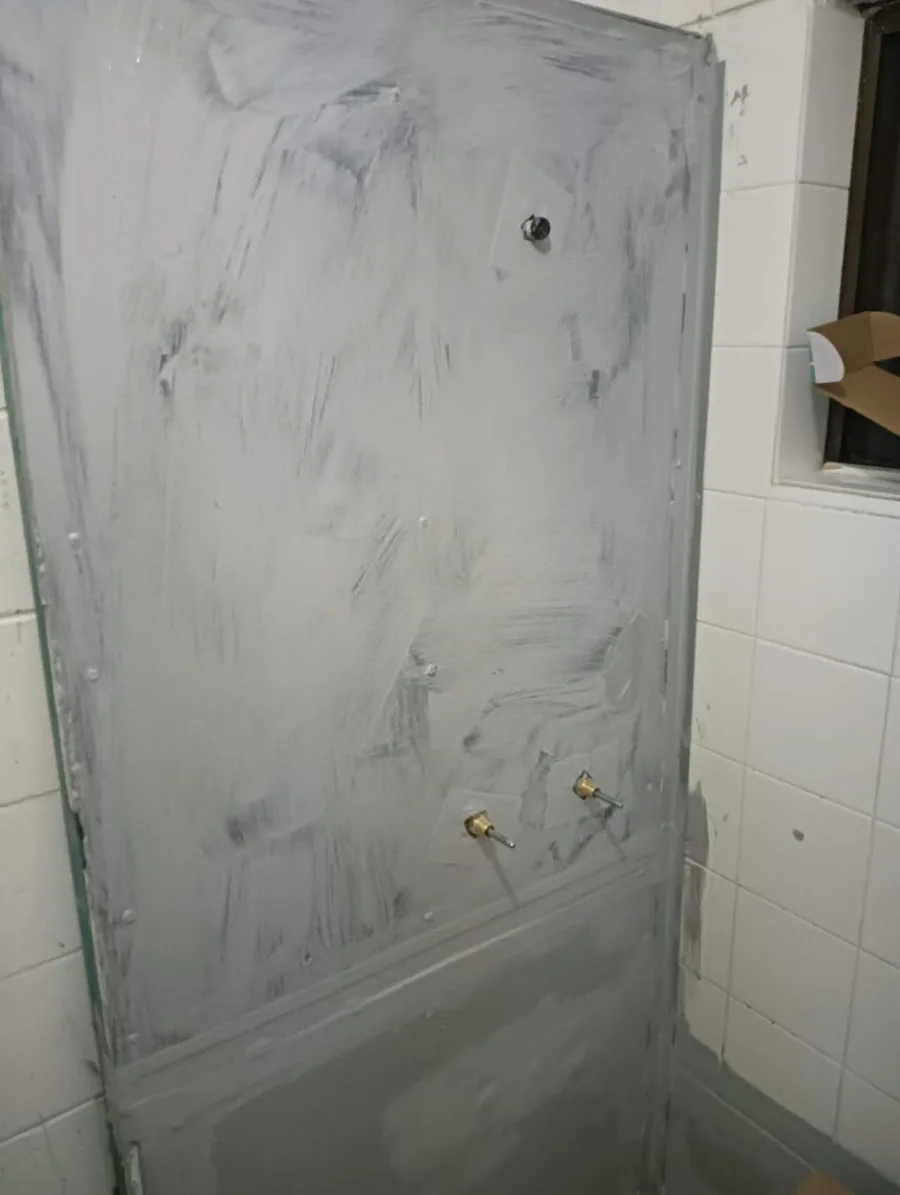
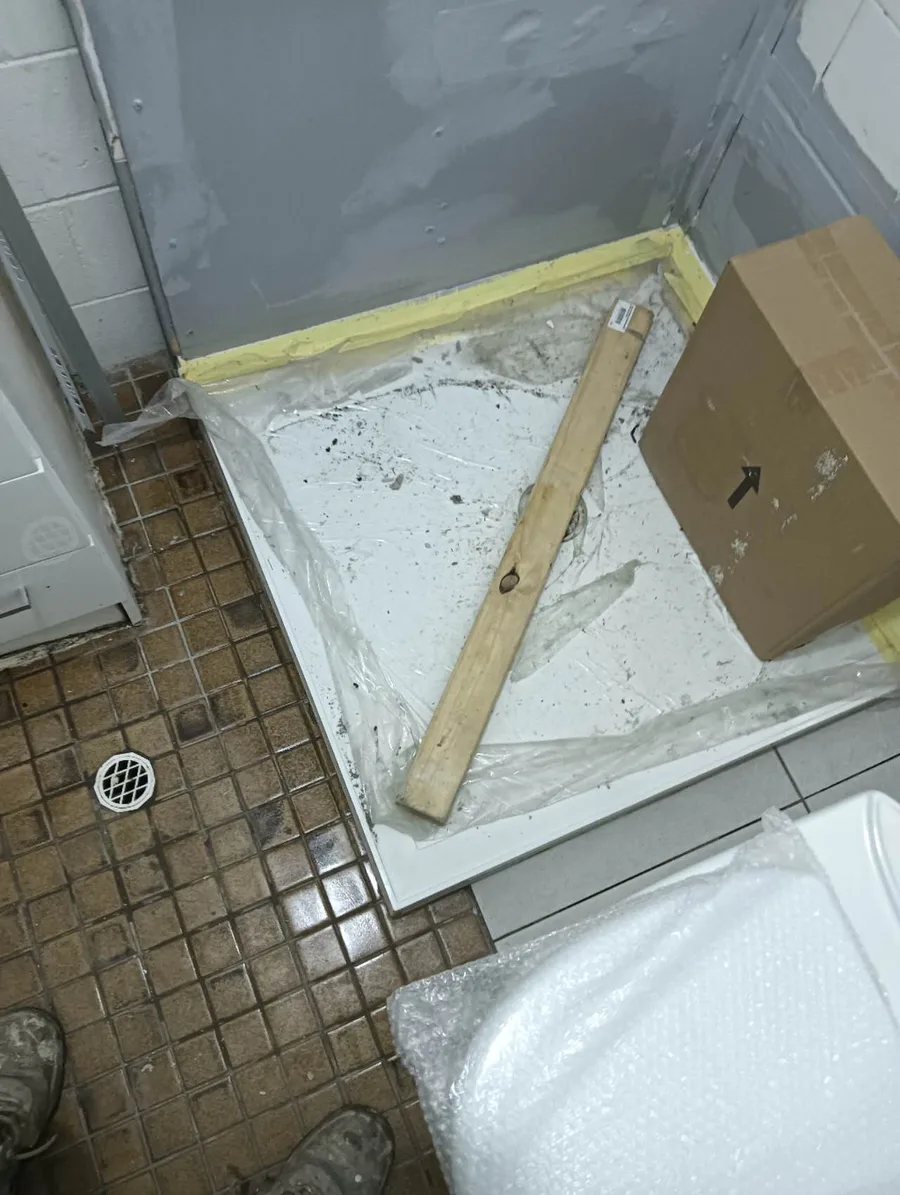
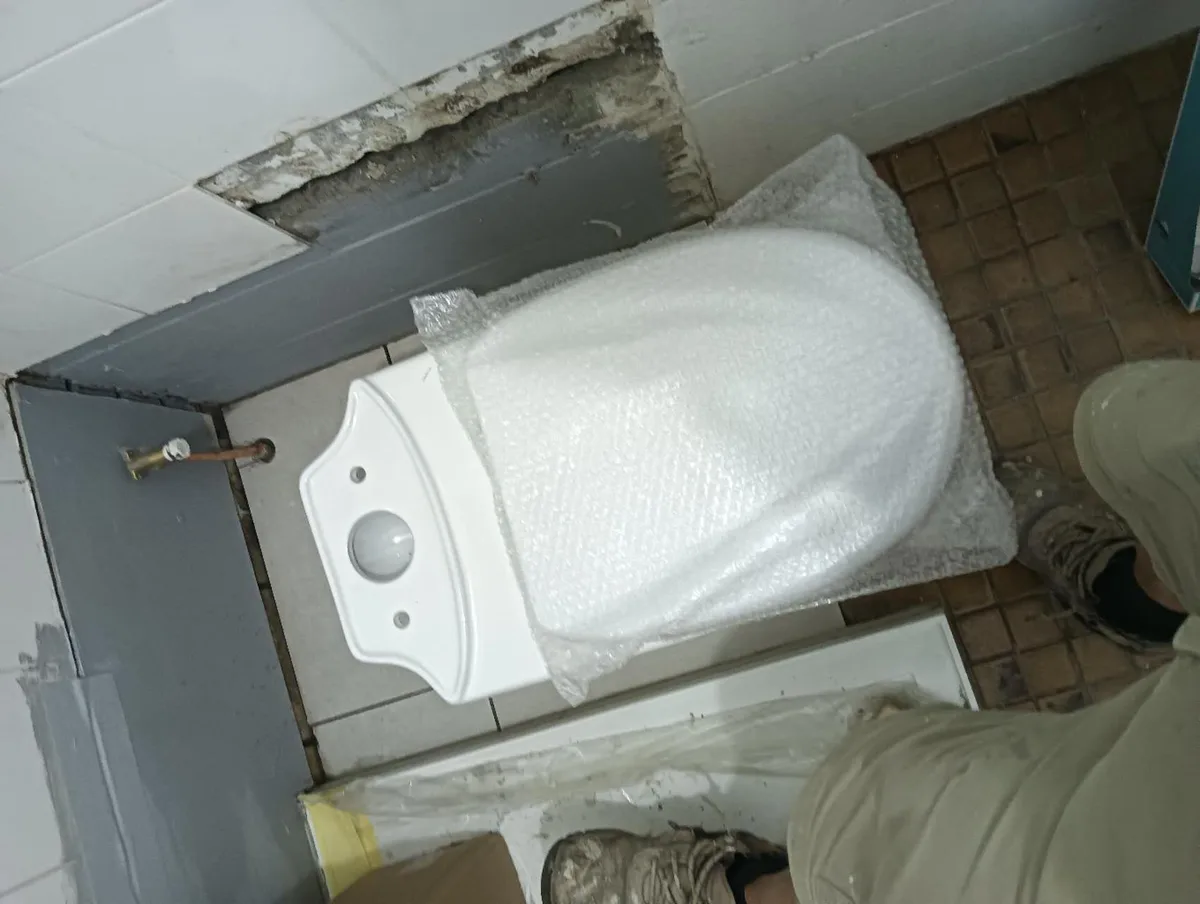
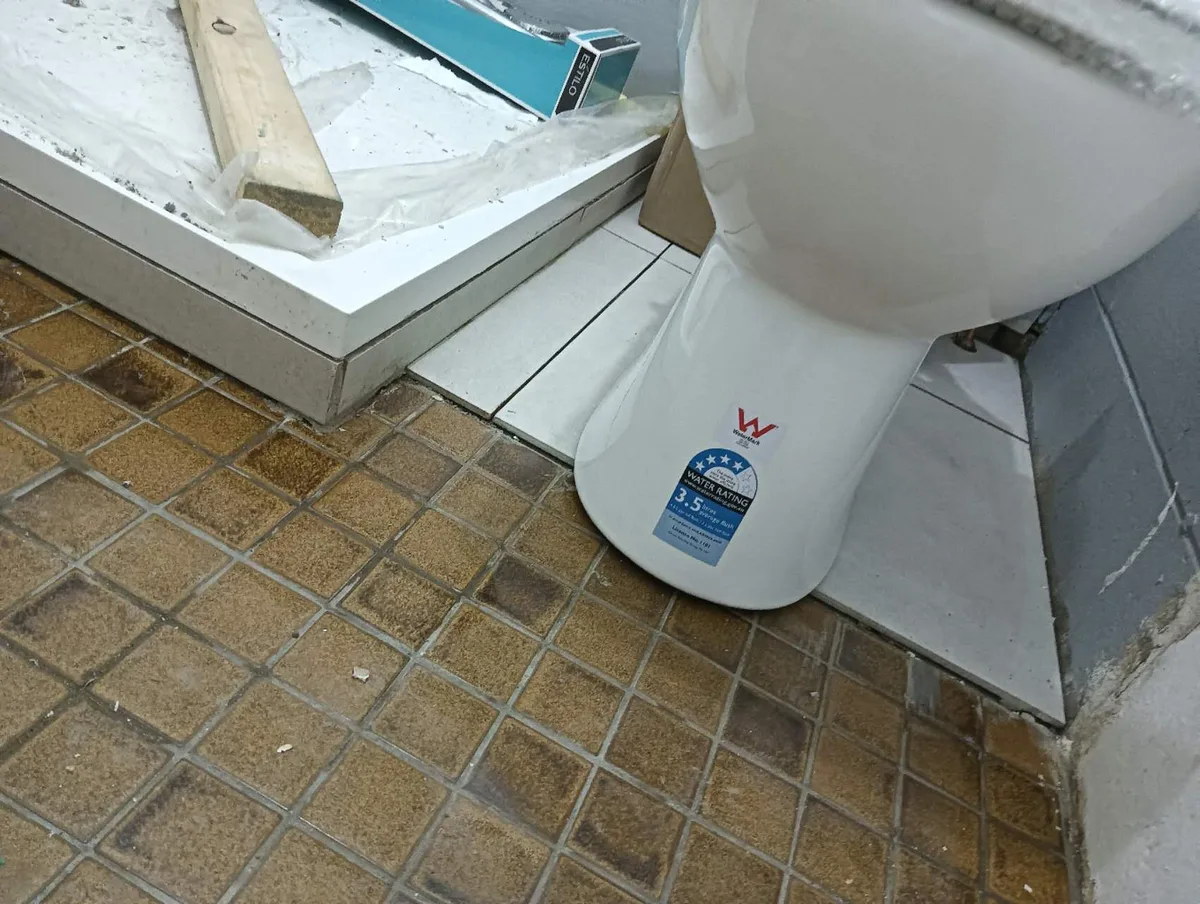
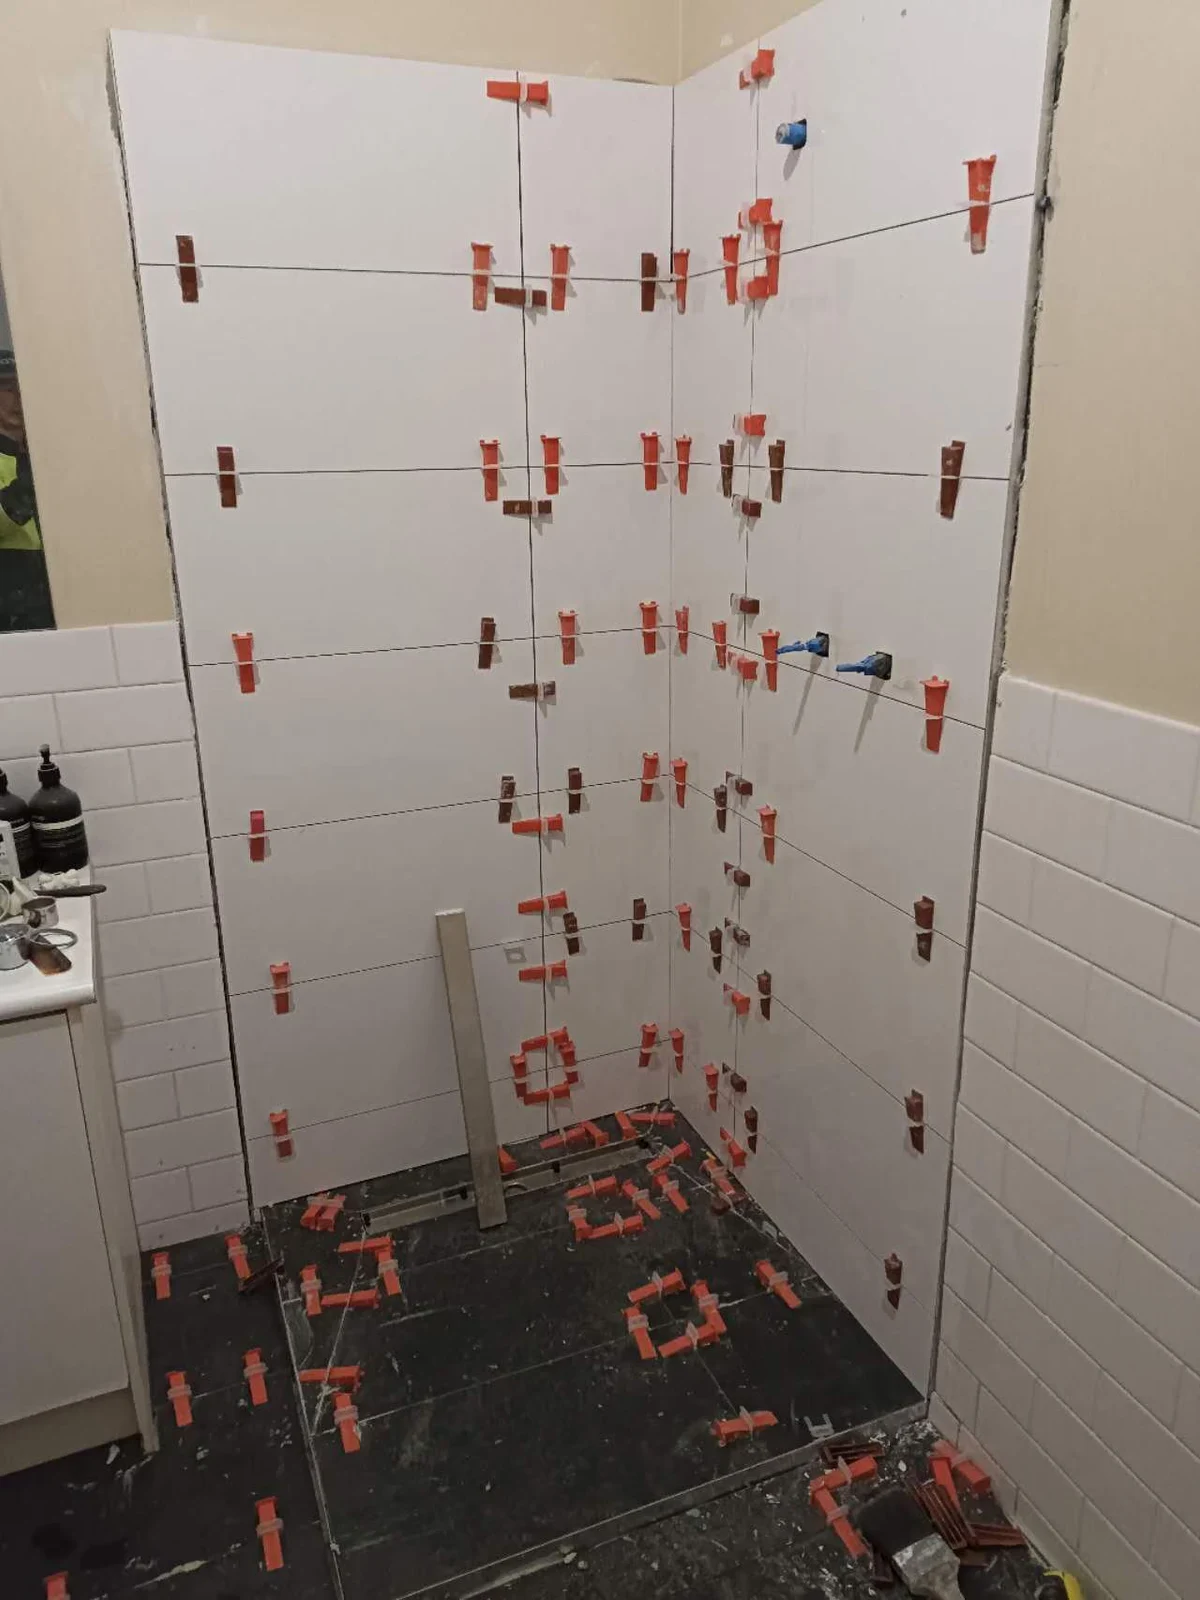
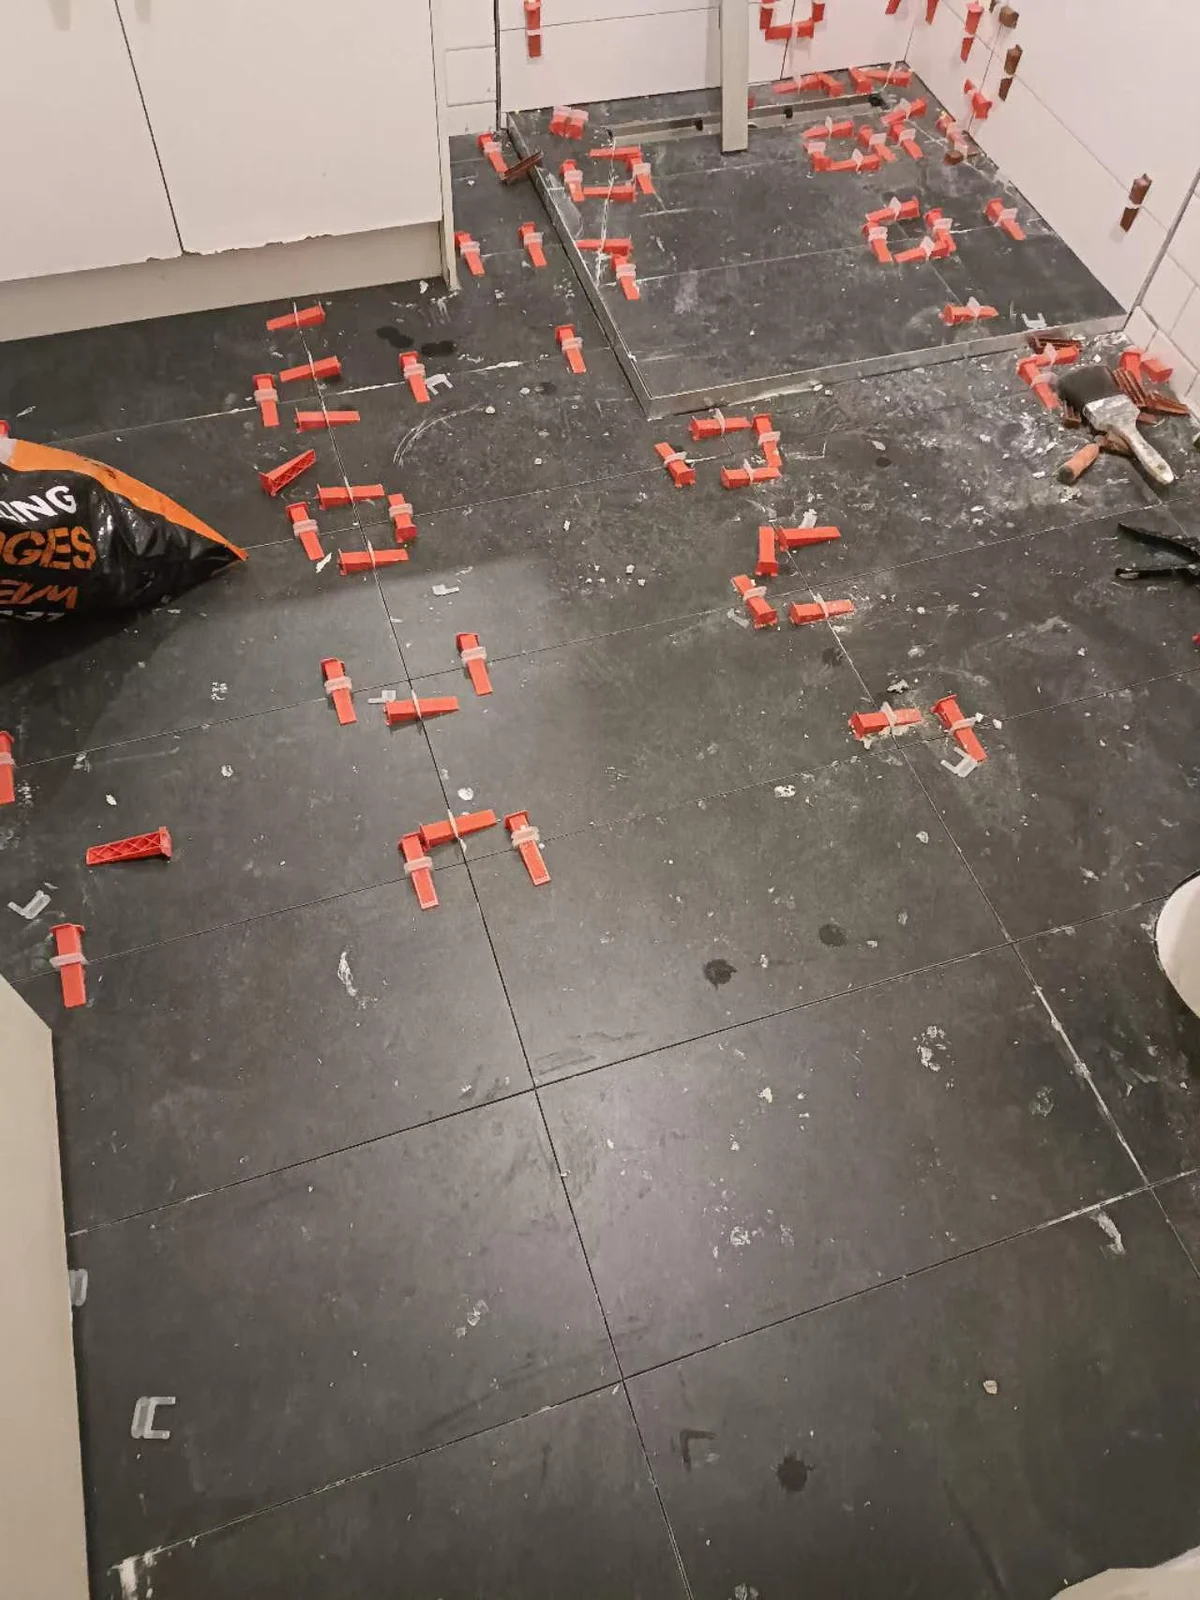
Bathroom tiling was completed as part of the project. The gallery includes an overview, flooring beside the vanity, and details of the tiled shower walls, floor and corners.

Interior with ceiling patches, wall lining, a dark post and flooring in a work areaWork-stage photo
View full-size photo ↗
Wide view of the interior lining and ceiling repairs, with sheet joints and the floor work area still visible.
Wall lining with vertical joints, filled fixing points, service openings and a floor work areaWork-stage photo
View full-size photo ↗
Wall lining with set joints and fixing points, while service openings and the floor work area remain visible.
Unpainted wall joints and ceiling patches, a dark central post and the floor work areaWork-stage photo
View full-size photo ↗
Another angle showing wall lining, joint setting and ceiling patching, with work marks remaining on the floor.
Grey ceiling lining with white joint setting above an opening beneath a yellow beamWork-stage photo
View full-size photo ↗
Ceiling lining and joint-setting detail above a narrow opening.
Door frame in a white wall, an unpainted ceiling-edge strip and a floor with work debrisWork-stage photo
View full-size photo ↗
Door frame and wall junction detail, with an unpainted finishing strip still visible above.
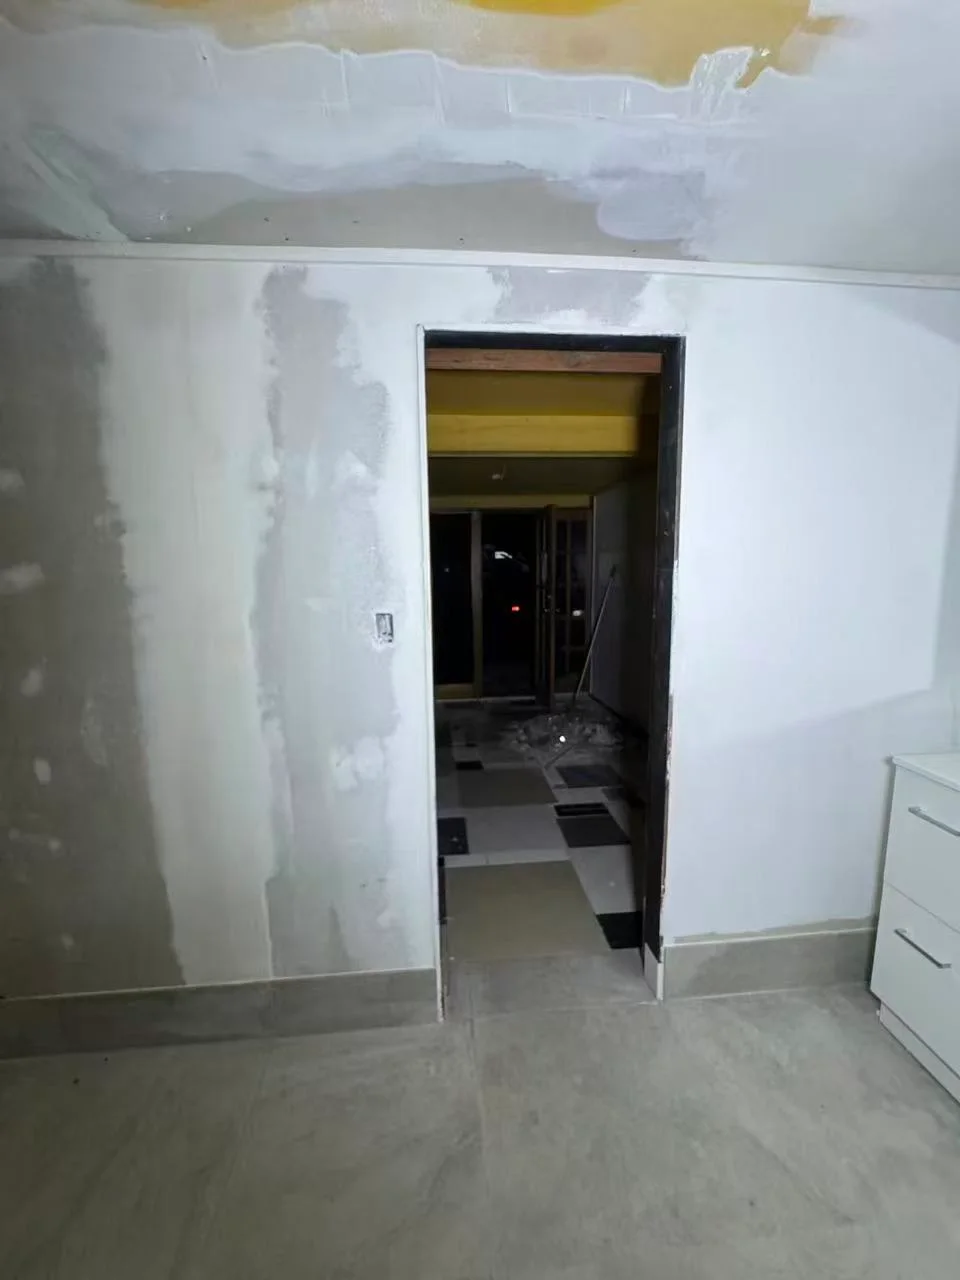
Doorway with dark trim, patched wall surfaces and grey floor tilesWork-stage photo
View full-size photo ↗
Wall patching around a doorway and the tiled floor edge, with work areas visible beyond.
Grey floor infill beside timber floorboards, a doorway junction and stored materialsWork-stage photo
View full-size photo ↗
Local floor infill beside existing floorboards, shown in its work-stage condition.
Patched white wall beside a door frame and an unfinished wall edge at floor levelWork-stage photo
View full-size photo ↗
Wall patching beside a doorway, with an unfinished edge still visible at floor level.
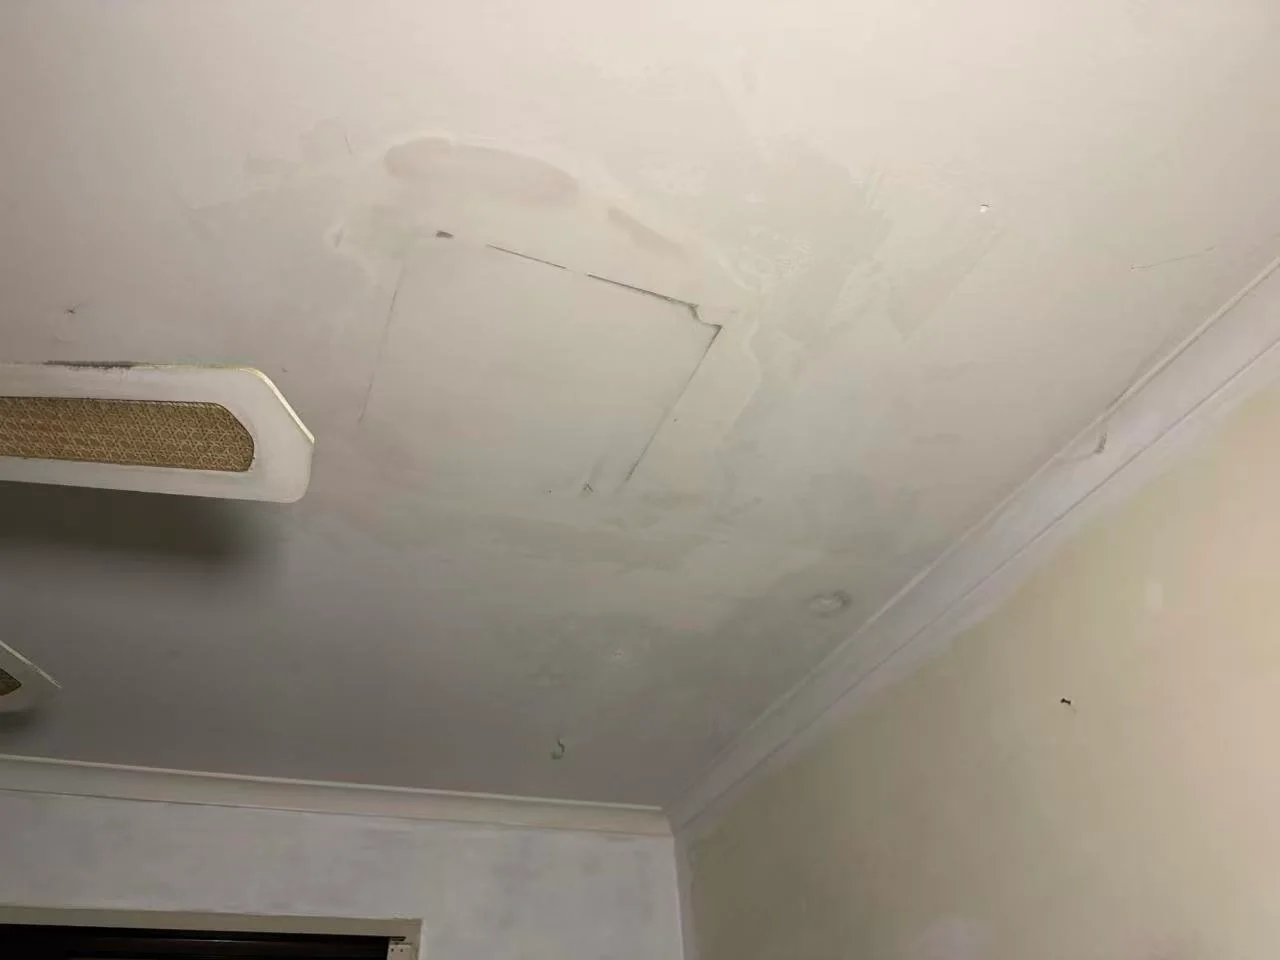
Ceiling patch outline, access panel and cornice beside several windowsWork-stage photo
View full-size photo ↗
Ceiling patching and cornice detail beside the windows, with a patch outline still visible.
Square ceiling patch and setting beside a ceiling fan and surrounding corniceWork-stage photo
View full-size photo ↗
Ceiling hole repair and setting beside a ceiling fan, with the square patch outline still visible.
Ceiling infill and joint setting, a fan on the left and a light opening on the rightWork-stage photo
View full-size photo ↗
Close view of ceiling patching, showing the setting around the infill and the adjacent cornice.
Square ceiling infill, surrounding patch marks and cornice on the rightWork-stage photo
View full-size photo ↗
Detail of ceiling infill and surrounding patching, with the joint outline still visible.
Bathroom with grey floor tiles, a toilet, tiled shower walls and visible wall and ceiling patchesWork-stage photo
View full-size photo ↗
Bathroom overview showing tiled flooring and shower walls, with patching still visible on the surrounding walls and ceiling.
White vanity and mirror, grey floor tiles, a brick pier and visible ceiling patchesWork-stage photo
View full-size photo ↗
Tiled flooring beside the vanity, with unpainted ceiling patches still visible above.
Grey shower wall and floor tiles, a shower head and a yellow ceiling surfaceWork-stage photo
View full-size photo ↗
Detail of the tiled shower walls and floor, with the yellow ceiling surface still visible above.
Grey shower tiles, a square floor waste and a patched ceiling area aboveWork-stage photo
View full-size photo ↗
Another view of the shower tiling and floor waste, with a ceiling patch visible above.
01 · COMMERCIAL INTERIOR FIT-OUT

Commercial interior fit-out: before and after

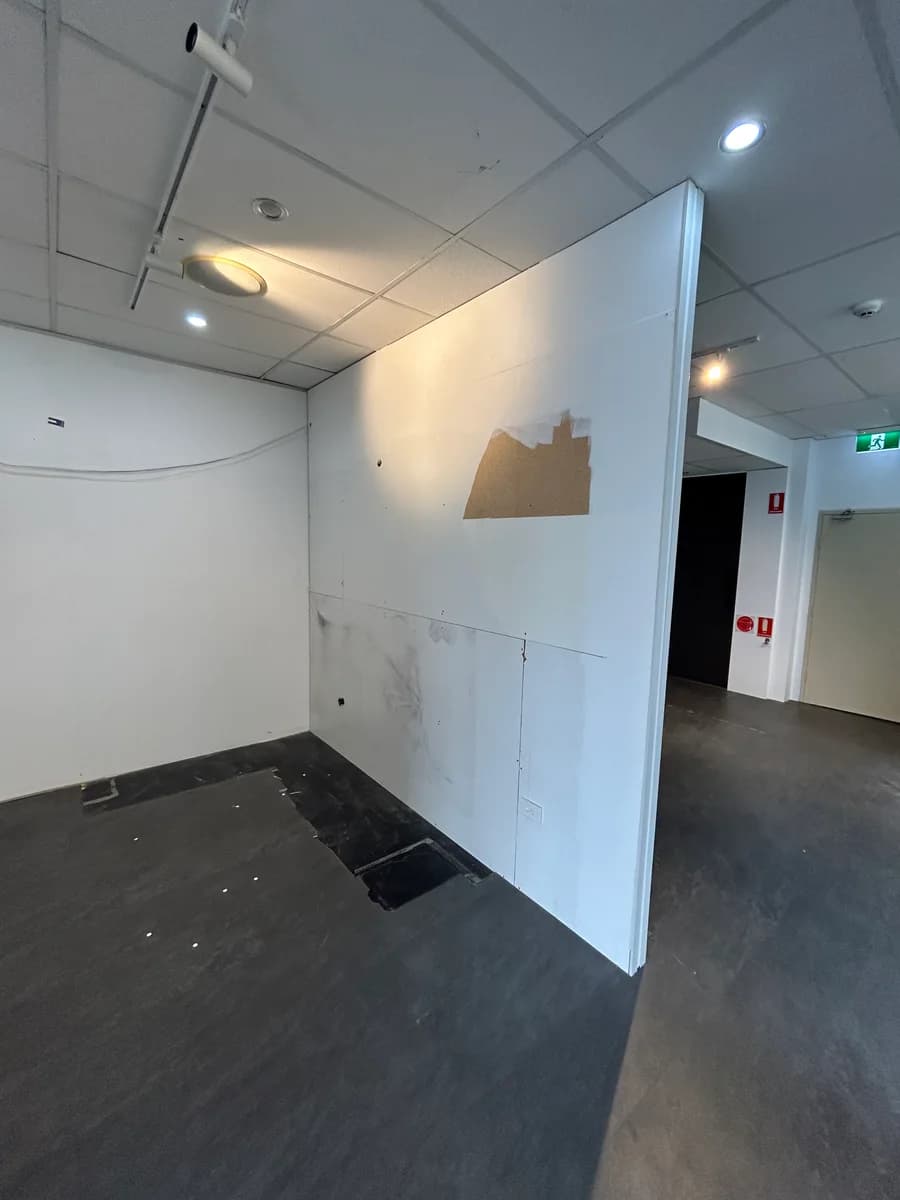
Before: The interior had unfinished wall surfaces, exposed service points and floor areas that still needed their final finish.

The work: The fit-out brought together wall preparation and painting, floor finishing, cabinetry, benchtops, fixtures and the final room details.

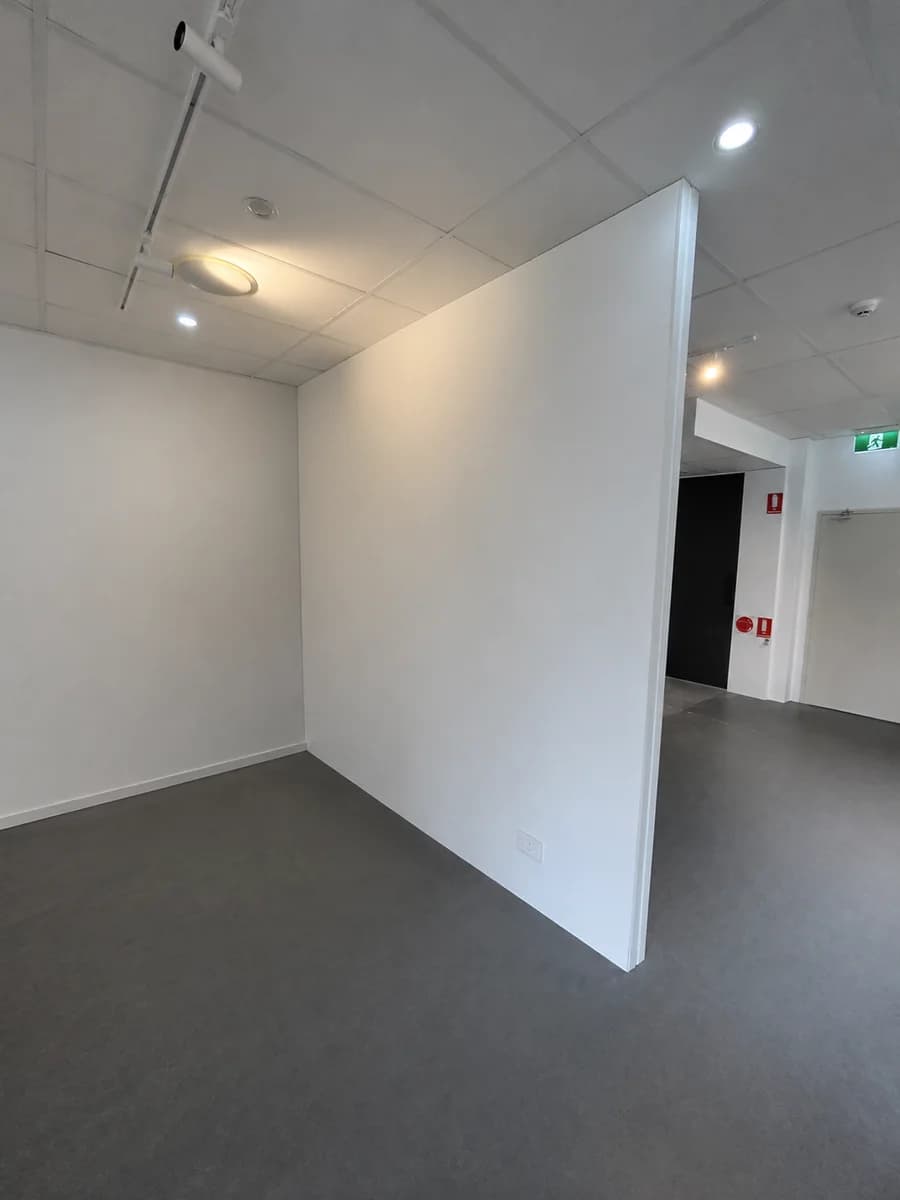
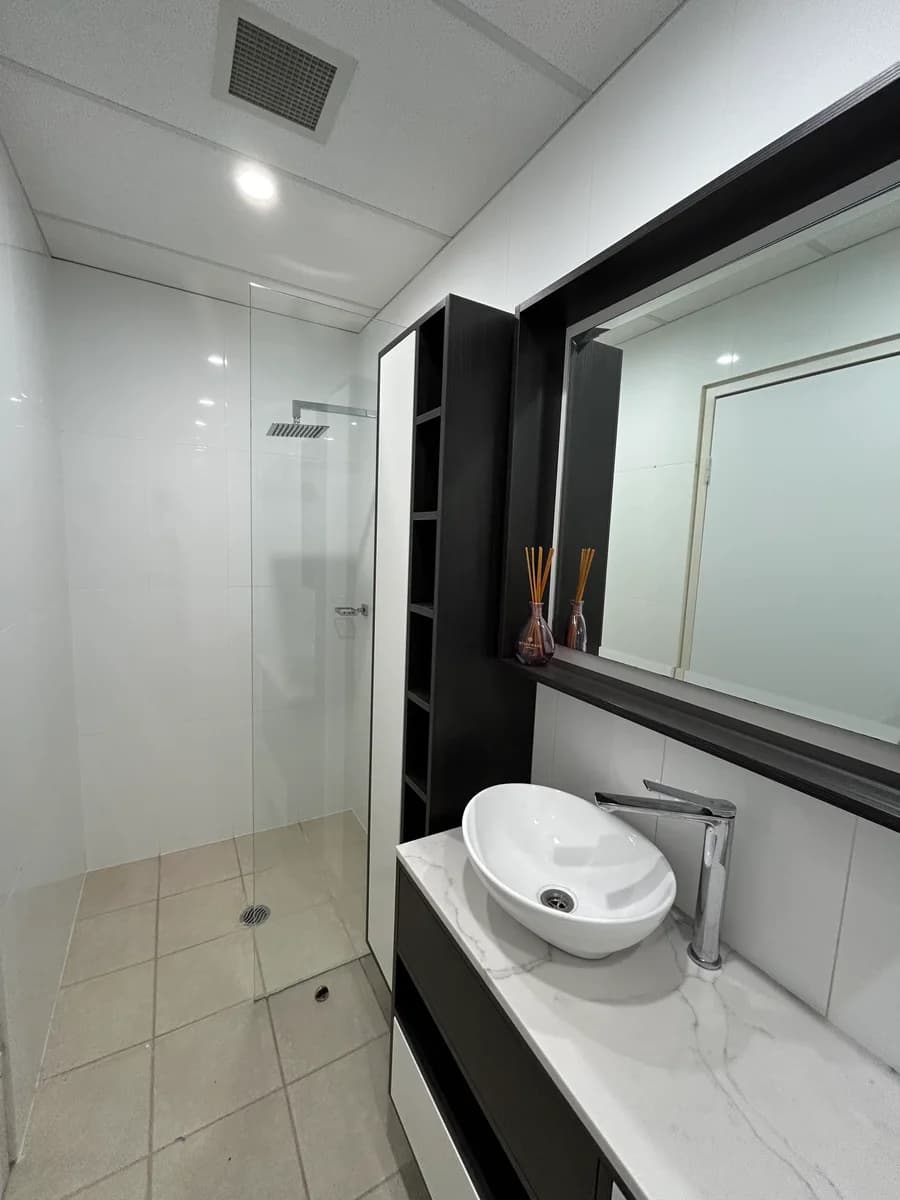
After: The finished space has clean white walls, a continuous dark floor and coordinated black-and-white finishes across the kitchenette and bathroom.

Commercial interior with unfinished walls and floor before the fit-outBefore
Unfinished wall and floor surfaces before the fit-out
Same commercial interior after wall and floor finishingAfter
Same view after the wall and floor finishes were completed
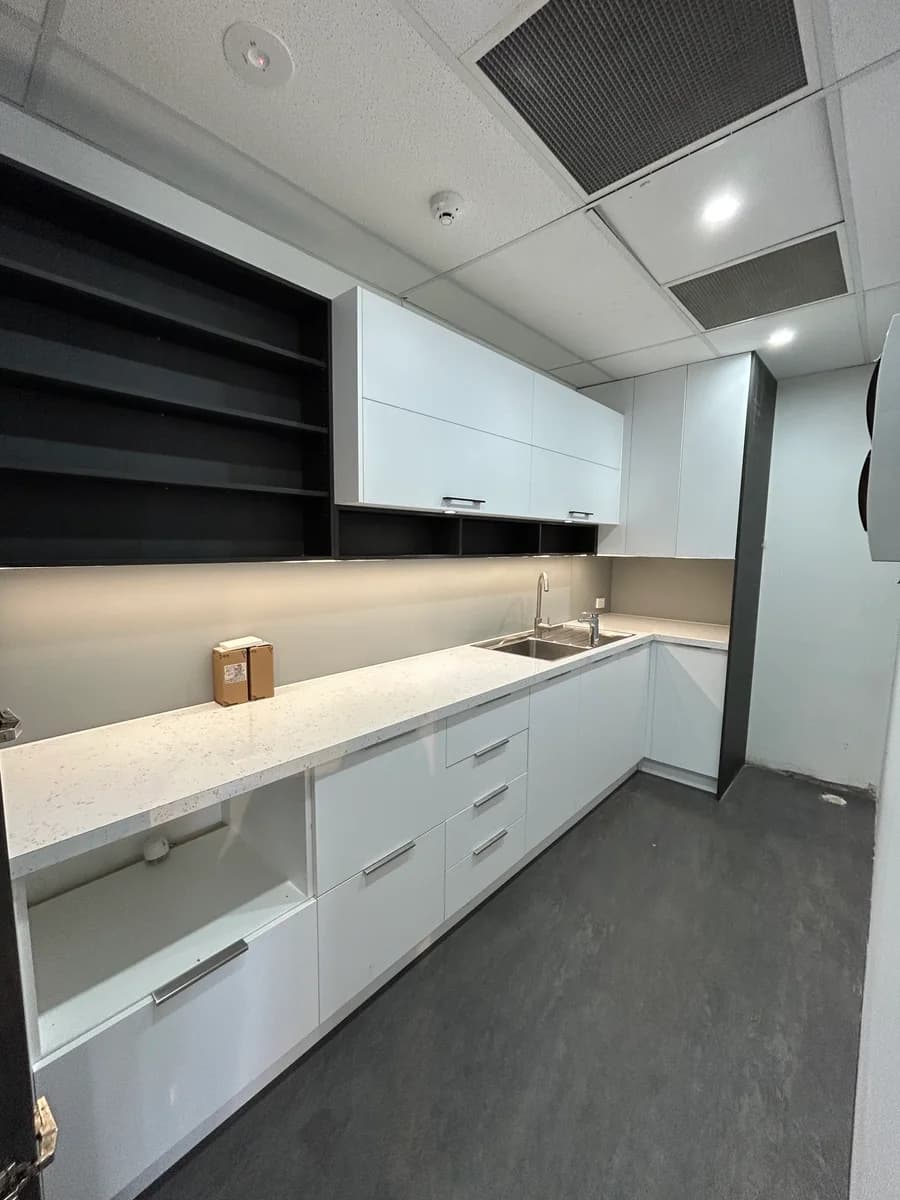
Finished commercial kitchenette with white cabinetry and dark shelvingFinished detail
Finished kitchenette cabinetry, benchtop, sink and lighting
Finished commercial bathroom with shower, vanity and black shelvingFinished detail
Finished bathroom with shower, vanity and fitted storage

Related services: Wall preparation and painting · interior carpentry and lining repairs.

Discuss an interior renovation
02 · RESIDENTIAL ROOM FINISH

Clean walls and natural light in a finished room

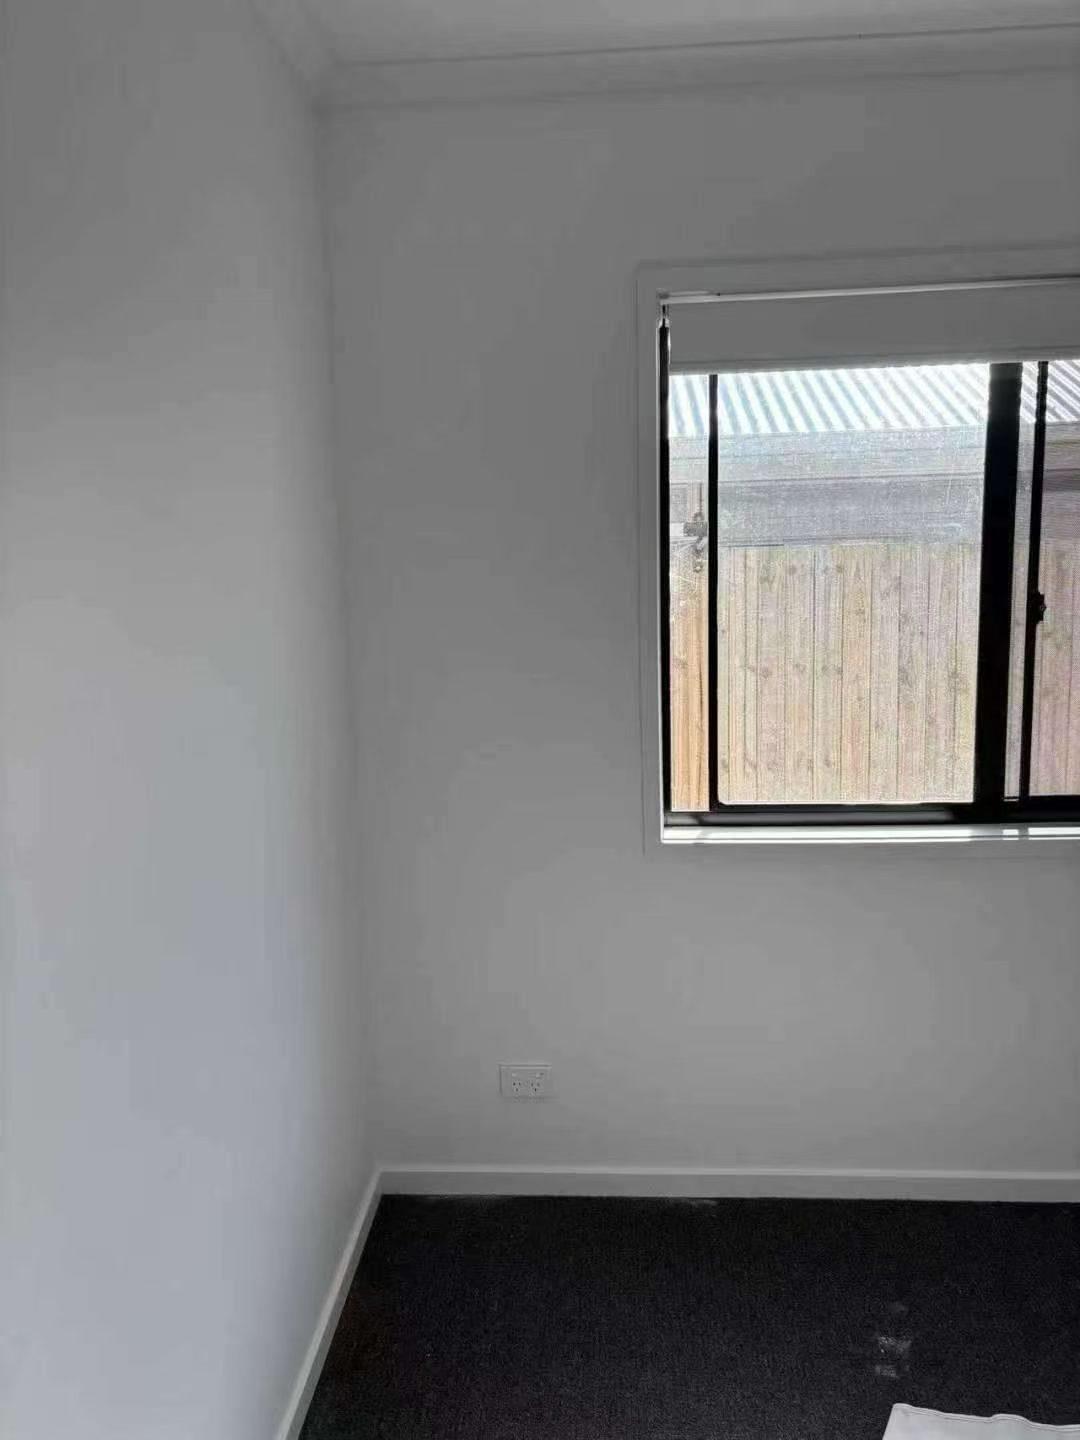
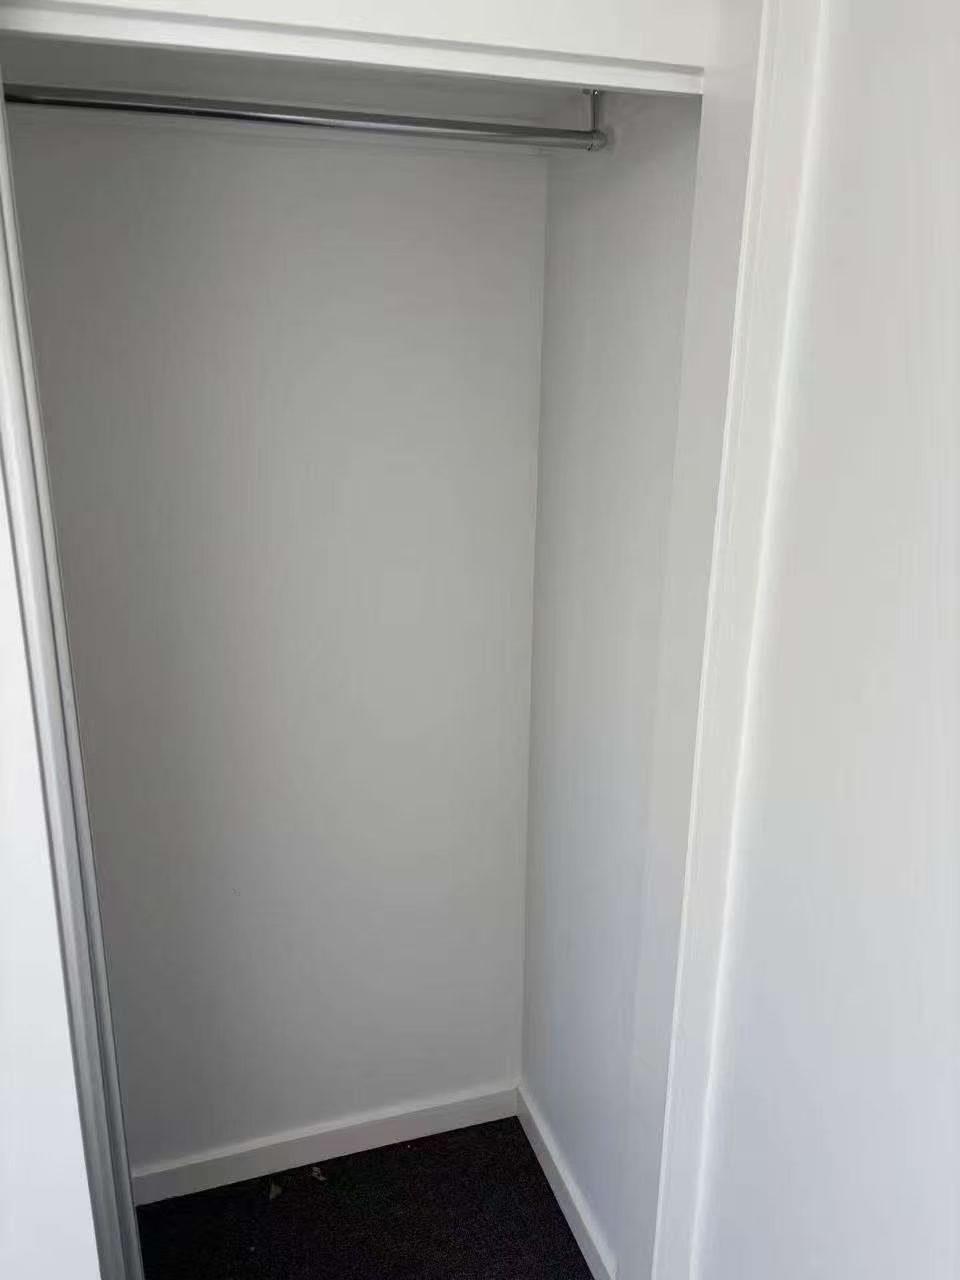
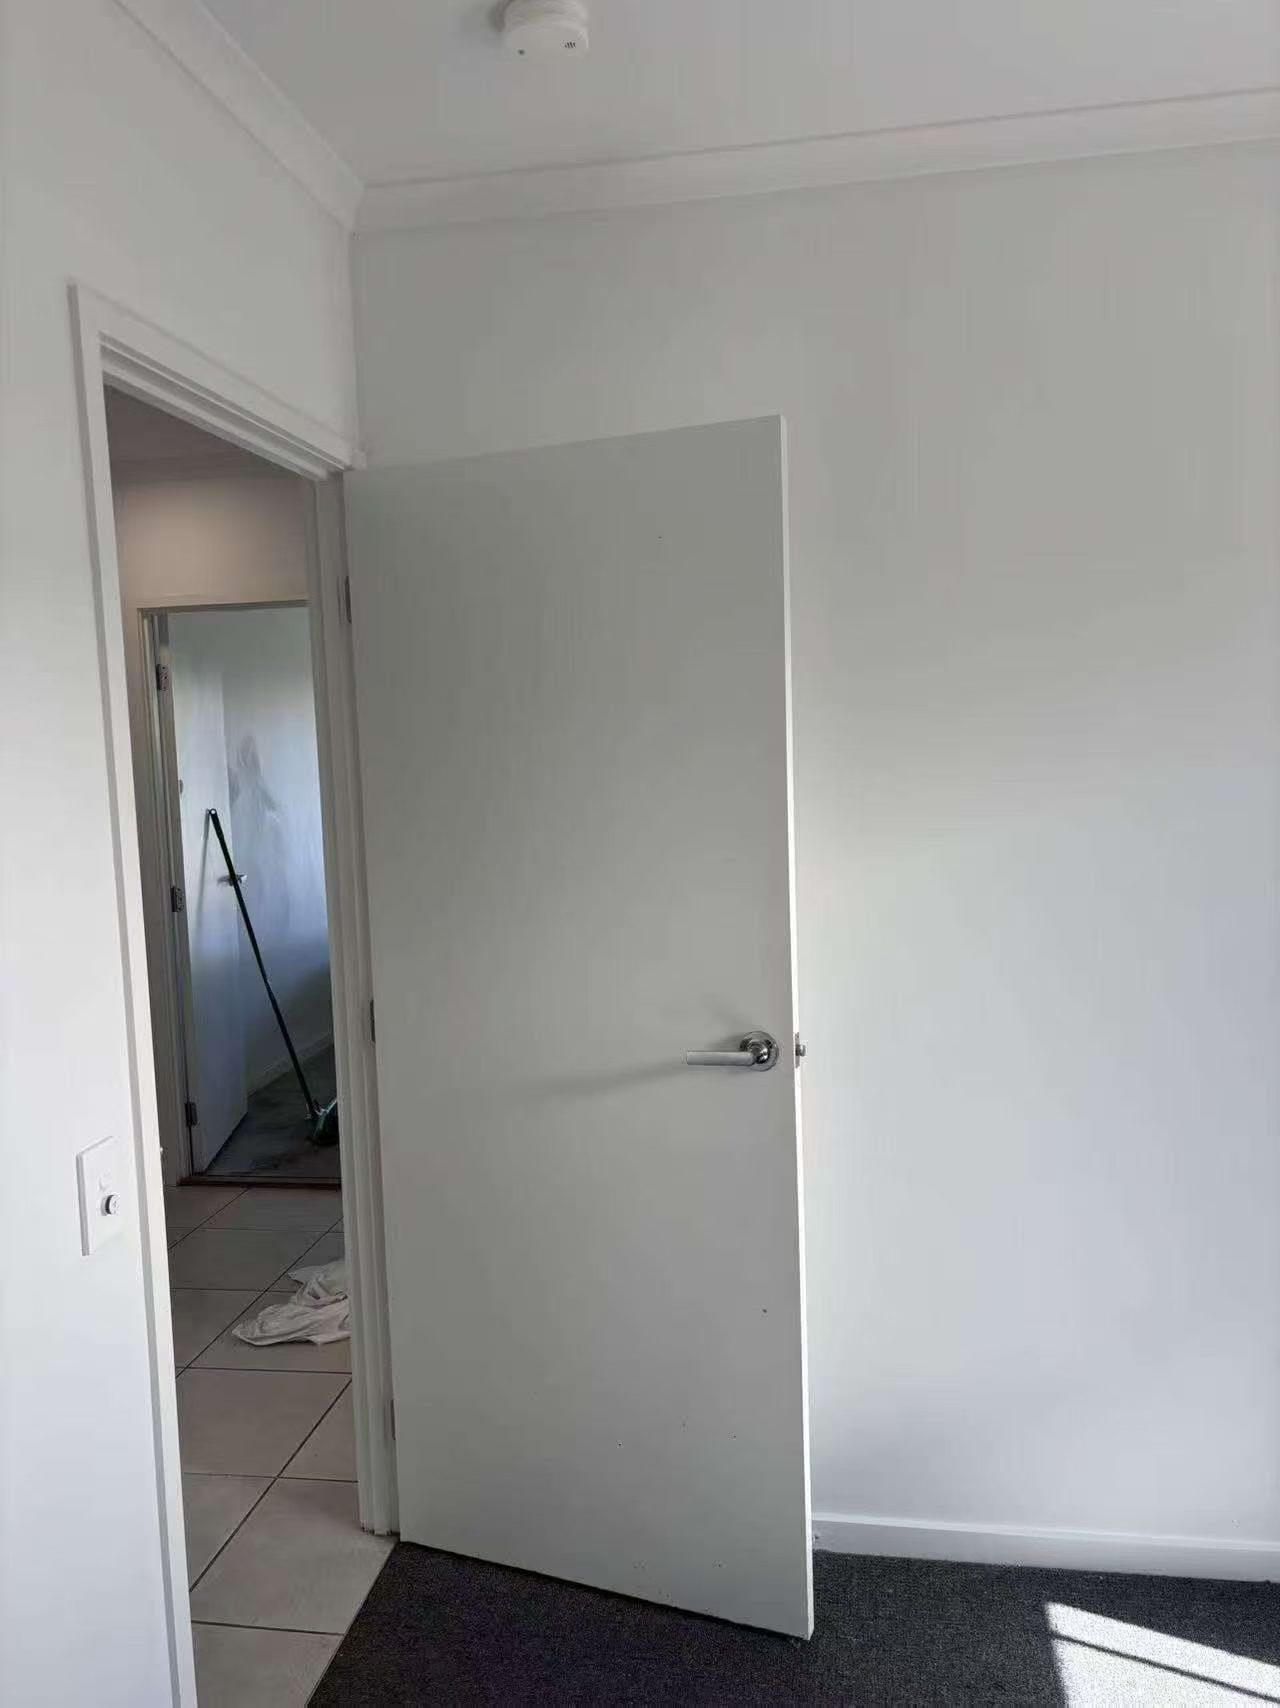
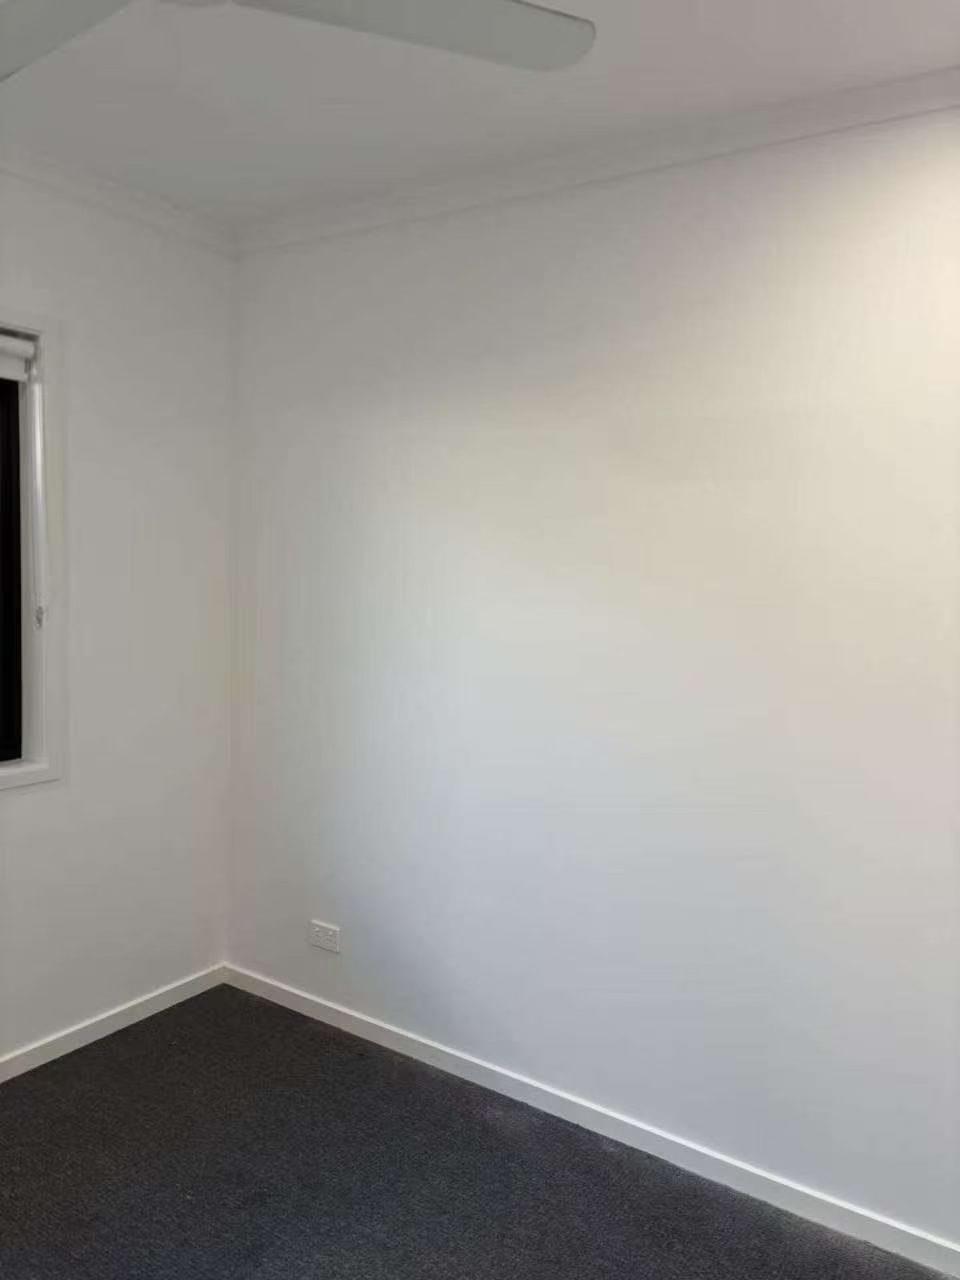
Four completed views show the light wall finish, white skirting and trim, window, doorway and wardrobe recess. With the room left uncluttered, the surfaces and natural light are easy to see.

These are completion photos only. No before view, paint specification or wider renovation scope is recorded with this set.

Completed residential room showing a light wall, white skirting and a windowCompleted view
Window wall and the finished junction with the skirting
Finished light walls and hanging rail inside a residential wardrobe recessCompleted view
Wardrobe recess and surrounding wall finish
Finished residential room wall and white doorway with natural light on the carpetCompleted view
Doorway, wall and trim from inside the room
Uncluttered residential room with a light finished wall and white skirtingCompleted view
Wider view of the clean wall finish
Explore painting and wall finishes
03 · BLOCK RETAINING WALL

Boundary retaining wall built course by course

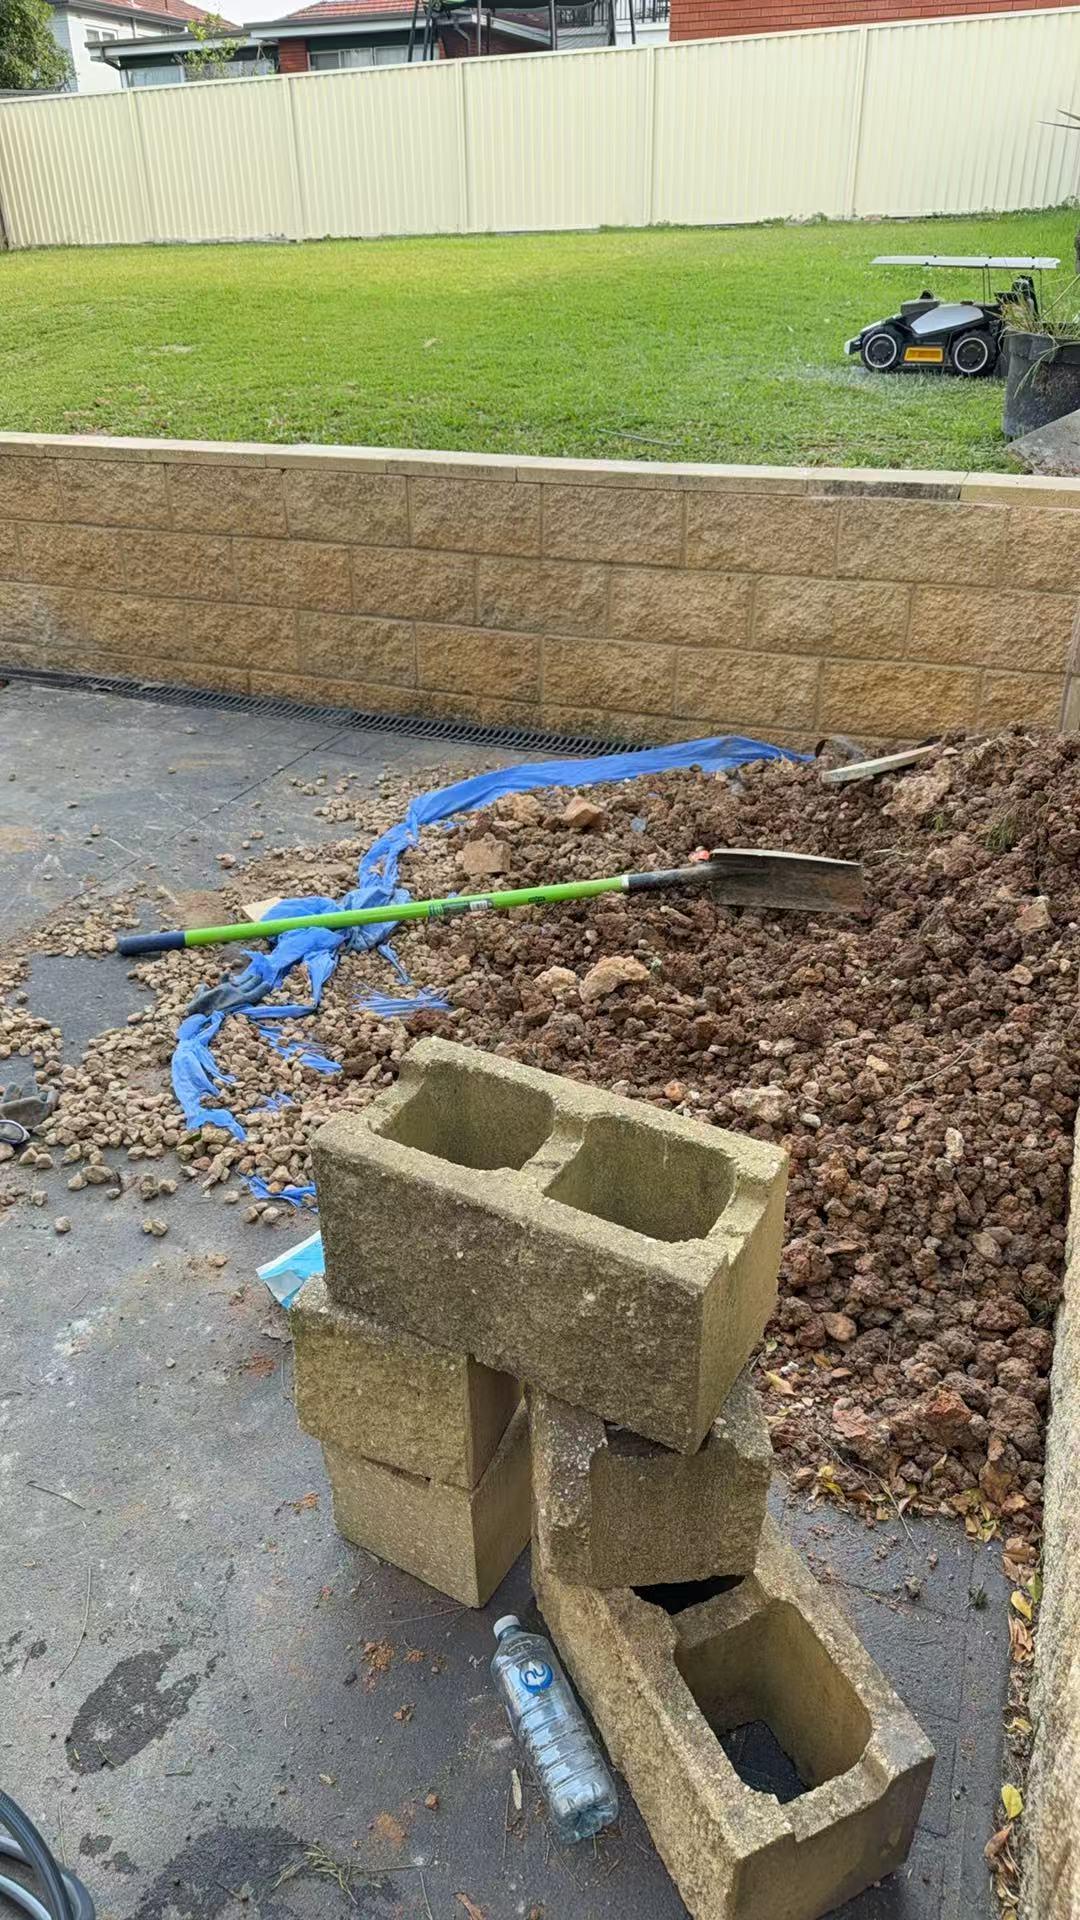
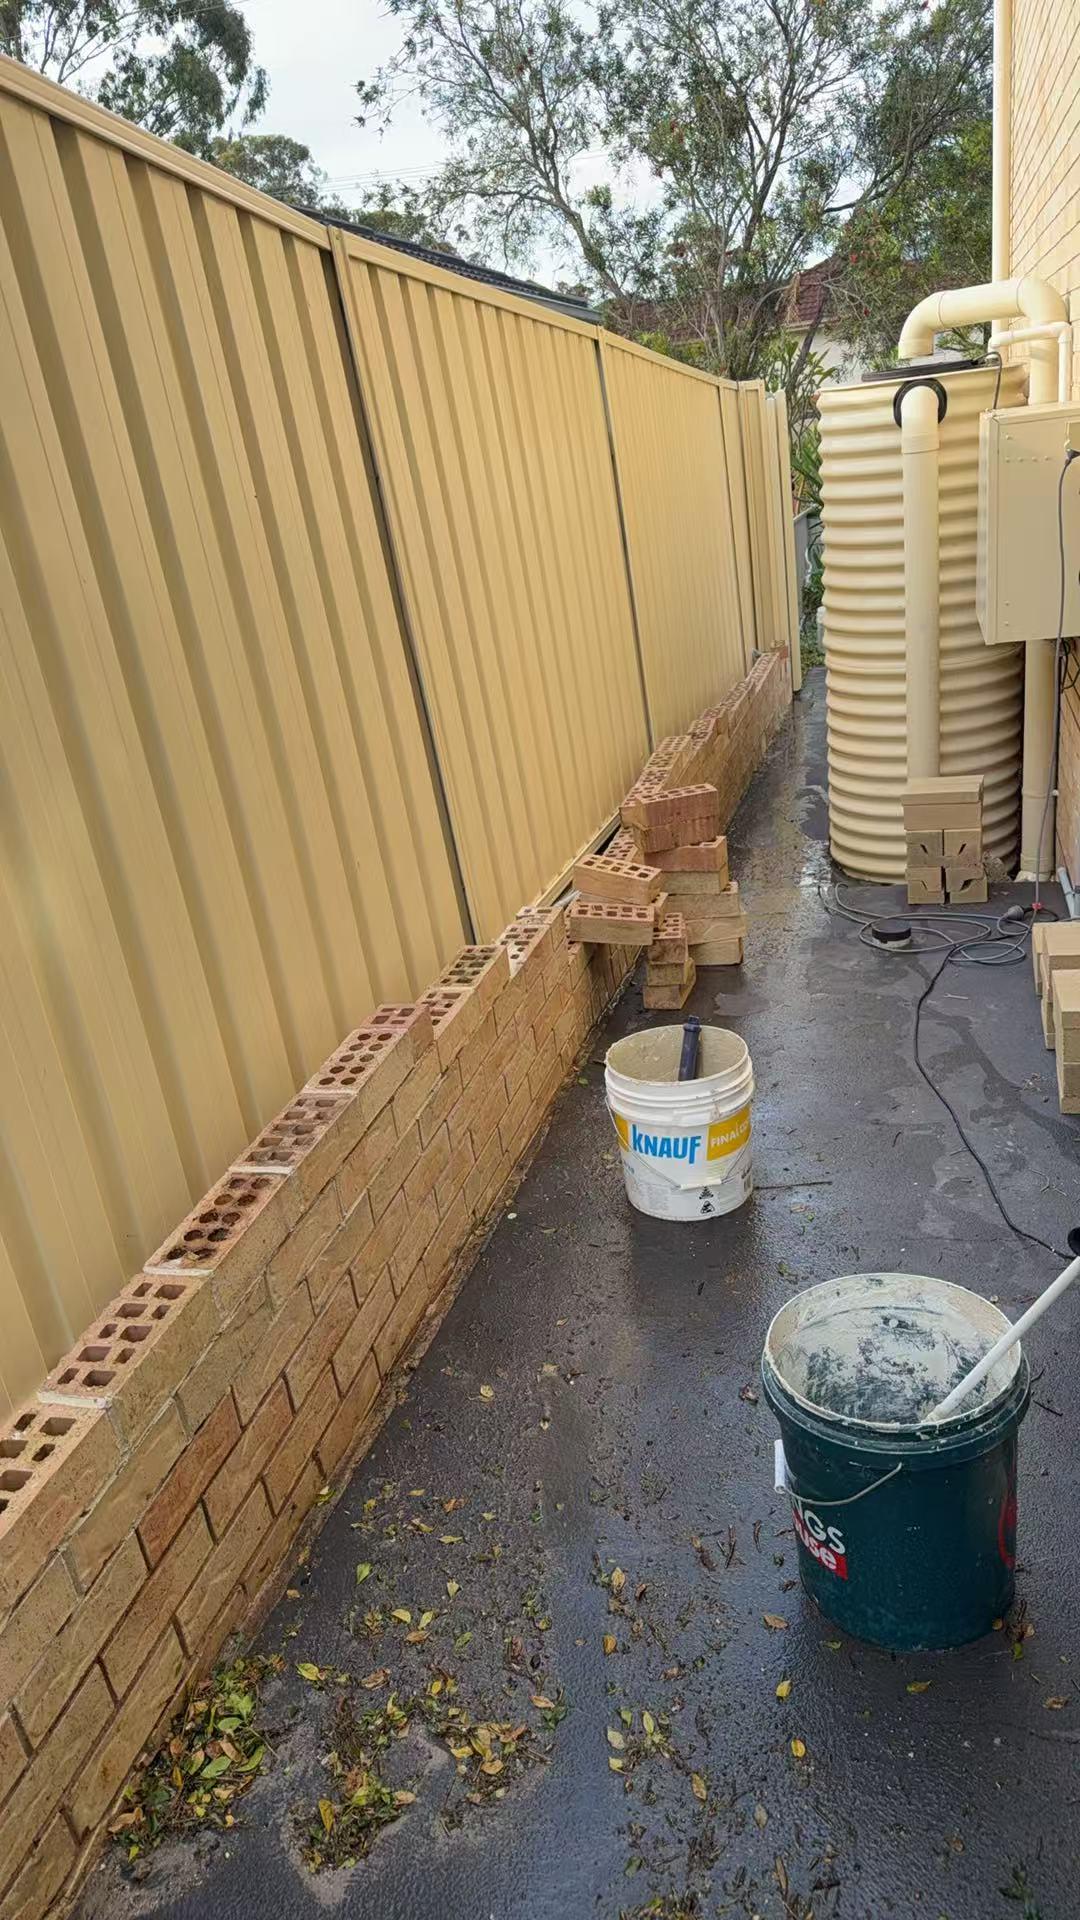
The site: Ground along an existing rear boundary beside a Colorbond fence, where a low block wall was being built to hold the ground back along the paved area.

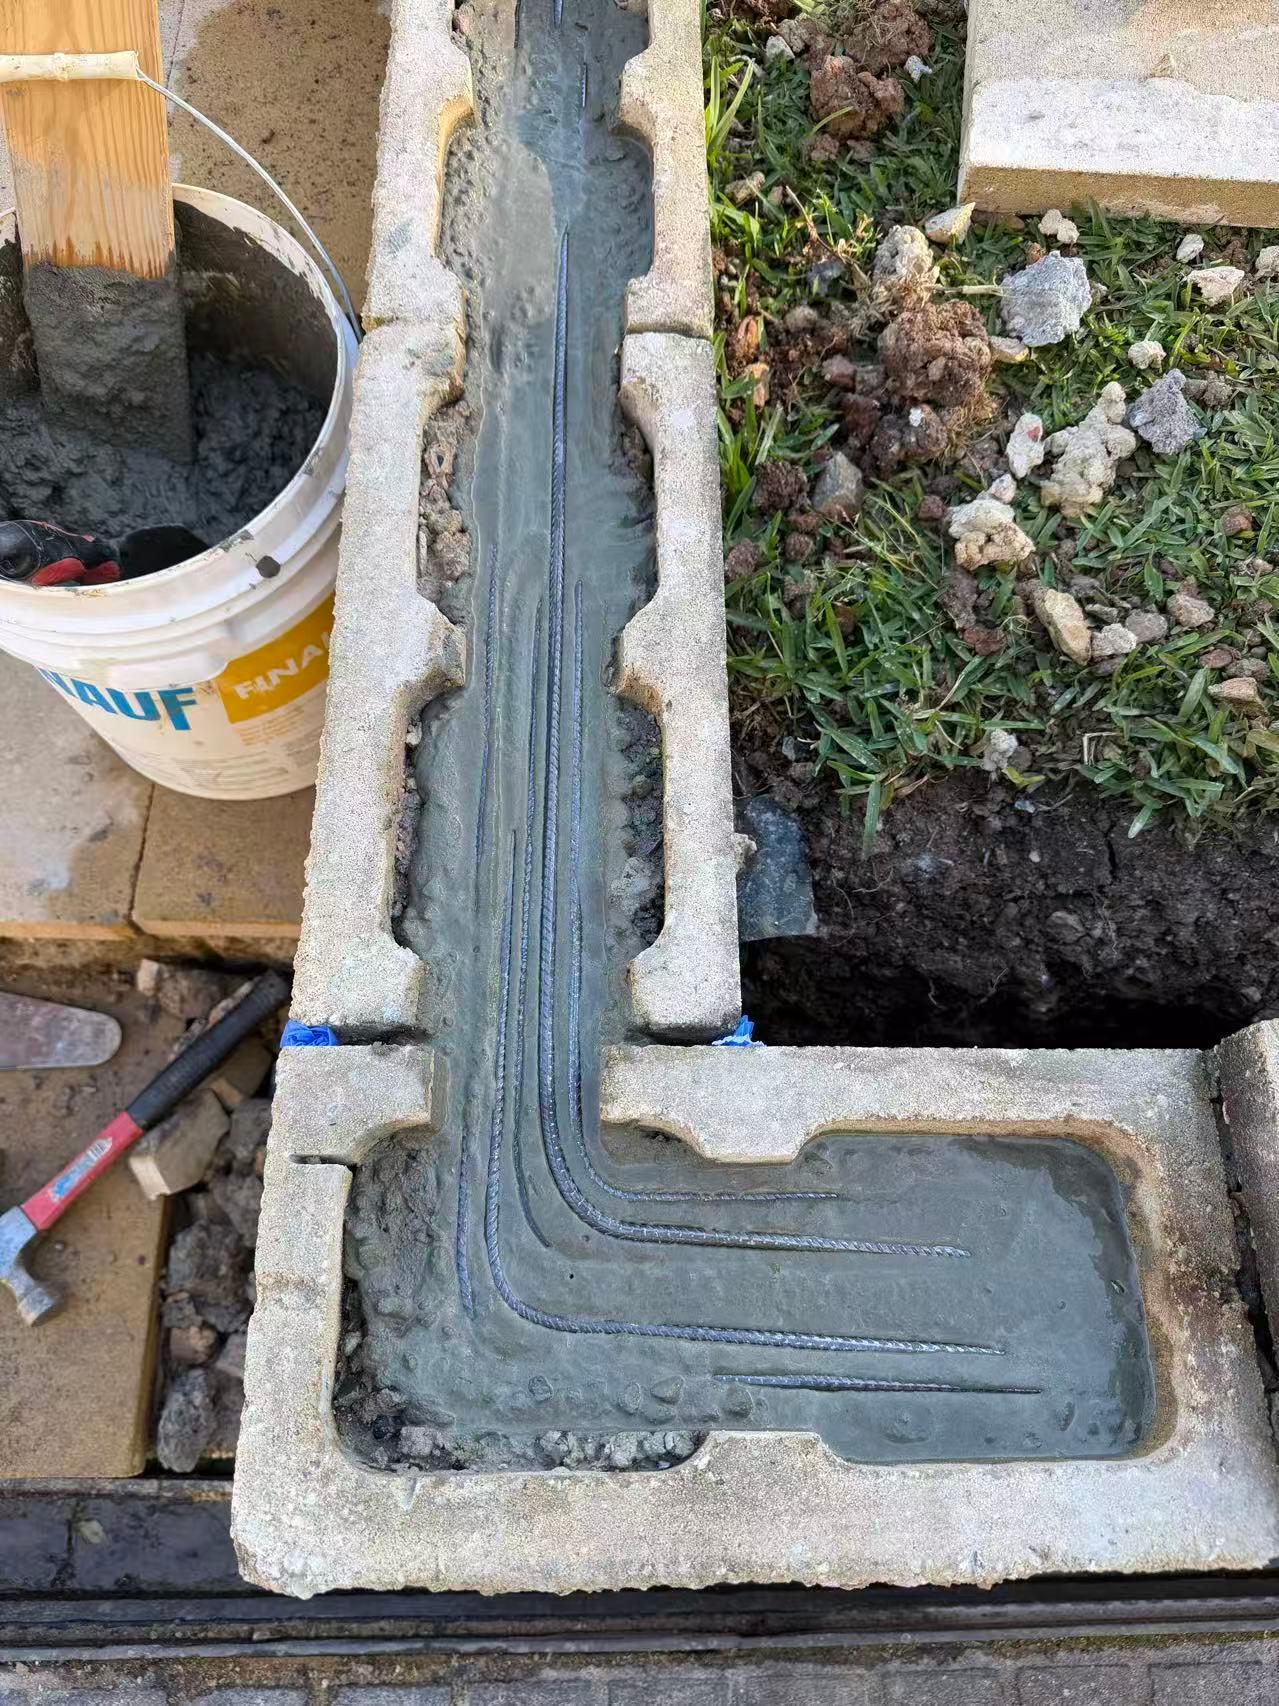
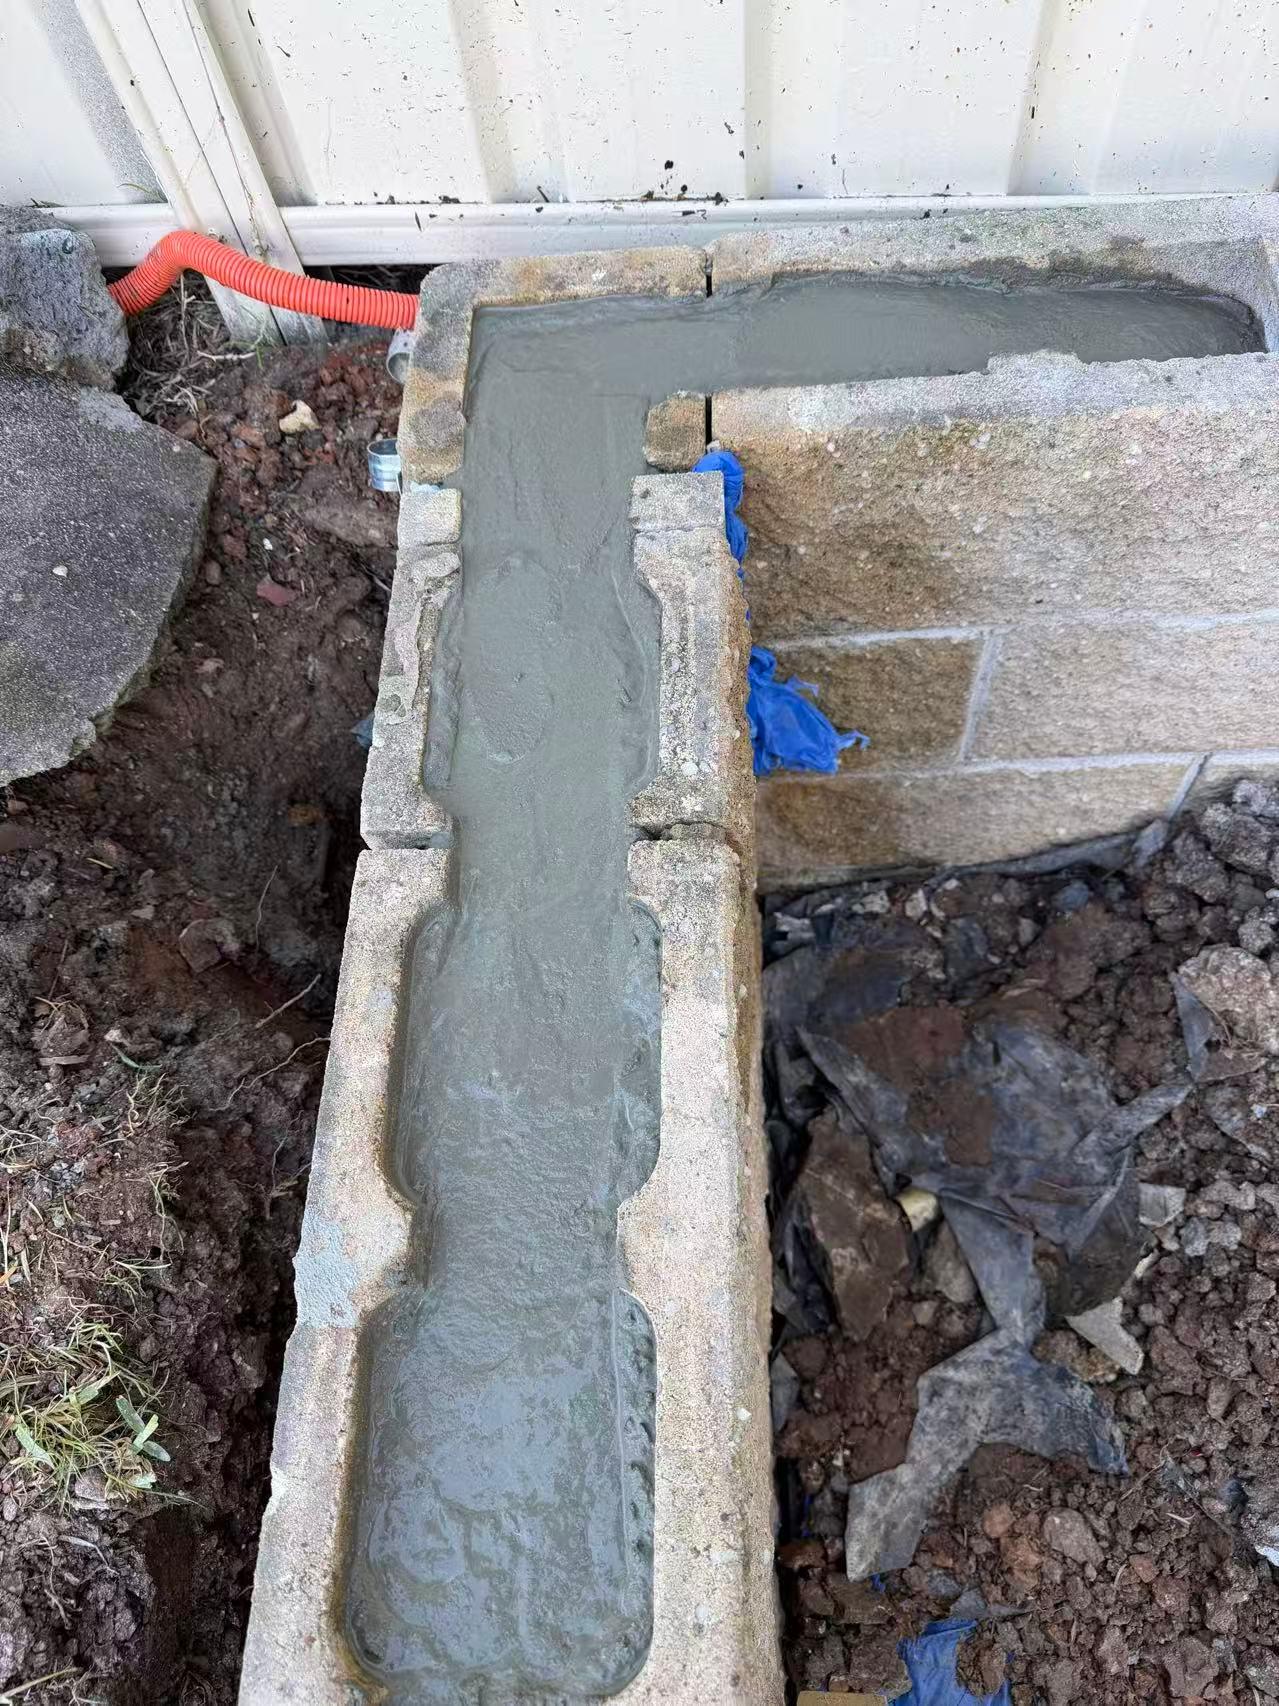
The work: The strip was excavated clear of old roots and spoil, blocks were laid course by course against the boundary, reinforcing bar was placed in the block cores, and the cores were then filled.

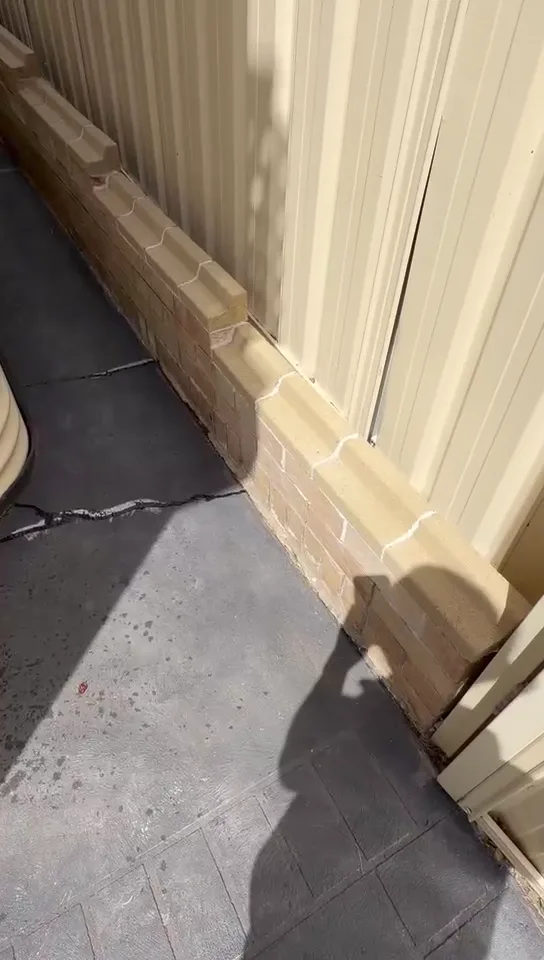
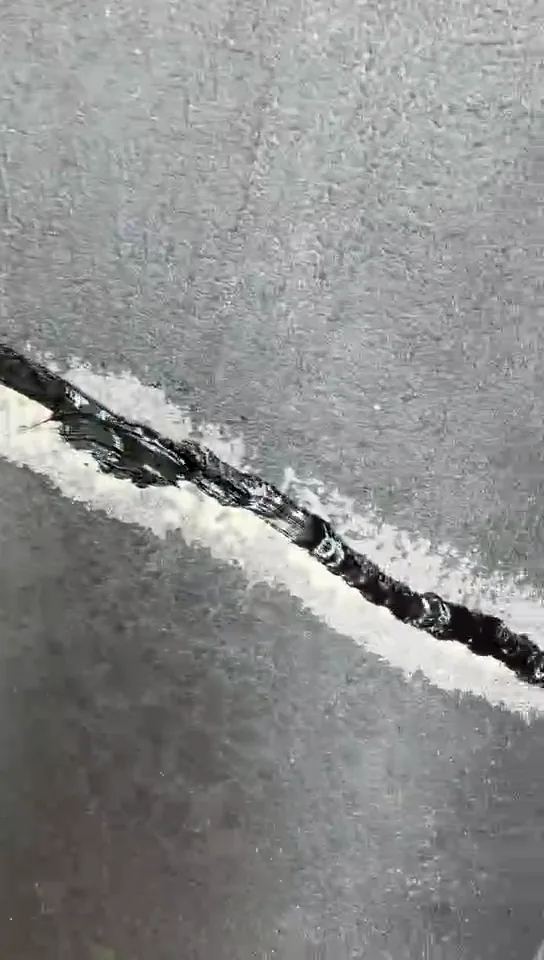
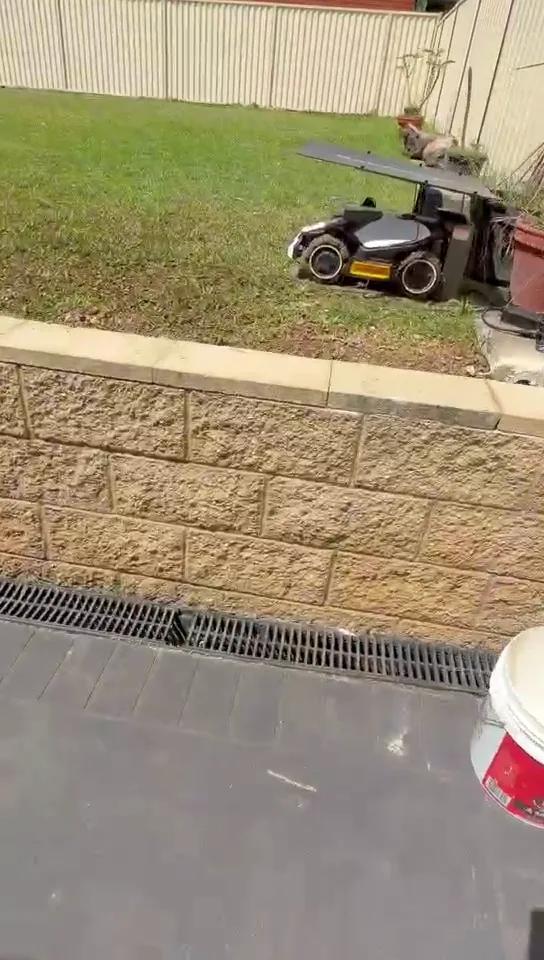
What is recorded: The photos record materials on site, the roots found during excavation, blockwork as it rose, and the bar and core fill. Two on-site clips follow the same job: the excavated strip, and a walk along the finished wall showing the capping course, the paved area in front and the edge detail at the drain. The stills below the photo set are taken from the walk-through clip.

Pallets of blocks, excavated spoil and buckets staged along a rear boundary beside a fenceOn site
Blocks, spoil and buckets staged along the boundary before the wall rose.
Thick tree roots exposed in an excavated strip of ground beside a boundary fenceExcavation
Old roots uncovered in the excavated strip and cut out before the blockwork.
Block wall rising course by course along a Colorbond fence with mortar buckets beside itBlockwork
Blocks laid course by course along the boundary, with mortar buckets on the slab.
Reinforcing bar set into the open cores of a block wall with mortar alongsideReinforcement
Reinforcing bar placed in the open block cores before the fill went in.
Mortar placed into the core of a block wall corner, viewed from aboveCore fill
Mortar placed into the core of the block wall at the corner.
Block retaining wall topped with capping blocks along a Colorbond fence, with paving in frontCapping course
Wall built up to its capping course along the boundary fence, with the paved area running in front. Still taken from the on-site clip.
Close view of capping block joints beside paving, with an orange conduit at the slab edgeCapping detail
Capping joints, the paving edge and the conduit left at the junction between wall and slab. Still taken from the on-site clip.
Paving edge with a steel stake and a linear drain grate beside grassEdge detail
Paving edge, steel stake and drain grate where the paved surface meets the boundary line. Still taken from the on-site clip.
Walk-through clip: the block wall and capping along the boundary fence, the paved area in front, and the edge at the drain. On-site footage, no audio.
Excavation clip: roots and spoil in the open strip before the blockwork went in. On-site footage, no audio.

For similar outdoor work, start with the outdoor scope assessment. Site conditions, trade responsibilities and any approval requirements are checked before the work is agreed.

Discuss a retaining wall or outdoor works
04 · APARTMENT INTERIOR AND BALCONY

Apartment interior and balcony finishes after completion

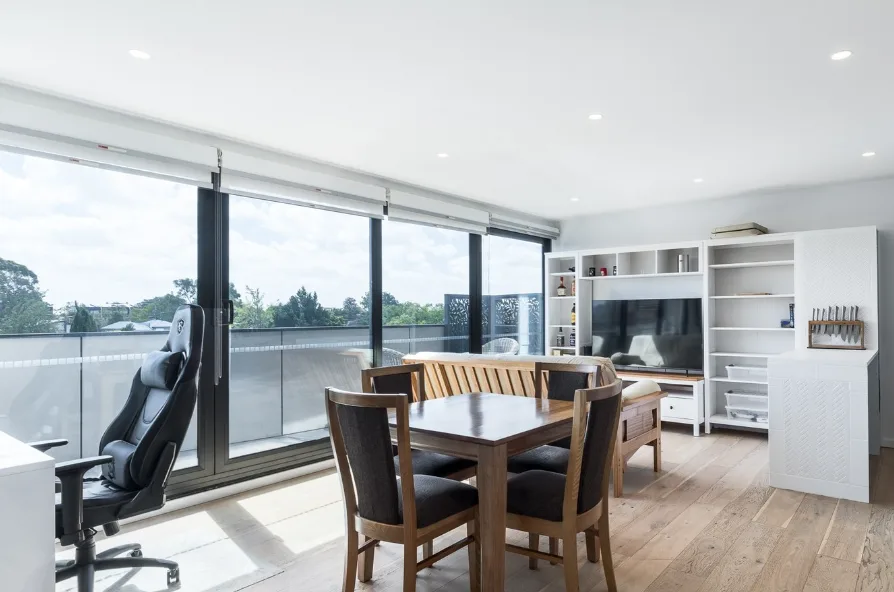
The site: An apartment interior opening onto a glazed balcony, with timber flooring, white built-in shelving and full-height sliding doors.

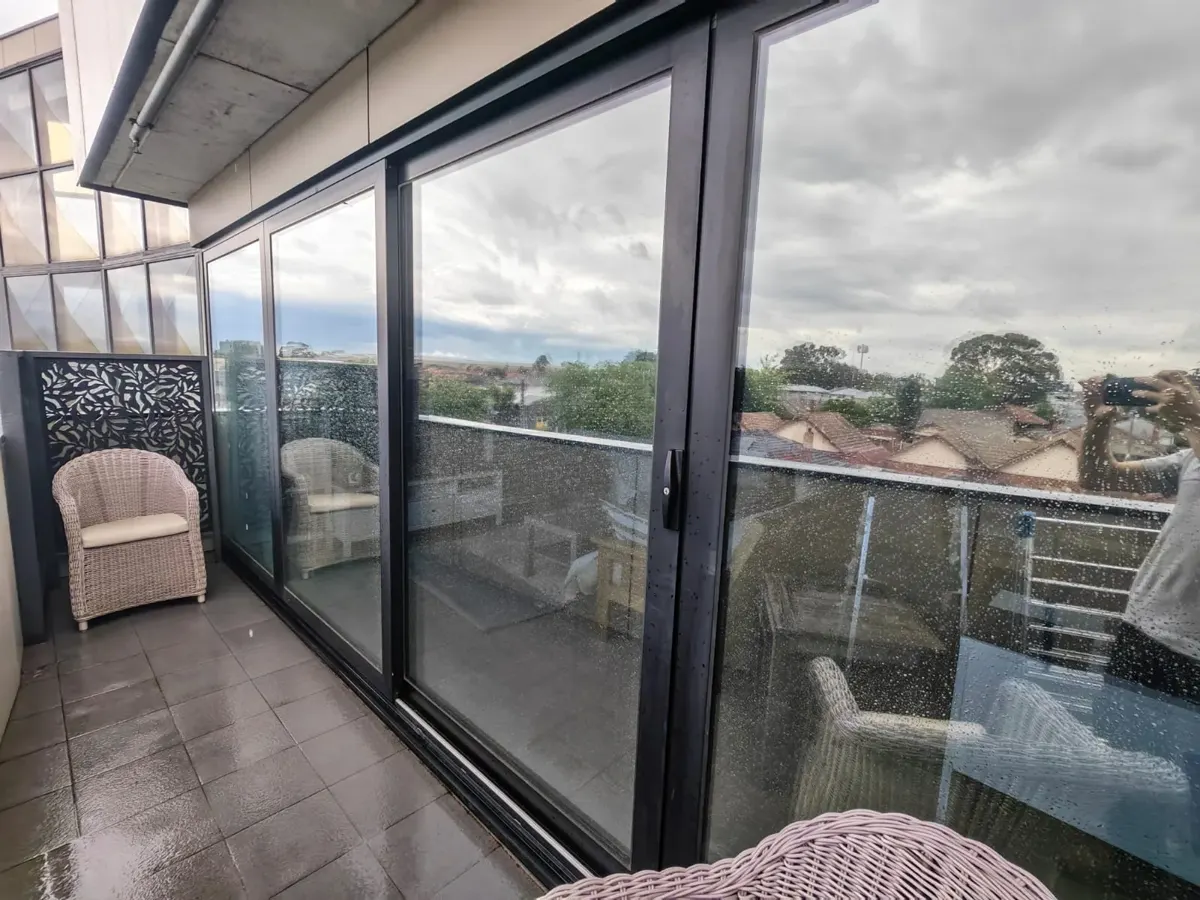
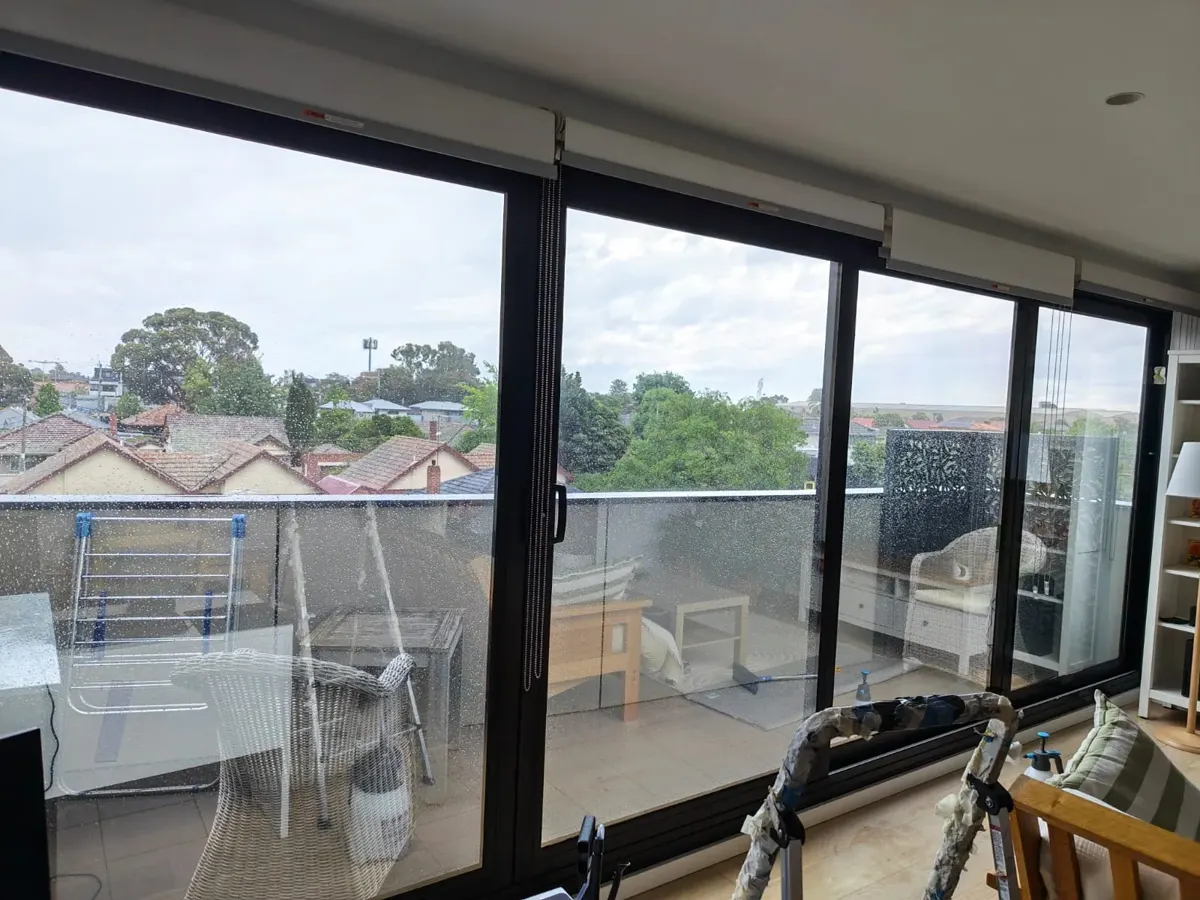
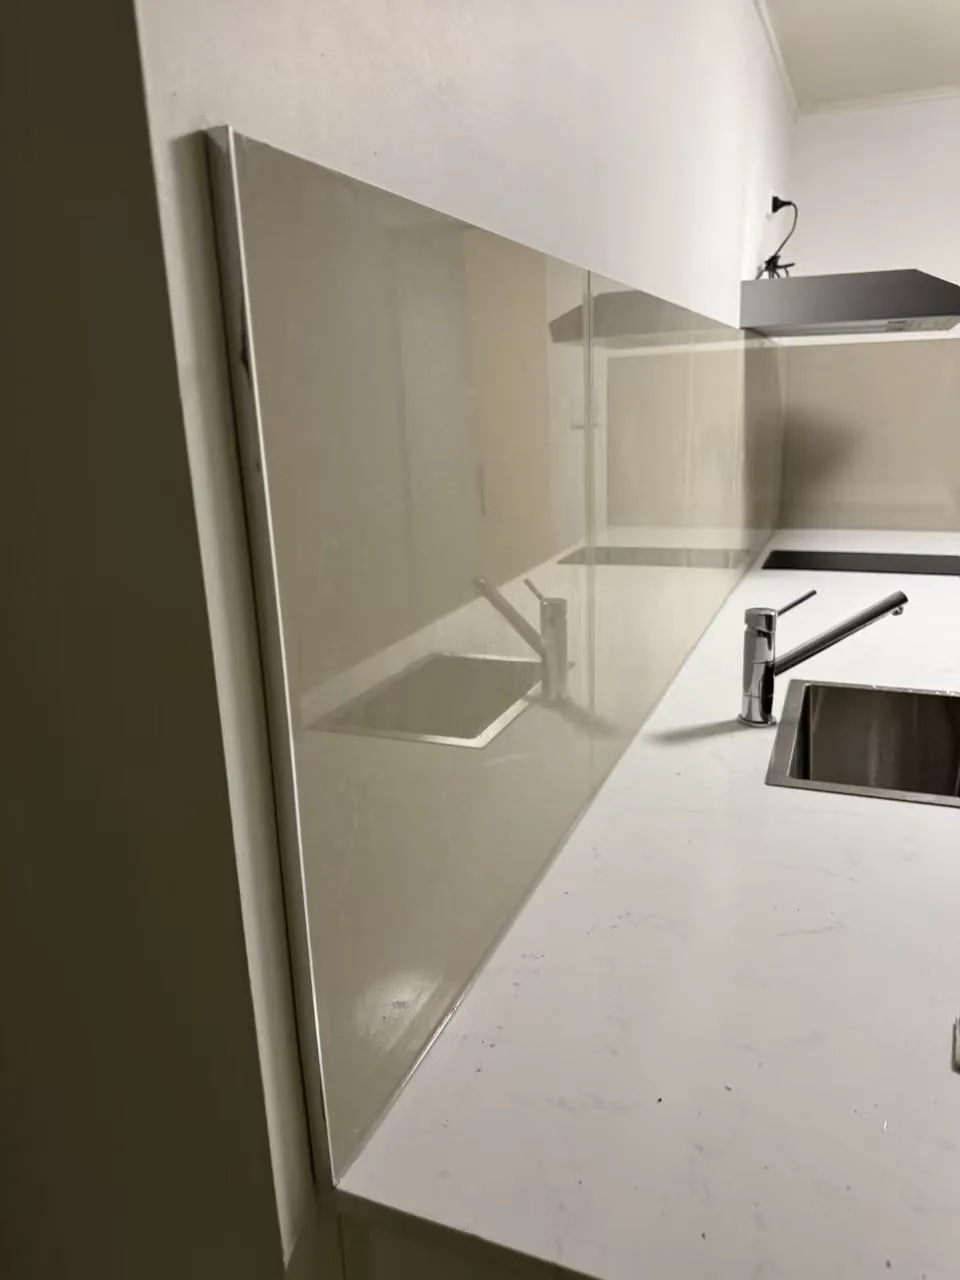
The work recorded: Four completed views cover the living and dining area with its seating, shelving and ceiling downlights, the balcony behind the sliding doors with tiled paving and a laser-cut decorative screen, and the kitchen splashback where it meets the benchtop.

What is recorded: Completion views only. No before photos, product schedule or wider renovation scope are held with this set, and no repair outcome is claimed from appearance alone.

Completed apartment living and dining area with timber flooring, white shelving and sliding doors to a balconyCompleted view
Living and dining area: timber flooring, white built-in shelving, dining setting and the sliding doors onto the balcony.
Balcony corner with tiled paving, a laser-cut decorative screen and the sliding door framesCompleted view
Balcony corner: tiled paving, the laser-cut decorative screen and the sliding door frames along the wall.
Sliding doors and glazed balustrade seen from inside an apartmentCompleted view
Sliding doors and glazed balustrade from inside, with the balcony furniture and roof line beyond.
Glass splashback meeting a stone benchtop with a sink and tap at the kitchen cornerDetail
Kitchen corner: the splashback panel meets the benchtop and sink, with the rangehood above.
Explore door, window and interior repairs

CEILING REPAIR PHOTOS

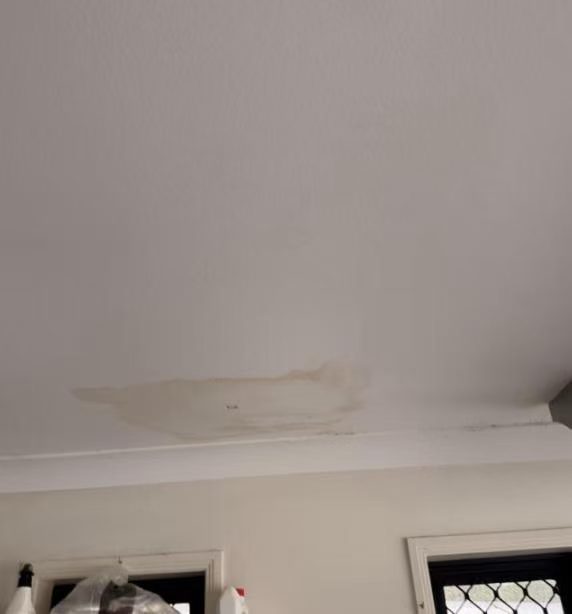
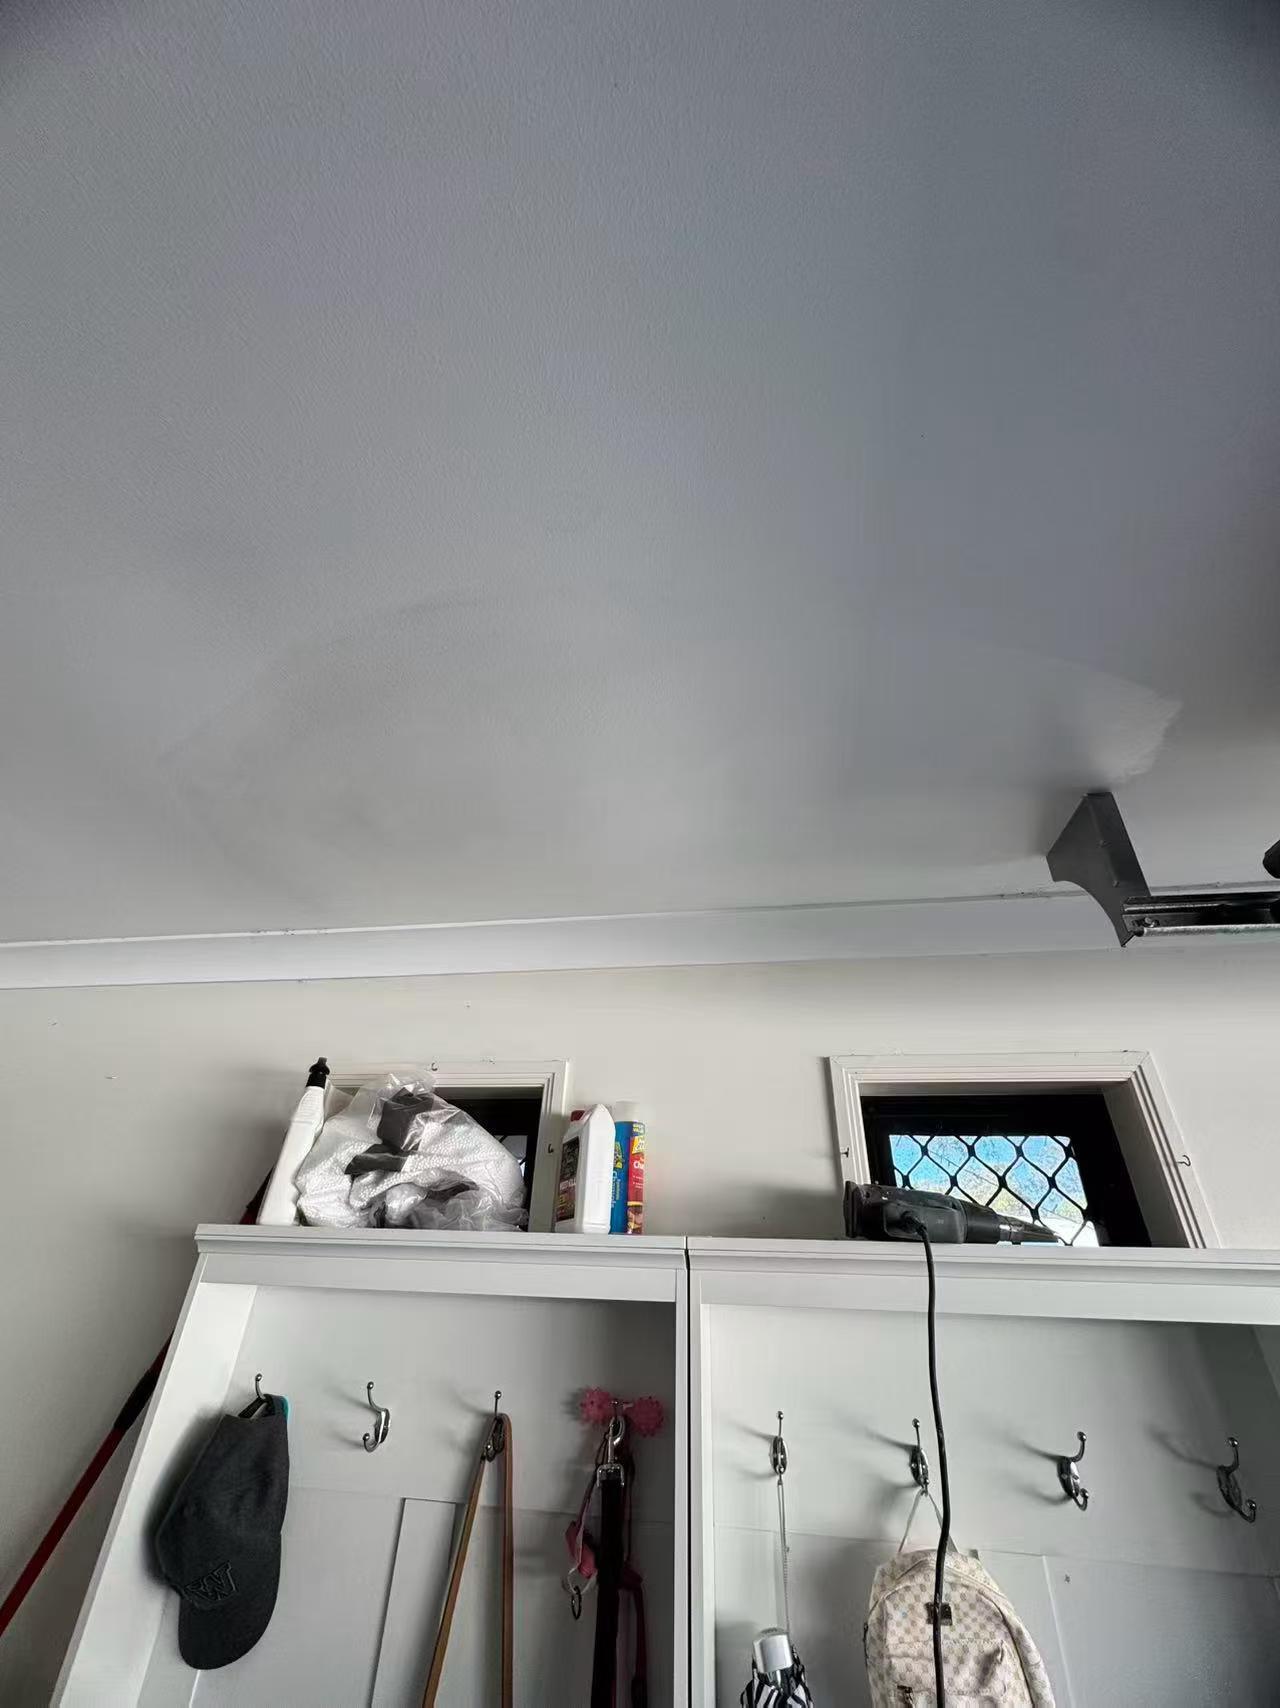
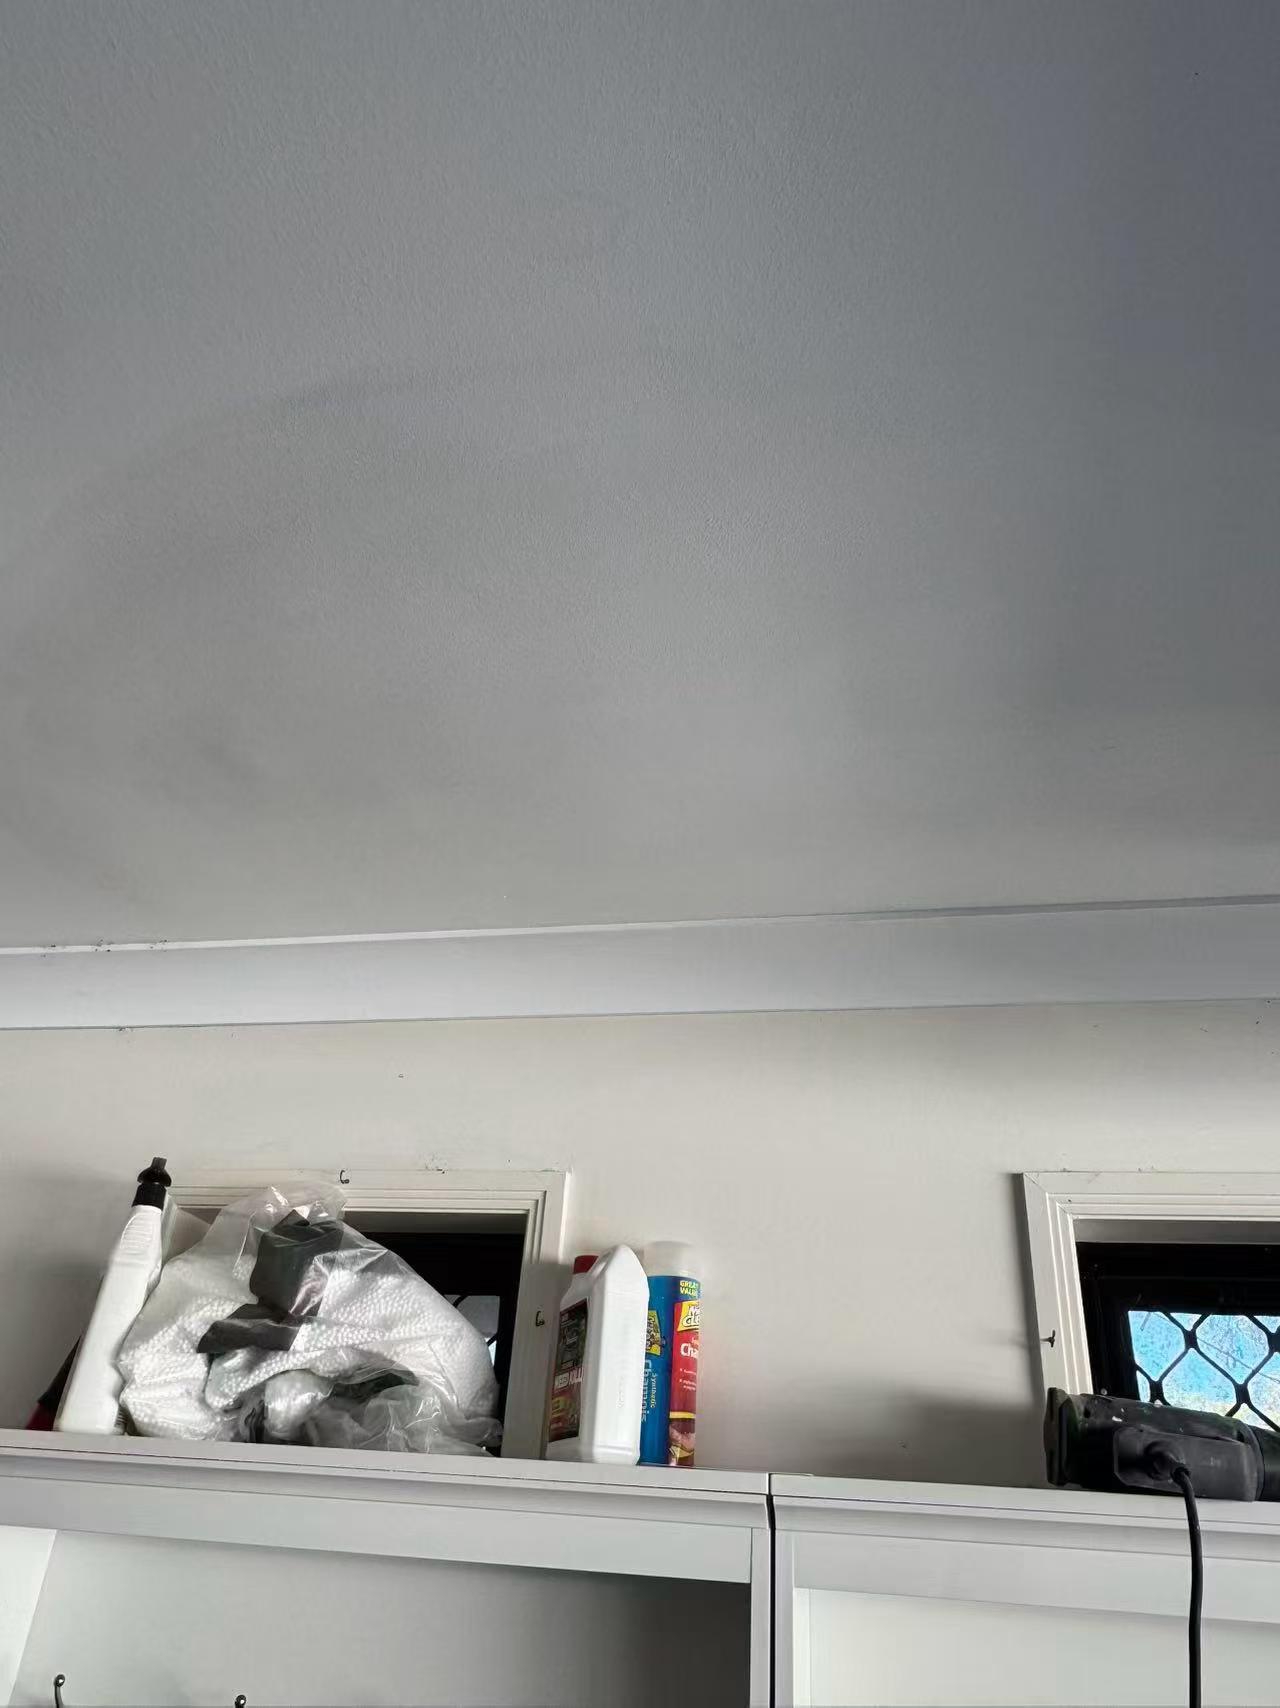
A water-stained ceiling, then the refinished surface.

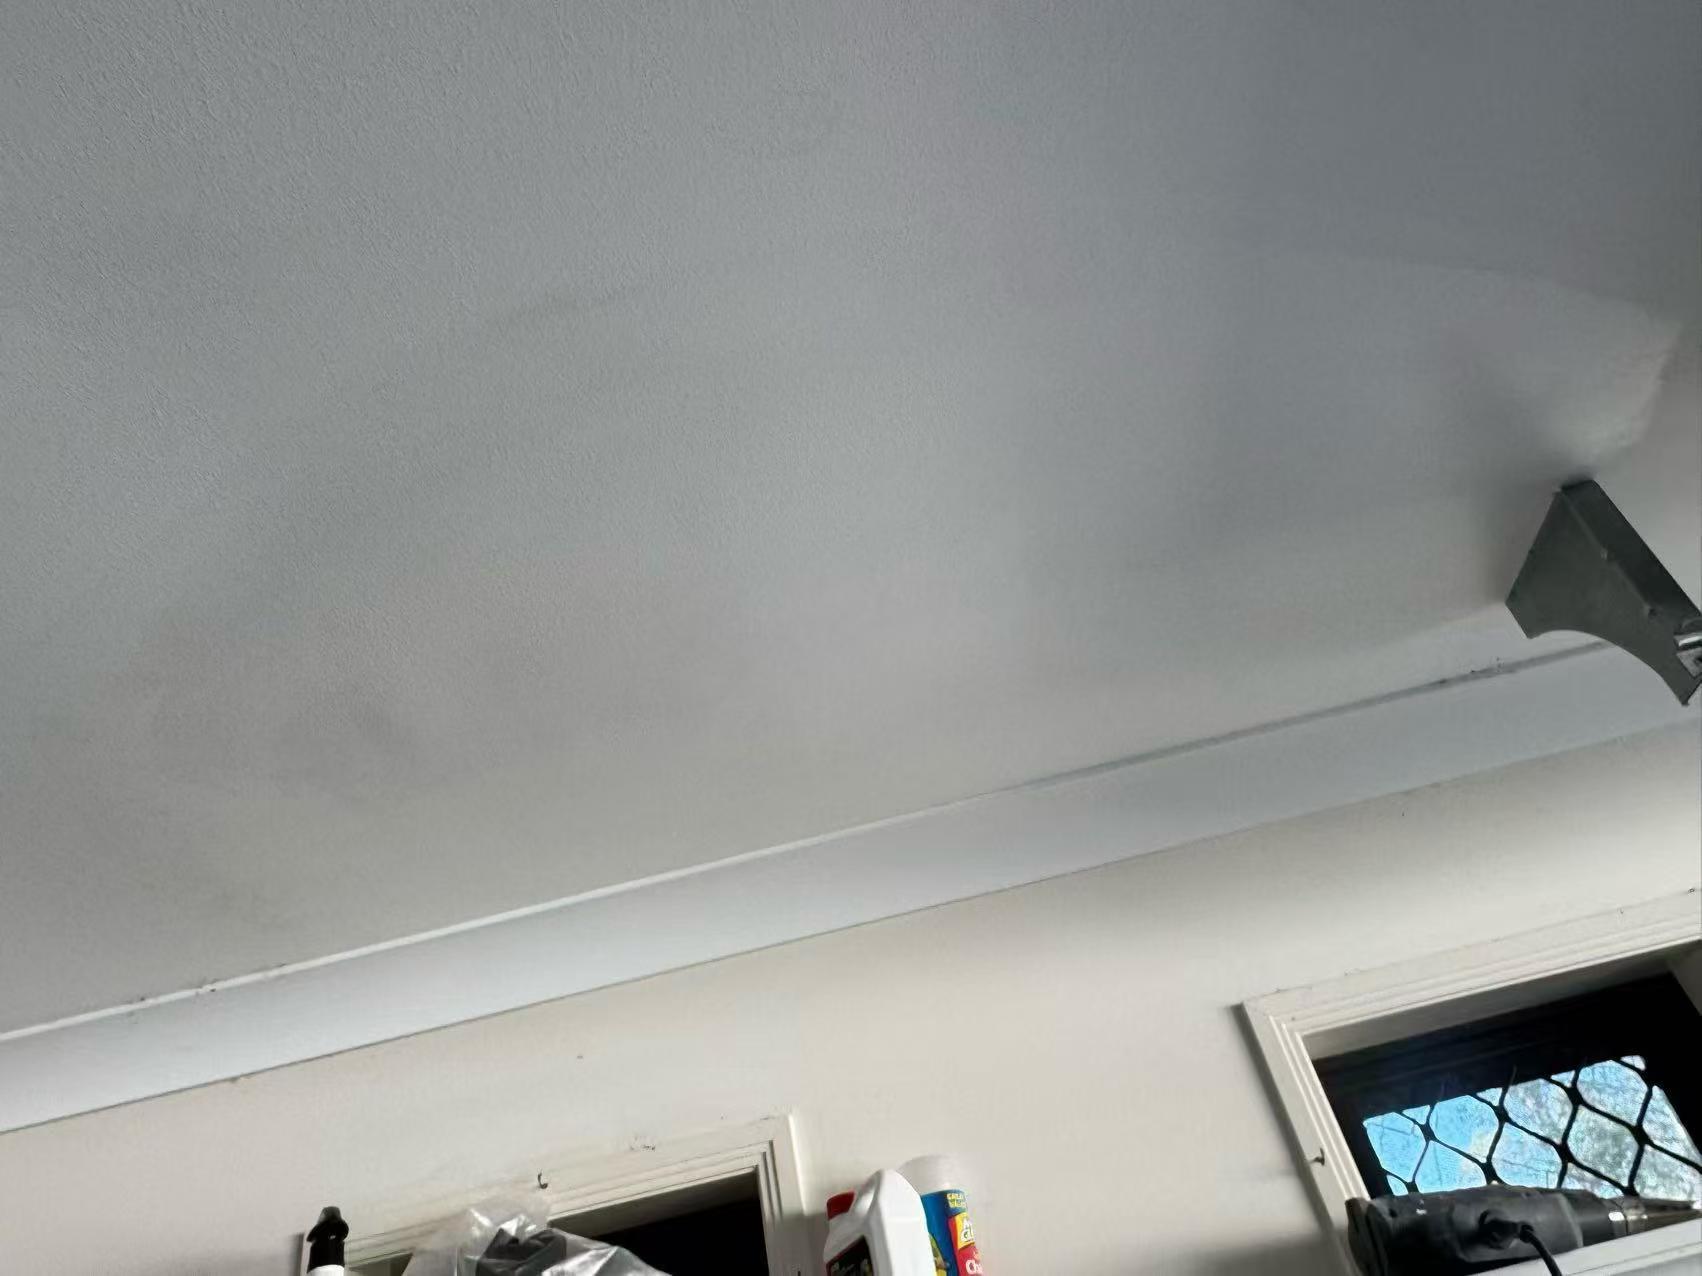
These photos show the earlier discoloured ceiling area and later views of the refinished white surface and cornice junction. If you need both roof leak work and interior repairs, describe both in one enquiry so the relevant trades and sequence can be discussed.

Earlier discoloured patch near the ceiling edgeEarlier condition
View full-size photo ↗
Earlier condition: visible discolouration near the cornice.
Refinished ceiling above the storage area and windowsRefinished surface
View full-size photo ↗
White ceiling finish and cornice junction above the storage area.
Front view of the refinished white ceiling and corniceRefinished surface
View full-size photo ↗
Another view of the refinished surface along the ceiling edge.
Angled view of the refinished ceiling beside the garage door railRefinished surface
View full-size photo ↗
Wider angled view of the ceiling surface and cornice.

What the photos show

The earlier view records a patch of discolouration near the ceiling edge. The later photos show the finished surface from three angles. This photo set documents the visible ceiling finish; roof work, concealed moisture and mould assessment need their own checks.

For a similar repair, tell us when the mark appeared, whether it changes after rain, and whether the roof or another leak has already been investigated. Include a room-wide photo and a closer view taken from floor level.

CEILING STAIN INSPECTION PHOTOS

A water-stained ceiling: opening the lining to check what is behind it.

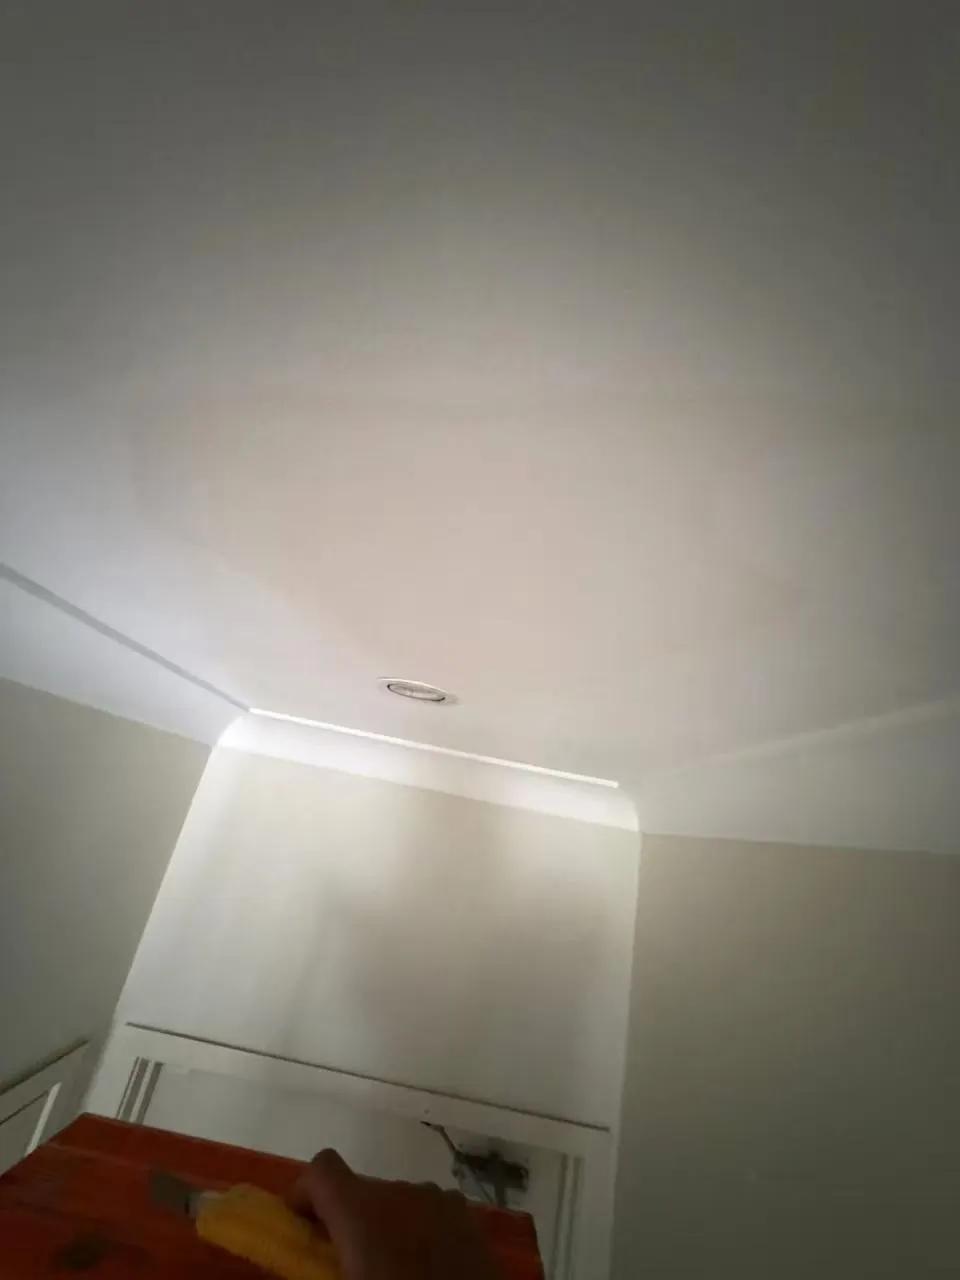
This record photographs the stain first, then opens the plasterboard to check the space and members behind it. The opening confirms the affected area; the water source, drying and any later repair are separate scopes.

Brown water stain on a white ceiling beside a downlight and cornice, with a ladder and knife belowBefore opening
Before opening: the stain and the surrounding ceiling.
On-site video: checking the space behind the opened lining.

What this record shows

The photo records the visible extent of the stain; the video records the check behind the opened lining. No repaired or painted finish is shown — lining repair, joints and paint are agreed after the water source is addressed and drying is confirmed.

For a similar mark, tell us when it appeared, whether it changes after rain, and whether the roof or plumbing has been checked. Send a room-wide photo and a closer view taken from floor level.

SKIRTING PAINT PHOTOS

Skirting and wall paint: mask, coat, and a clean returned line.

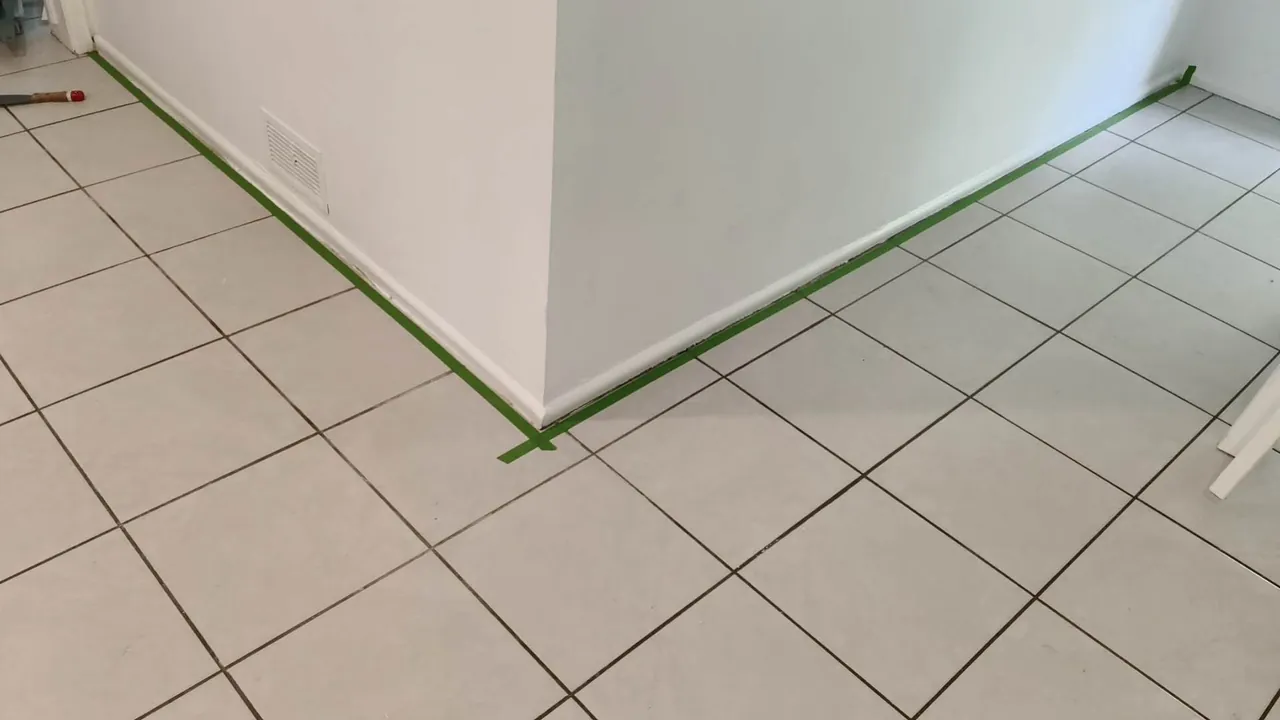
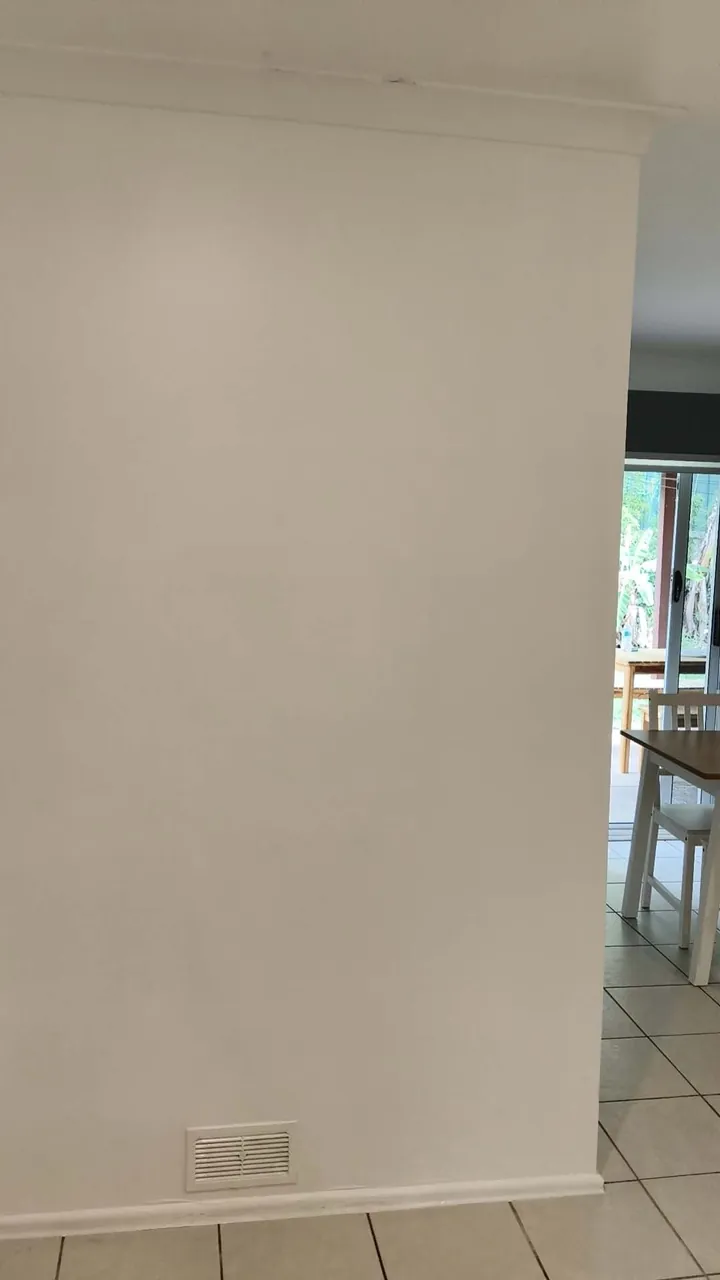
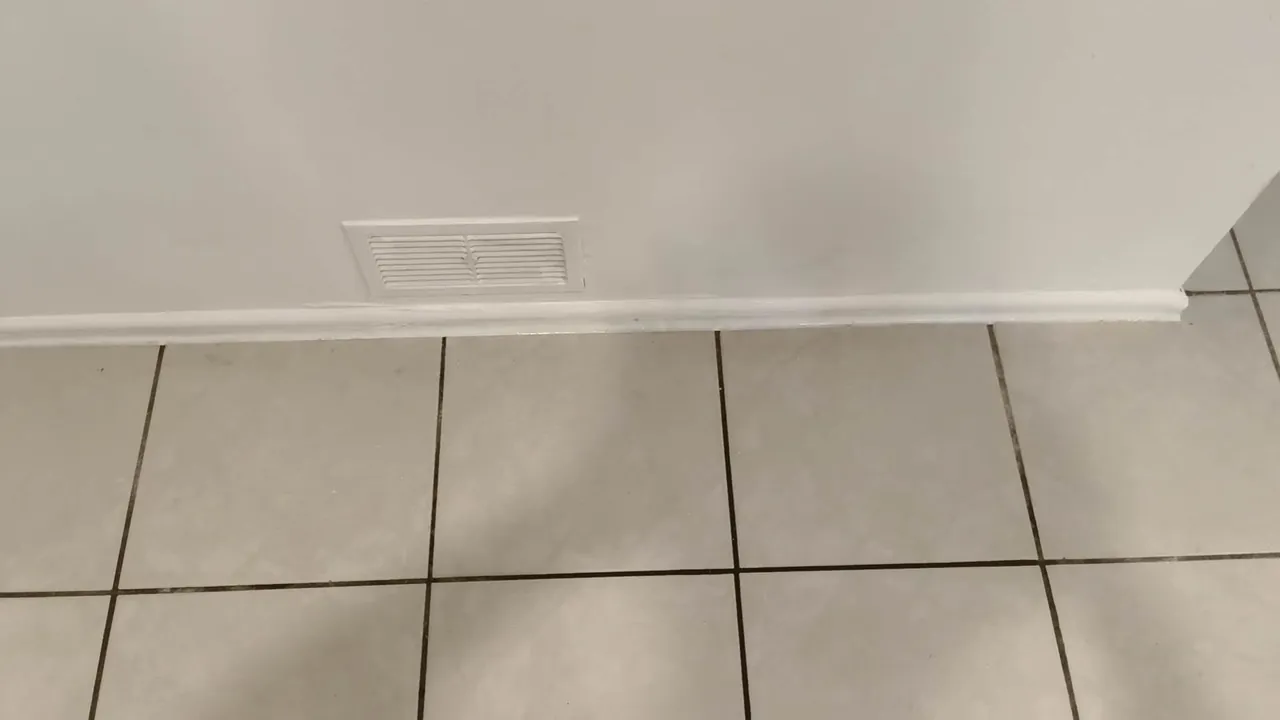
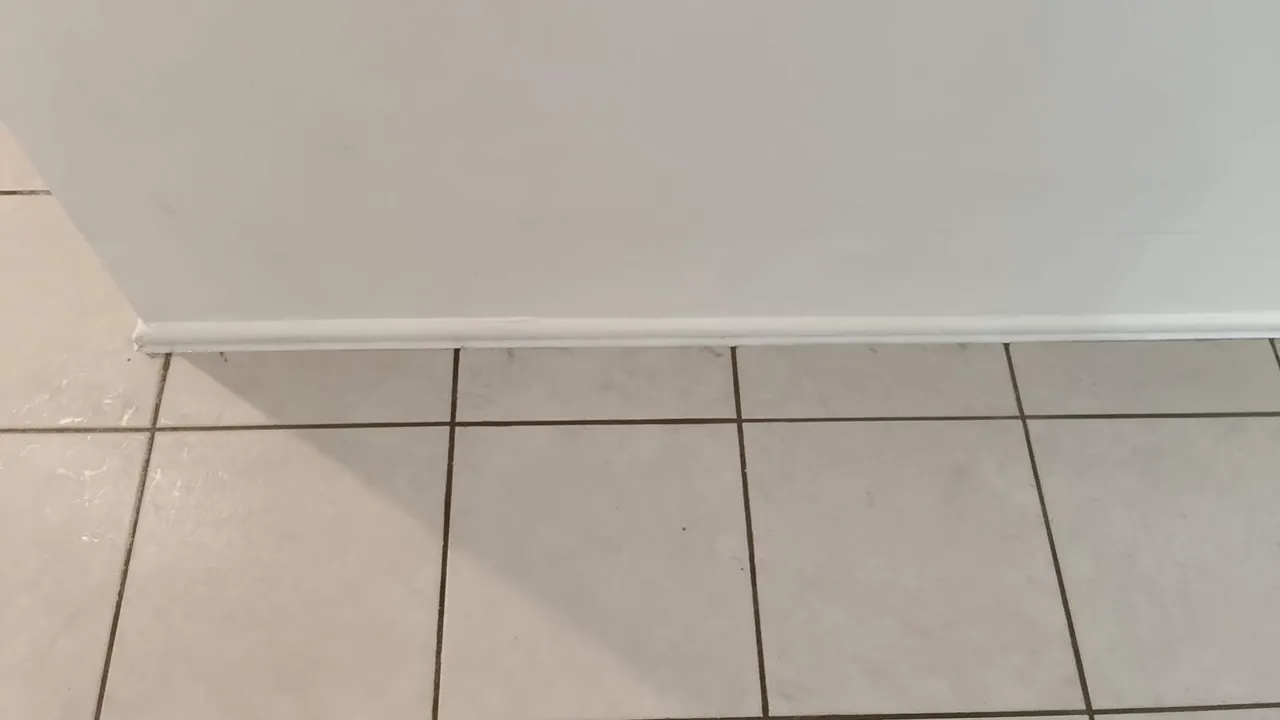
This record follows one interior: masking protects the skirting and tile floor, the wall and skirting top coats go on, and the returned line and vents are checked after the tape comes off. The video is a finished walk-through, rotation-corrected and captioned in both languages.

Skirting masked with tape before the top coat; the tile floor stays protected.Preparation
Skirting masked with tape before the top coat; the tile floor stays protected.
Finished wall and skirting in one clean line, vent checked at the same time.After
Finished wall and skirting in one clean line, vent checked at the same time.
Close view of the finished skirting line beside the floor vent.After
Close view of the finished skirting line beside the floor vent.
The returned skirting line after masking is removed; edges checked for misses.After
The returned skirting line after masking is removed; edges checked for misses.
Finished walk-through: one clean skirting and wall line, captioned in both languages.

What this record shows

The photos and video record protection, top coats and the returned-line check. Substrate patching, crack treatment and colour matching are agreed per site; this set does not promise every wall in the home is repainted.

RELATED REPAIR SERVICES

The project above shows a commercial interior fit-out. For a single affected item, these service pages explain the relevant repair and enquiry details.

Kitchen drawers and cabinets

A damaged drawer, hinge or cabinet door can be assessed as a local repair. The kitchen page also explains when a wider update is relevant.

Explore kitchen repair scope →

Wall openings and painted finishes

The wall-repair page shows a repair example and explains how the patch, underlying cause and final painted area are scoped.

Explore wall repair scope →

Screen-door alignment

The door and window page shows alignment work on an existing screen door and explains when the frame or hardware also needs checking.

Explore screen-door repair scope →

Roller-blind repair or refitting

A blind that is loose, displaced or not operating can need different work. Share the product and fitting details before repair or replacement is agreed.

Explore curtain and blind services →

TALK TO ALLEN

Have a similar renovation or repair in Brisbane?

Call Allen, or open a text or email draft and attach your photos.